Before Updating
If the camera is turned off during the update procedure, it might cause a malfunction and damage your camera. To avoid causing a malfunction, please read the following carefully before updating the firmware.
- Please use a dedicated AC adapter or a fully charged battery.
- Do not open the BATTERY/CARD COVER or operate the camera during the firmware update.
- Do not turn off the camera during the firmware update.
- This firmware update requires two files, SD1U_114.BIN and SD1V_114.BIN. Firstly, please download and save those files on a CF card.
- For firmware Ver. 1.08 or earlier, there are 2 steps to complete the firmware update. Once you finish the first step (STEP 01 – STEP 10), please proceed to the second step (STEP 11 – STEP 14).
* To avoid causing malfunction, please download only above file “dp1v200.bin” and update, firstly. Format the CF card after first update and please download the following file “dp1u200.bin”.
Ver.1.14 2014.04.23
Accuracy of Auto Focus is improved by enhancement of the algorithm.
Please use a dedicated AC adapter or a fully charged battery.
Do not open the BATTERY/CARD COVER or operate the camera during the firmware update.
Do not turn off the camera during the firmware update.
This firmware update requires two files, SD1U_114.BIN and SD1V_114.BIN. Firstly, please download and save those files on a CF card.
For firmware Ver. 1.08 or earlier, there are 2 steps to complete the firmware update. Once you finish the first step (STEP 01 – STEP 10), please proceed to the second step (STEP 11 – STEP 14).
Update Procedure
- STEP01
Please use 512MB or larger CF card and format the card in the camera body.
* To avoid loss of your important data, please check the CF card before formatting
- STEP02
Please connect a card reader containing the CF card or the SD1 to your computer and click the Download button or right click on the mouse (if you use a Macintosh computer, please press Control + click) to copy the two firmware files; SD1U_114.BIN and SD1V_114.BIN, to the CF card root directory (Please do not store the file in a subfolder such as “DCIM”).
* If the firmware has downloaded whilst the camera is connected to your computer, please turn off your camera before disconnecting it from your computer.
- STEP03
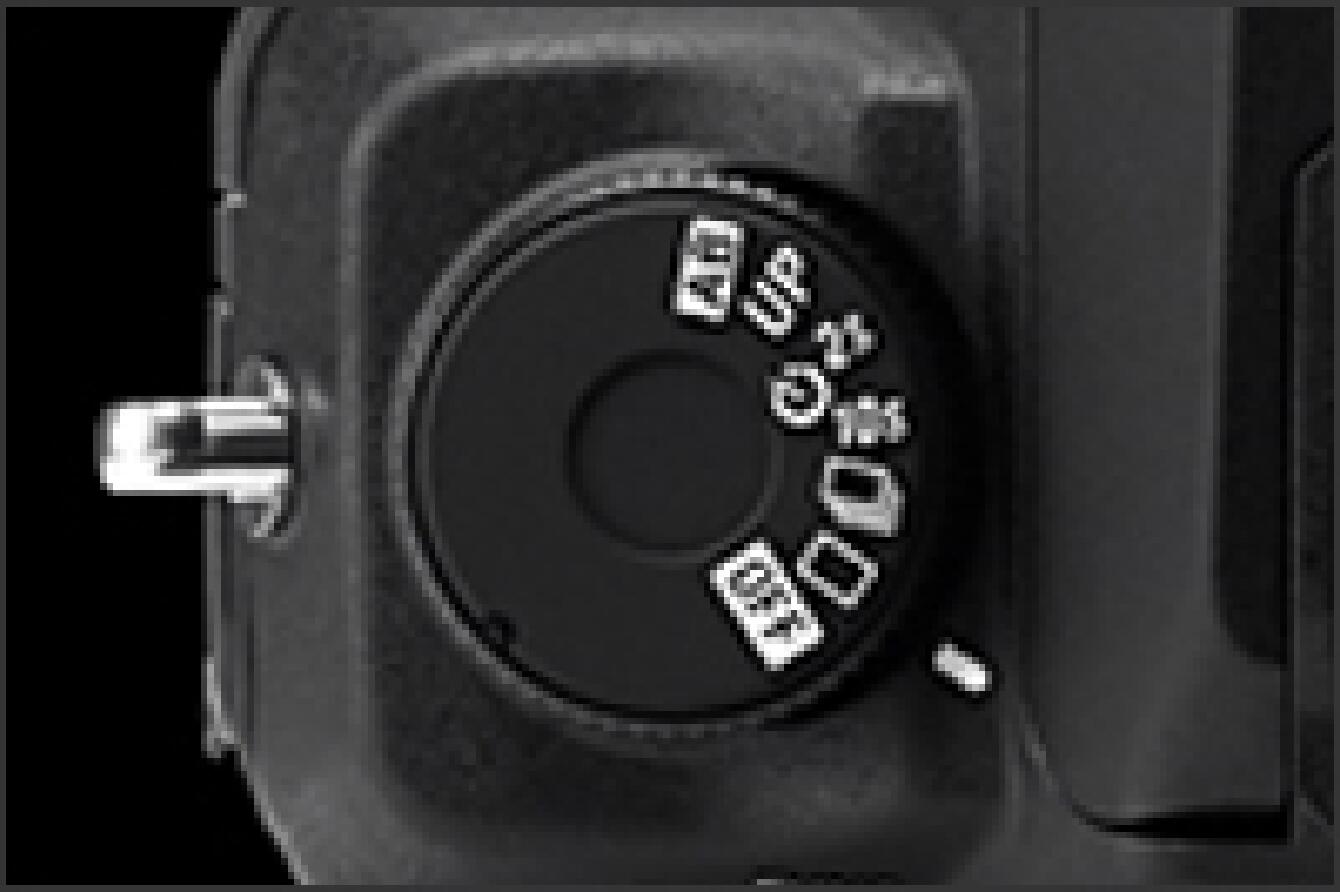
Insert the CF card stored the “SD1U_113.BIN and SD1V_113.BIN” files into your camera and turn on the SD1.
* It is not necessary to connect the camera body to your computer.
- STEP04
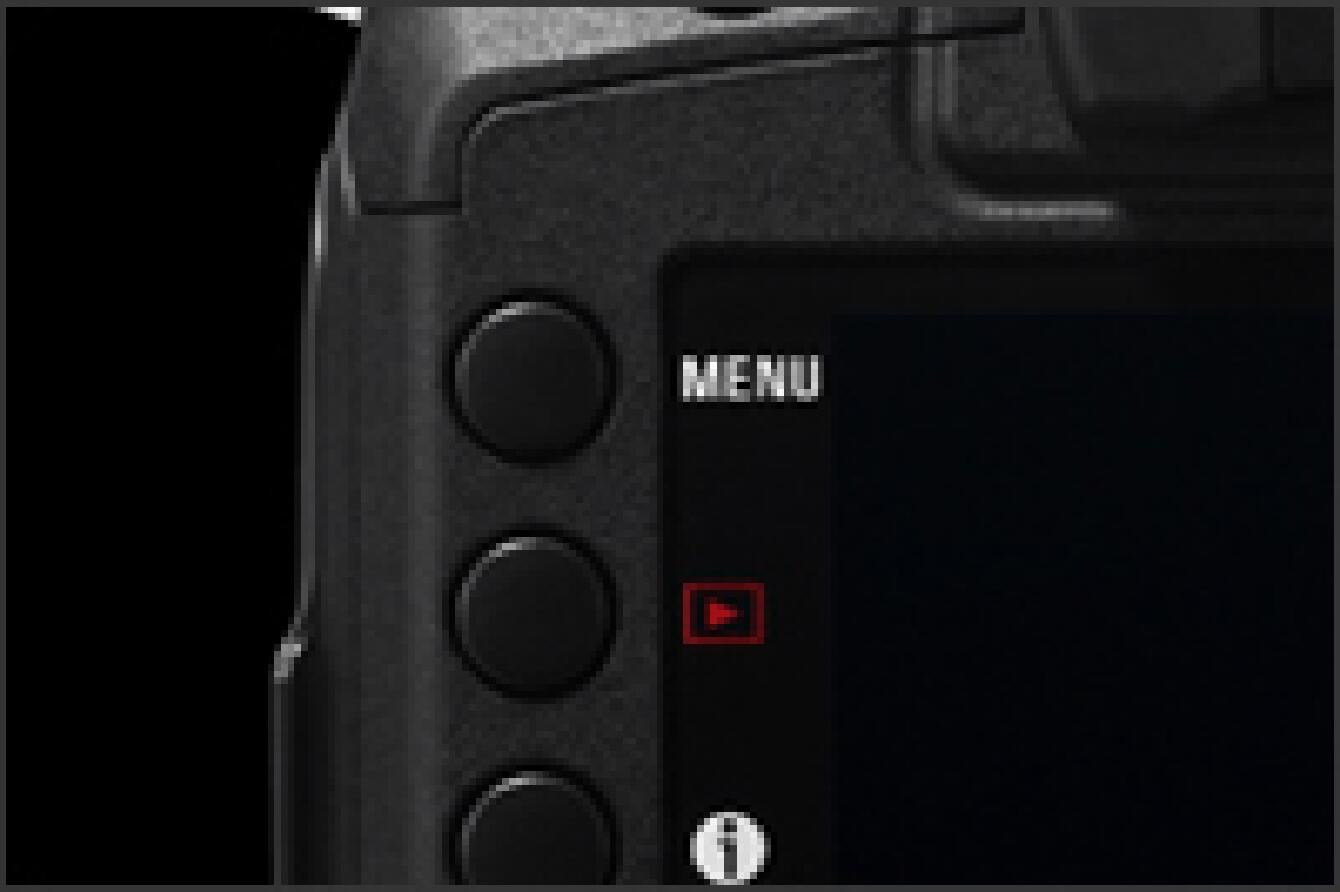
Press the MENU button on the back of the camera to display the Camera Set-up Menu.
- STEP05
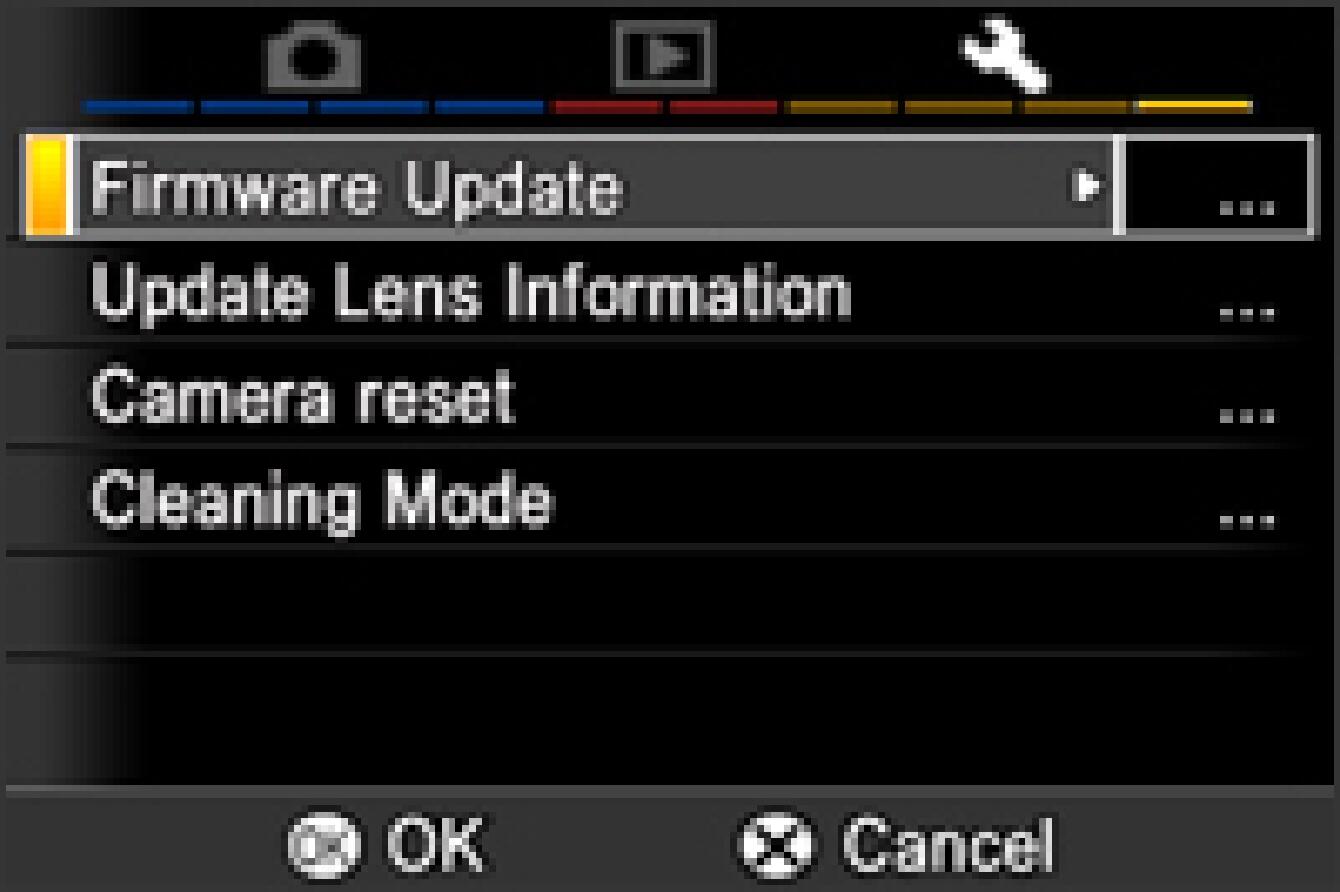
Select “Firmware” from Set-Up Menu.Press the OK button again to display the firmware update window.
- STEP06
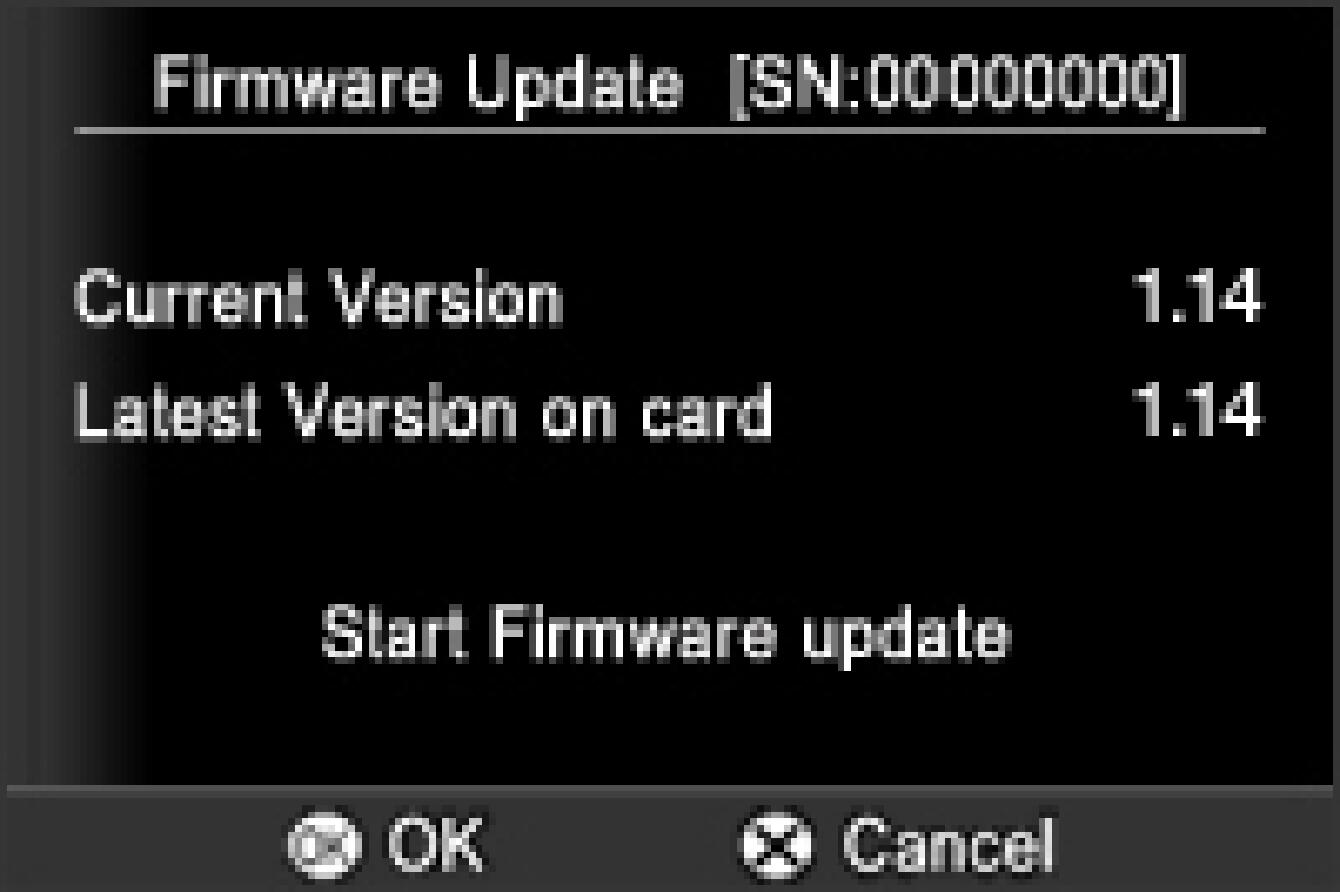
Press the OK button to start the firmware update.
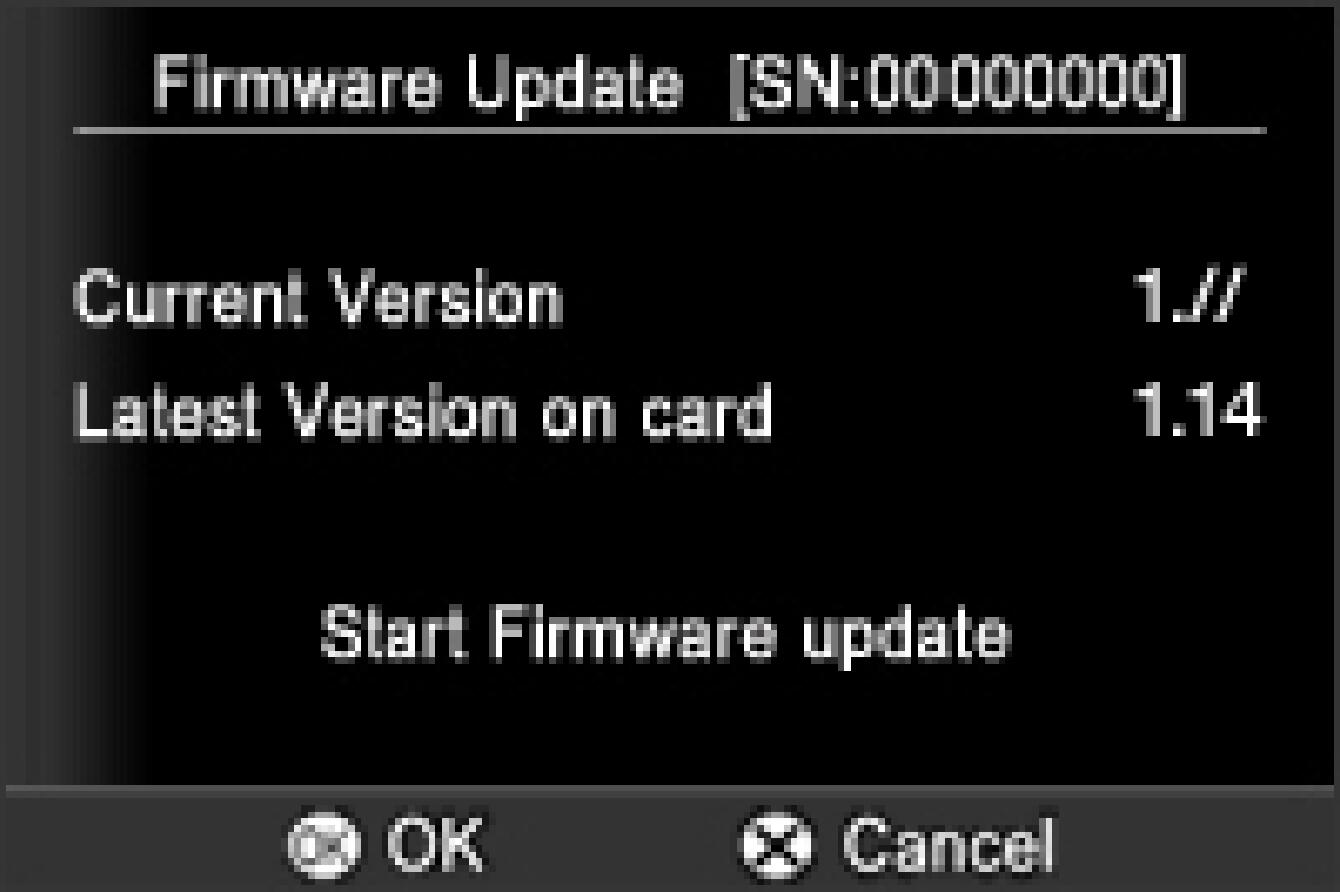
- STEP07
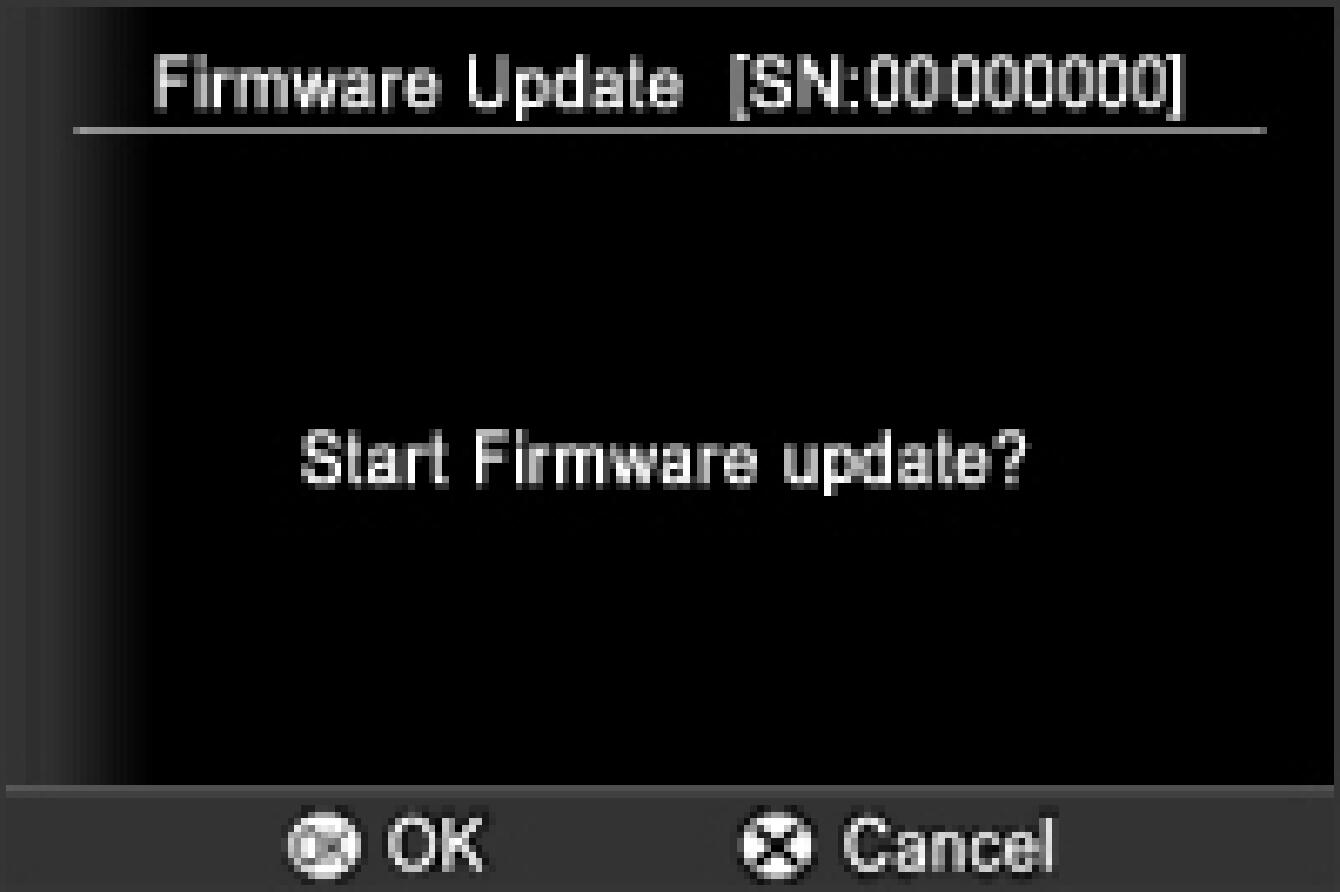
“Start Firmware update?” message will be displayed.
- If the update start message is not displayed.
In the unlikely event that the “Start Firmware update” message does not appear, an error message will be displayed in the lower part of display.
A list of possible reasons for this error message, along with the solutions, appear below.
- No Firmware update file on Memory card
It is possible that the Firmware update file is not stored in the root directory. Please repeat the above installation from STEP 02.
- Cannot update firmware! Battery Empty.
Please use a dedicated fully charged battery and repeat the above installation from STEP : 03.
- STEP08
Press the OK button again to start the firmware update. (It takes about a 3 minutes to update.)
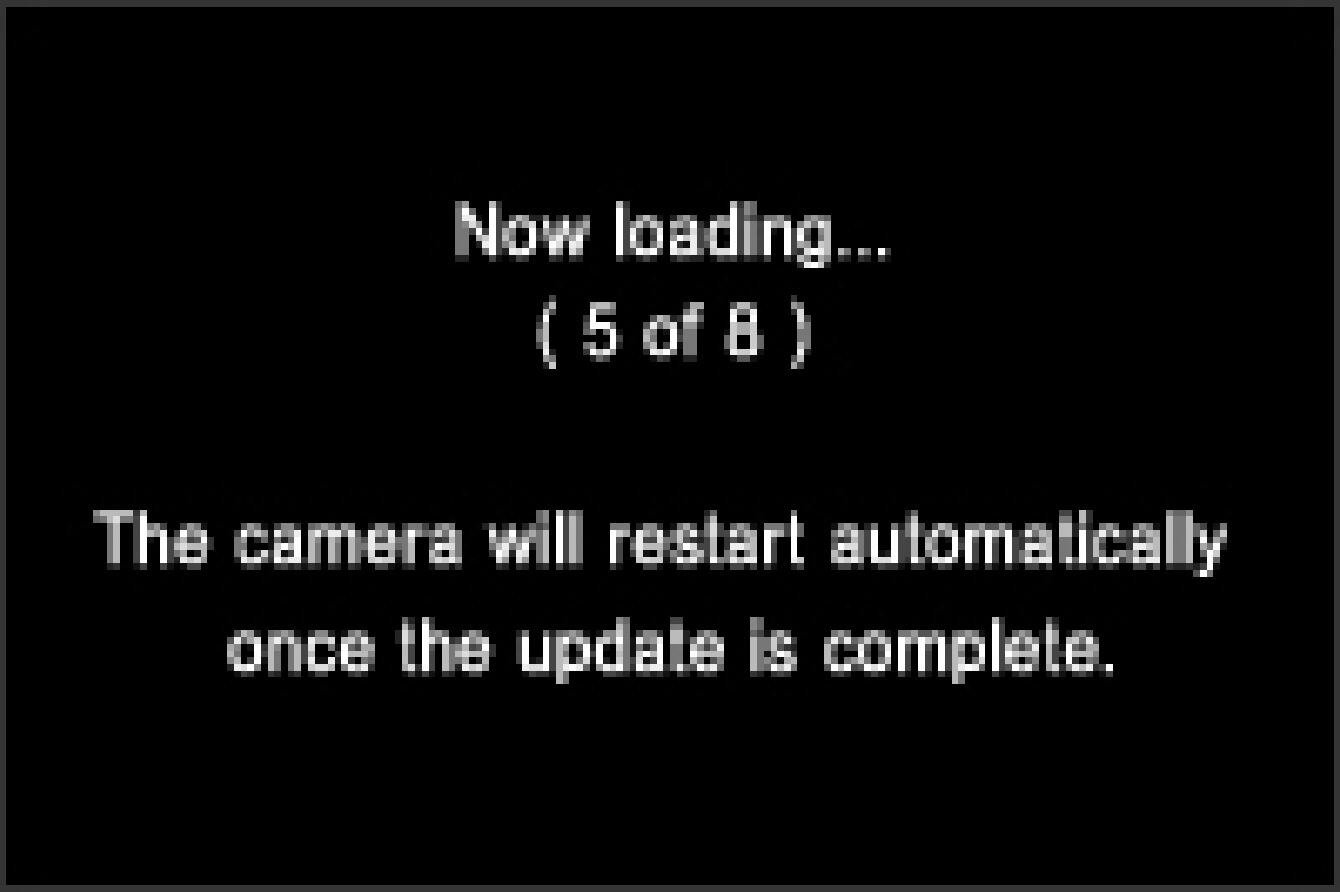
- ERROR
If the “Firmware update is failed!” message appears during firmware updating, please check the following Error Code table. Please turn off the camera and repeat the above installation from STEP 01. If it is not possible to update by following “Solution”, please visit the following technical support page for our World Network contact details.
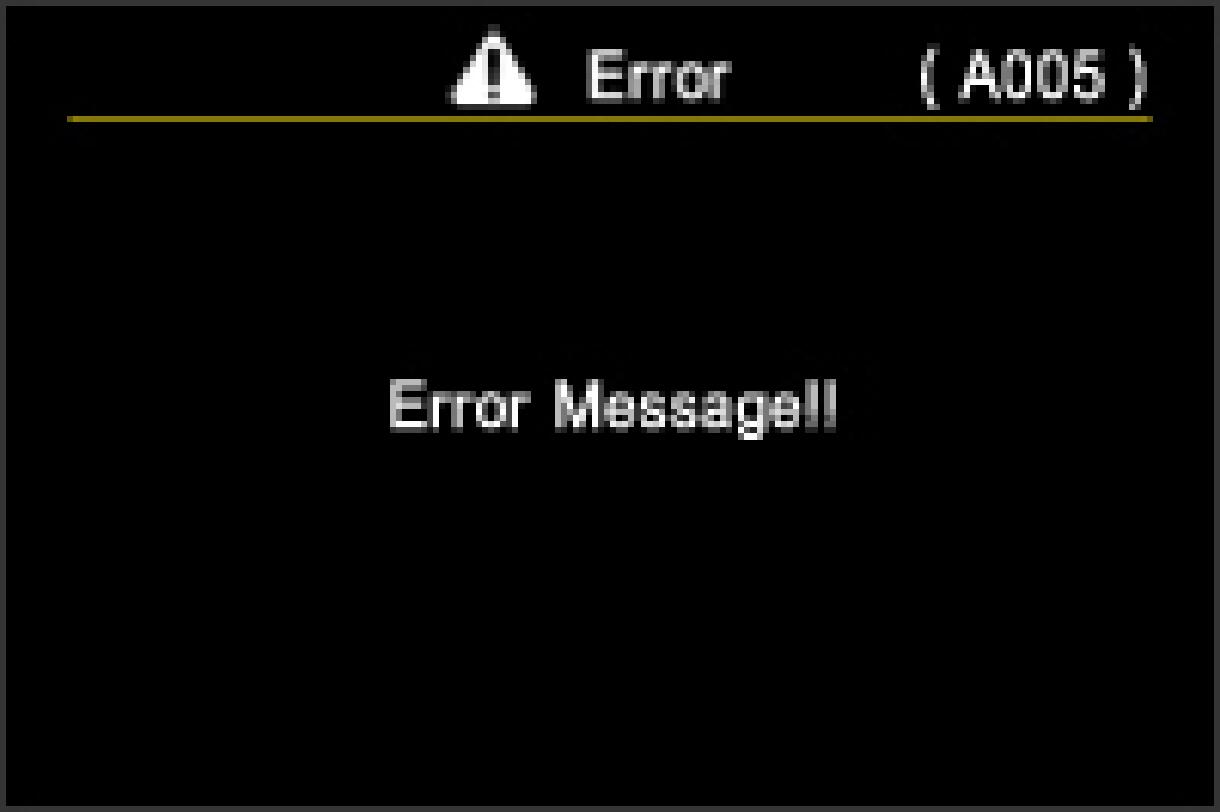
- If the firmware update fails.
- Error Code:A005 The battery power is insufficient.
Please use a dedicated fully charged battery and repeat the above installation from STEP 03.
- Error Code:A006 AV cable is connected.
Turn off the camera power and remove the AV cable from your camera. Please repeat above installation from STEP 03.
- Error Code:A007 USB cable is connected.
Turn off the camera power and remove the USB cable from your camera. Please repeat above installation from STEP 03.
- STEP09
If the current firmware version is Ver. 1.13
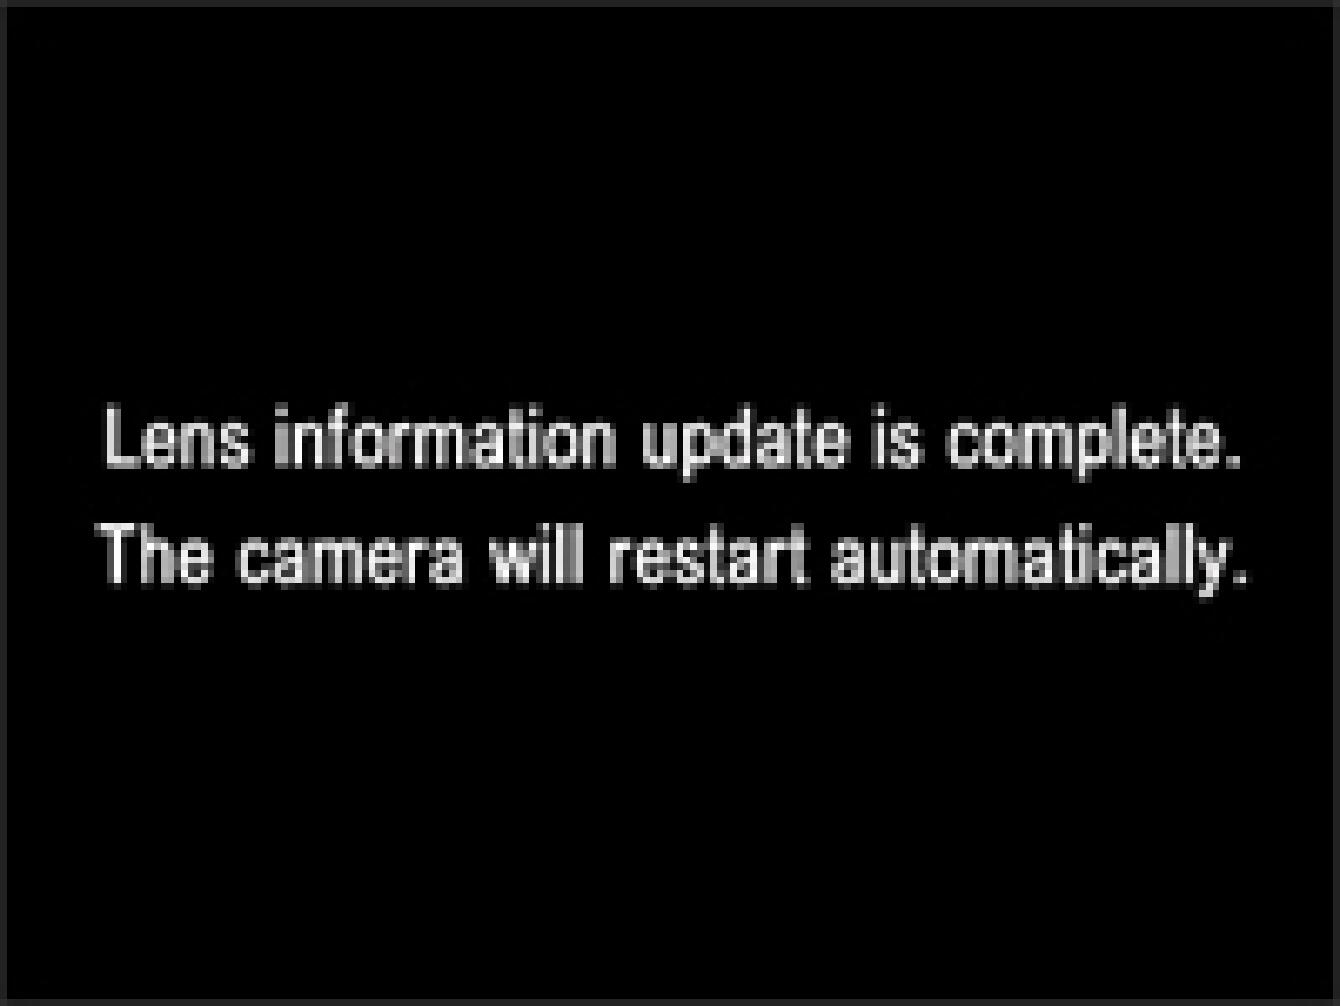
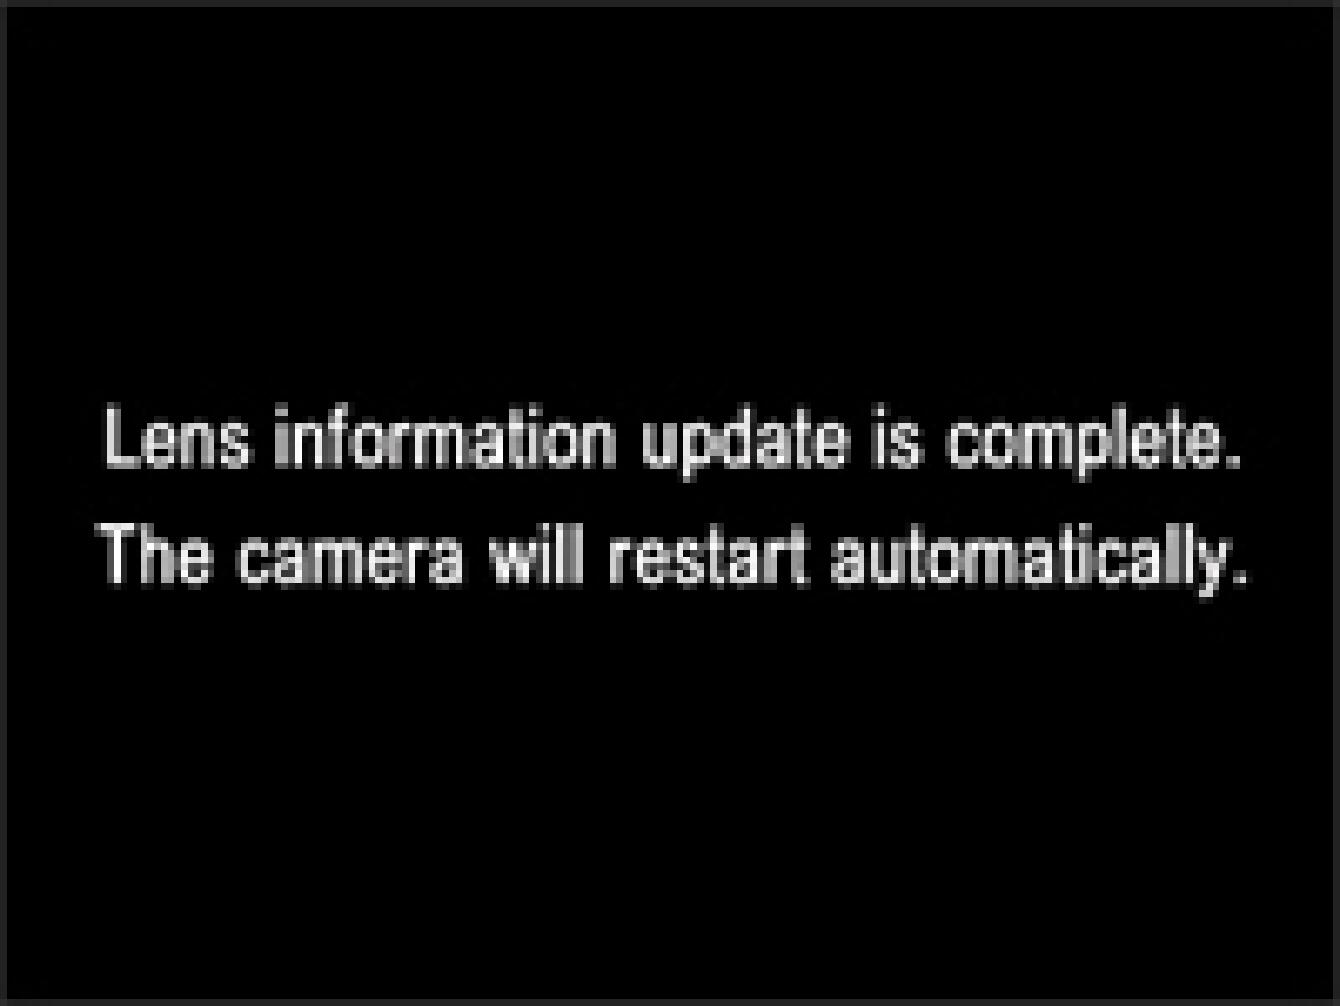
When the “Firmware update is complete. The camera will restart automatically.” is displayed, the first update is complete.* Please do not operate the camera until “Firmware update is completed” is displayed.
If the current firmware version is Ver. 1.08 or earlier
When the message “Firmware update is complete. The camera will restart automatically.” is displayed, please proceed to STEP 10.* Please do not operate the camera until the message “Firmware update is complete.” appears.
- STEP10
If the current firmware version is Ver. 1.13
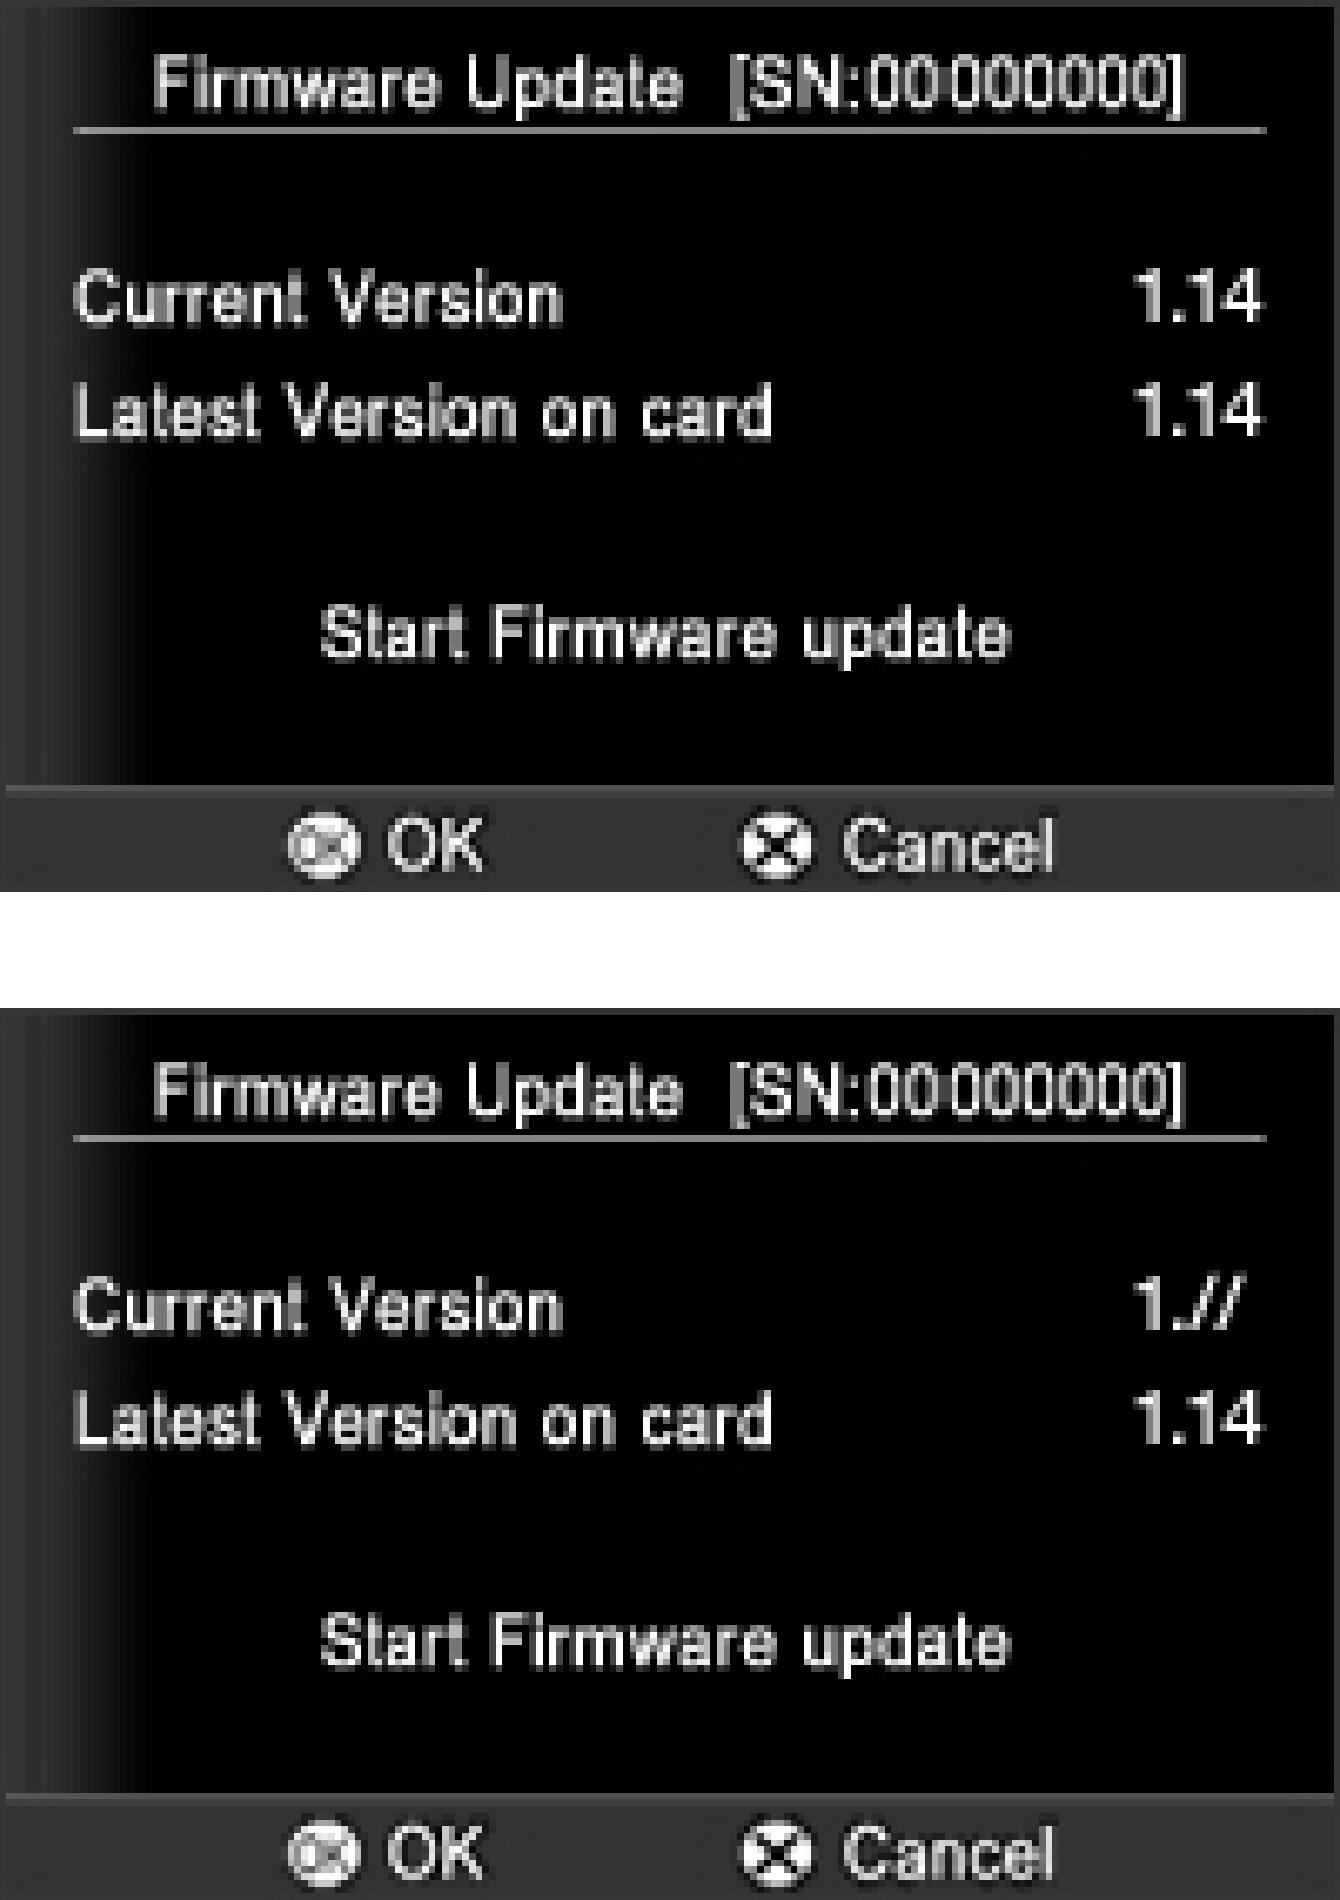
Select the “Firmware Update” from the Set Up menu and choose “Current Version” to confirm the firmware has updated to “Ver.1.14”. If “Ver.1.14” is displayed, the update is complete.
If the current firmware version is Ver. 1.08 or earlier
Select “Firmware” from the Set Up menu and choose ‘Current Version’, then confirm the firmware has been updated to “1.//”. If “1.//” is displayed properly, the first update is complete. Please press the OK button to move on to STEP 11.
- STEP11
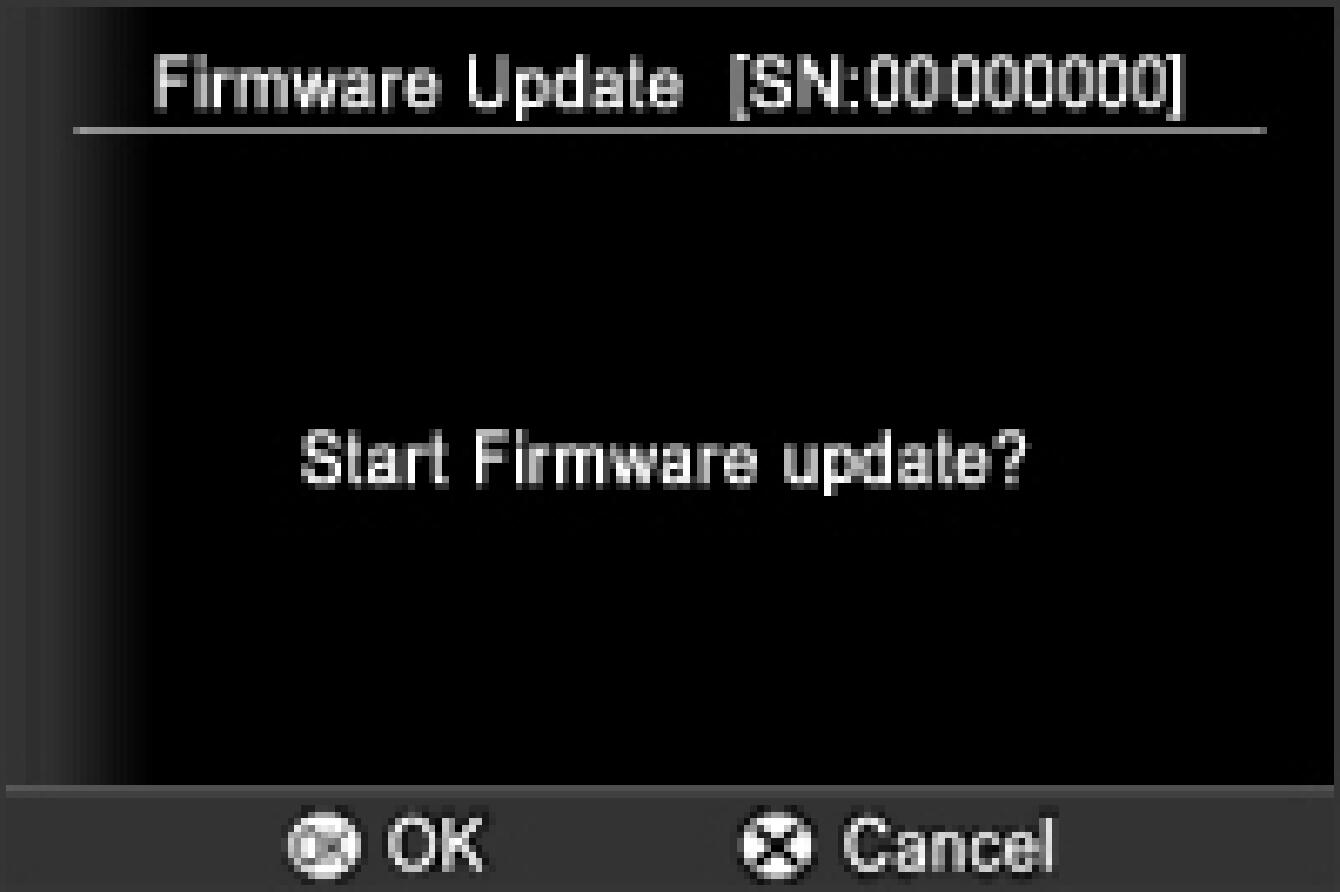
“Start Firmware update?” message will be displayed.
- If the update start message is not displayed.
“In case the “Start Firmware update” message is not displayed.”
In the unlikely event that the “Start Firmware update” message does not appear, an error message will be displayed in the lower part of display.
A list of possible reasons for this error message, along with the solutions, appear below.
- No Firmware update file on Memory card
It is possible that the Firmware update file is not stored in the root directory. Please repeat the above installation from STEP 10 by inserting CF card that saves firmware SD1U_114.BIN into SD1.
- Cannot update firmware! Battery Empty.
Please use a dedicated fully charged battery and repeat the above installation from STEP 10.
- STEP12
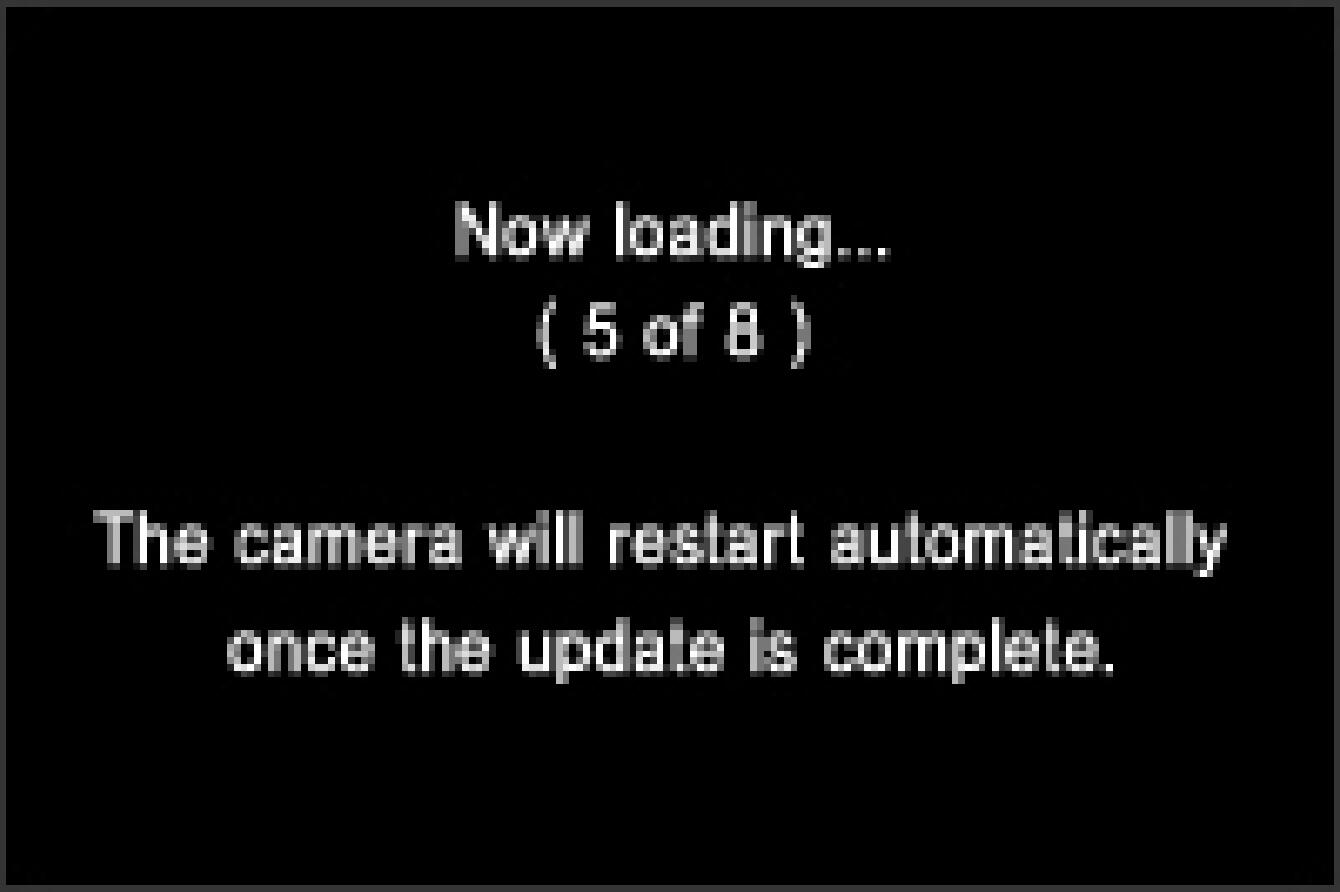
Press the OK button again to start the firmware update. (It takes about a 3 minutes to update.)
- ERROR
If the “Firmware update is failed!” message appears during firmware updating, please check the following Error Code table. Please turn off the camera and repeat the above installation from STEP 01. If it is not possible to update by following “Solution”, please visit the following technical support page for our World Network contact details.
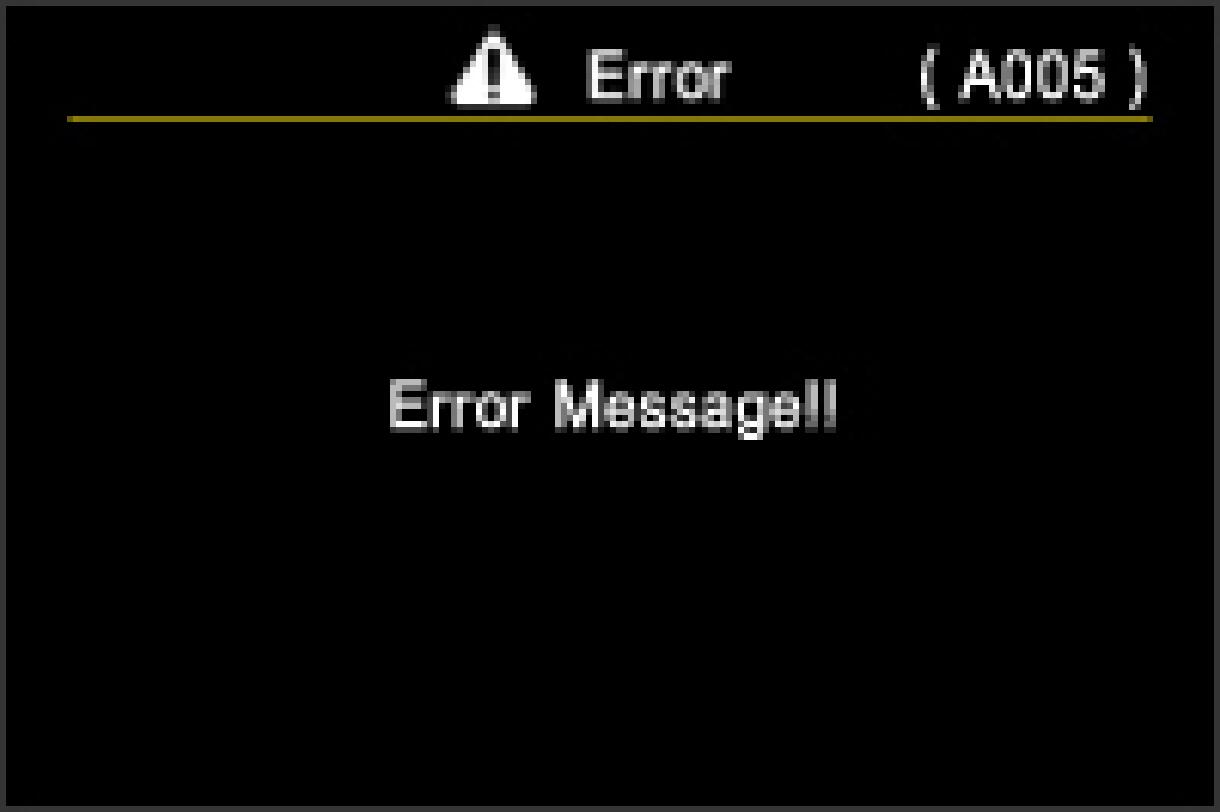
- If the firmware update fails.
- Error Code:A005 The battery power is insufficient.
Please use a dedicated fully charged battery and repeat the above installation from STEP 10.
- Error Code:A006 AV cable is connected.
Turn off the camera power and remove the AV cable from your camera. Please repeat above installation from STEP 10.
- Error Code:A007 USB cable is connected.
Turn off the camera power and remove the USB cable from your camera. Please repeat above installation from STEP 10.
- STEP13
When the “Firmware update is complete. The camera will restart automatically.” Is displayed, the update is complete.
* Please do not operate the camera until “Firmware update is completed” is displayed.
- STEP14
Select “Firmware” from the Set Up menu and select ‘Current Version’ to confirm the firmware has updated to “Ver.1.14”. If “Ver.1.14” is displayed, the update is complete.
