sd Quattro
Before Updating
If the camera battery runs out during the firmware update, it might affect the operation of the camera.
In order to avoid this, please read the following instructions carefully before updating the firmware.
- Use a dedicated AC adapter or a fully charged battery.
- Do not open the BATTERY/CARD COVER or try to operate the camera during the firmware update.
- Do not turn off the camera during the firmware update.
Note: If the firmware has been updated to Ver.1.13, please be sure to update it to the latest version.
Ver.1.13 2020.04.03
A color mode Teal and Orange has been added.
Update Procedure
- Check 01
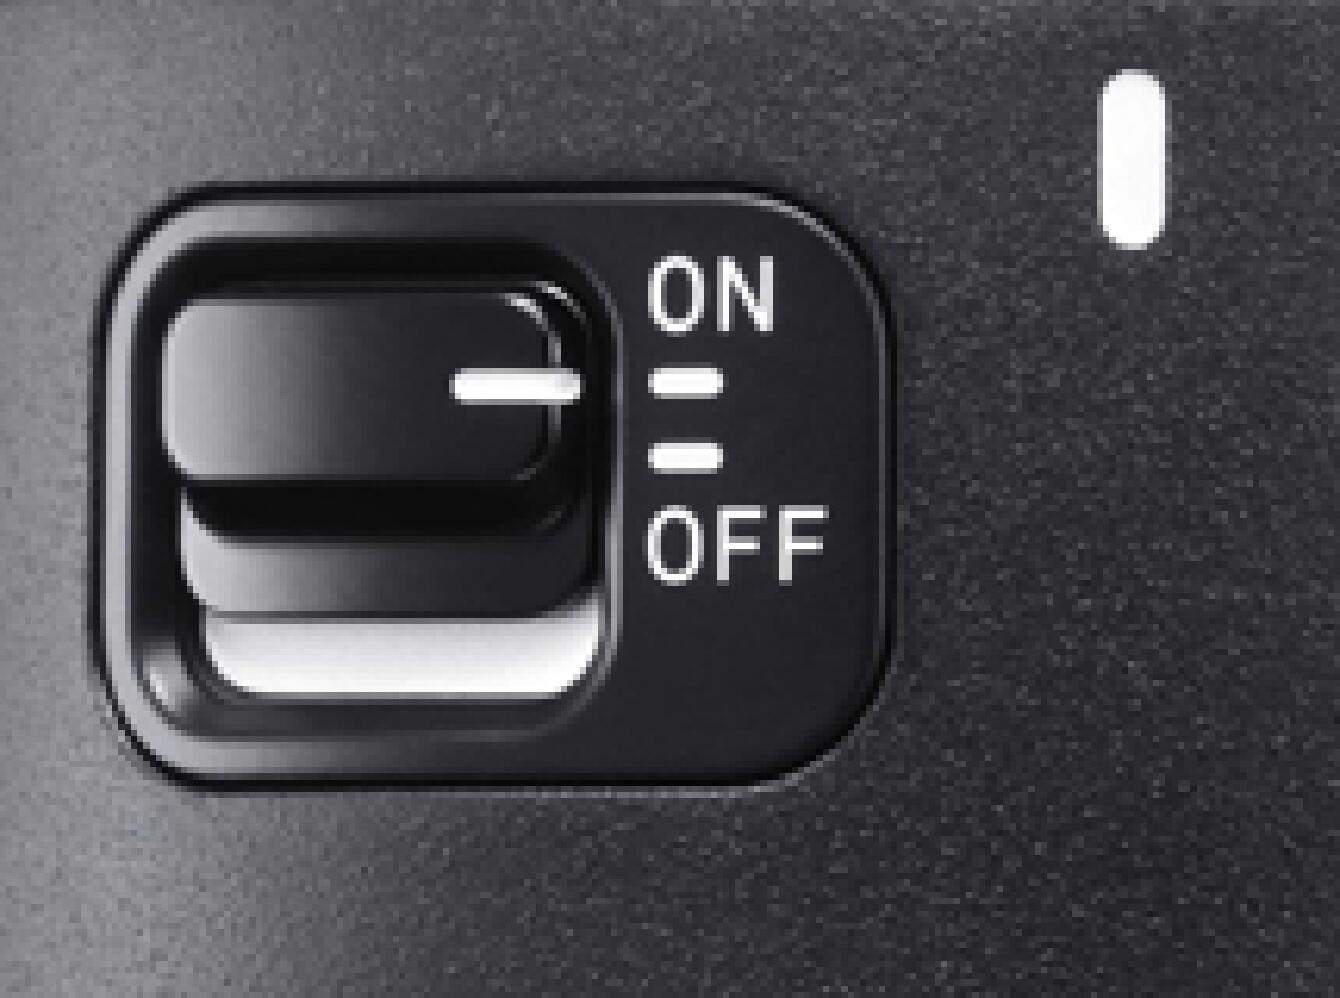
Turn on the camera.
- Check 02
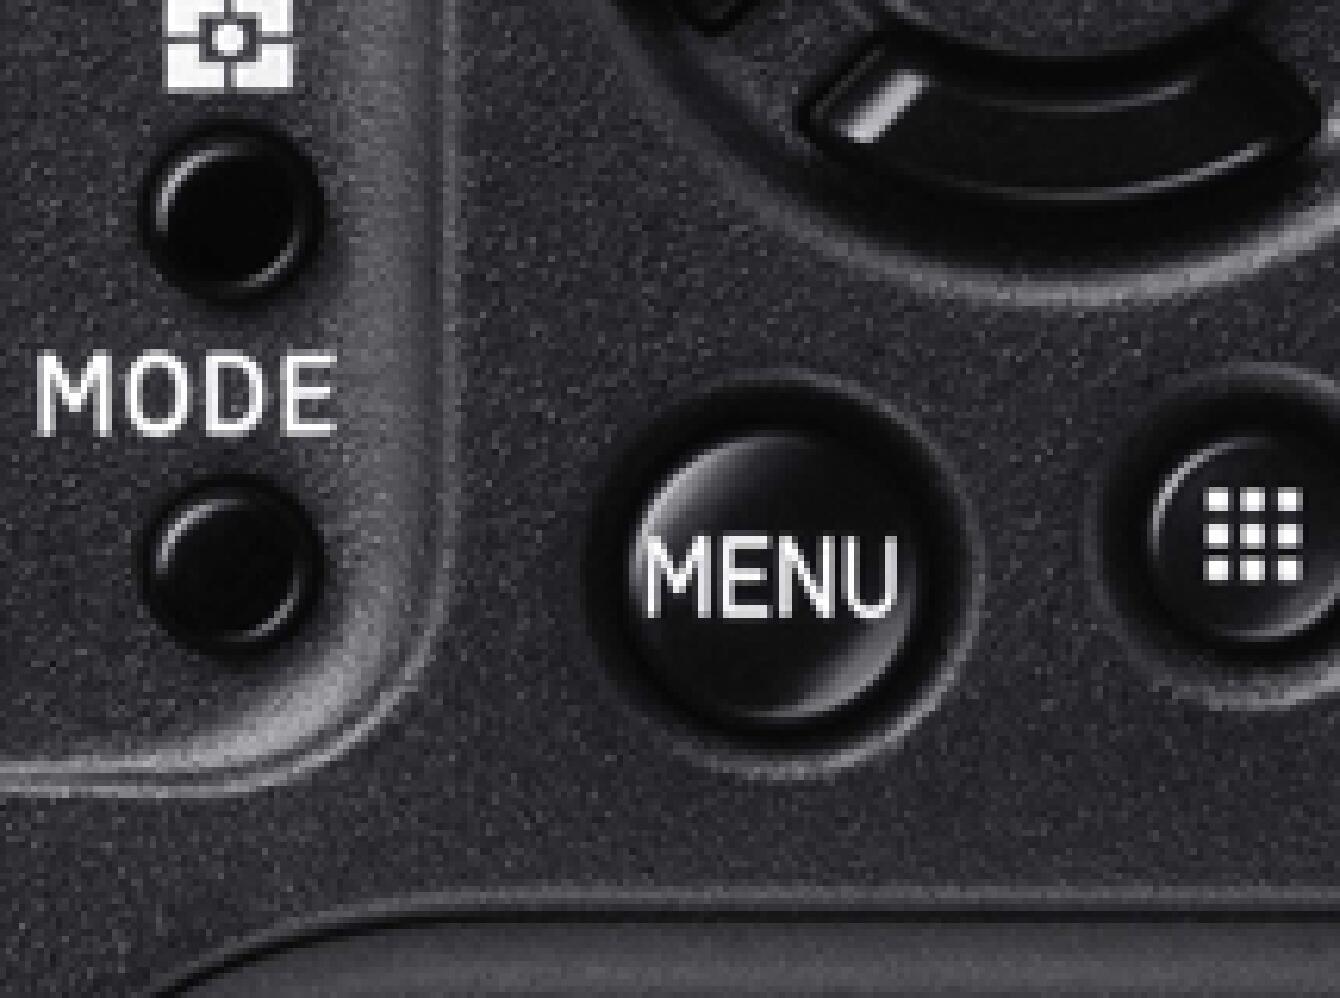
Press the MENU button on the back of the camera to display the Camera Set-up Menu.
- Check 03
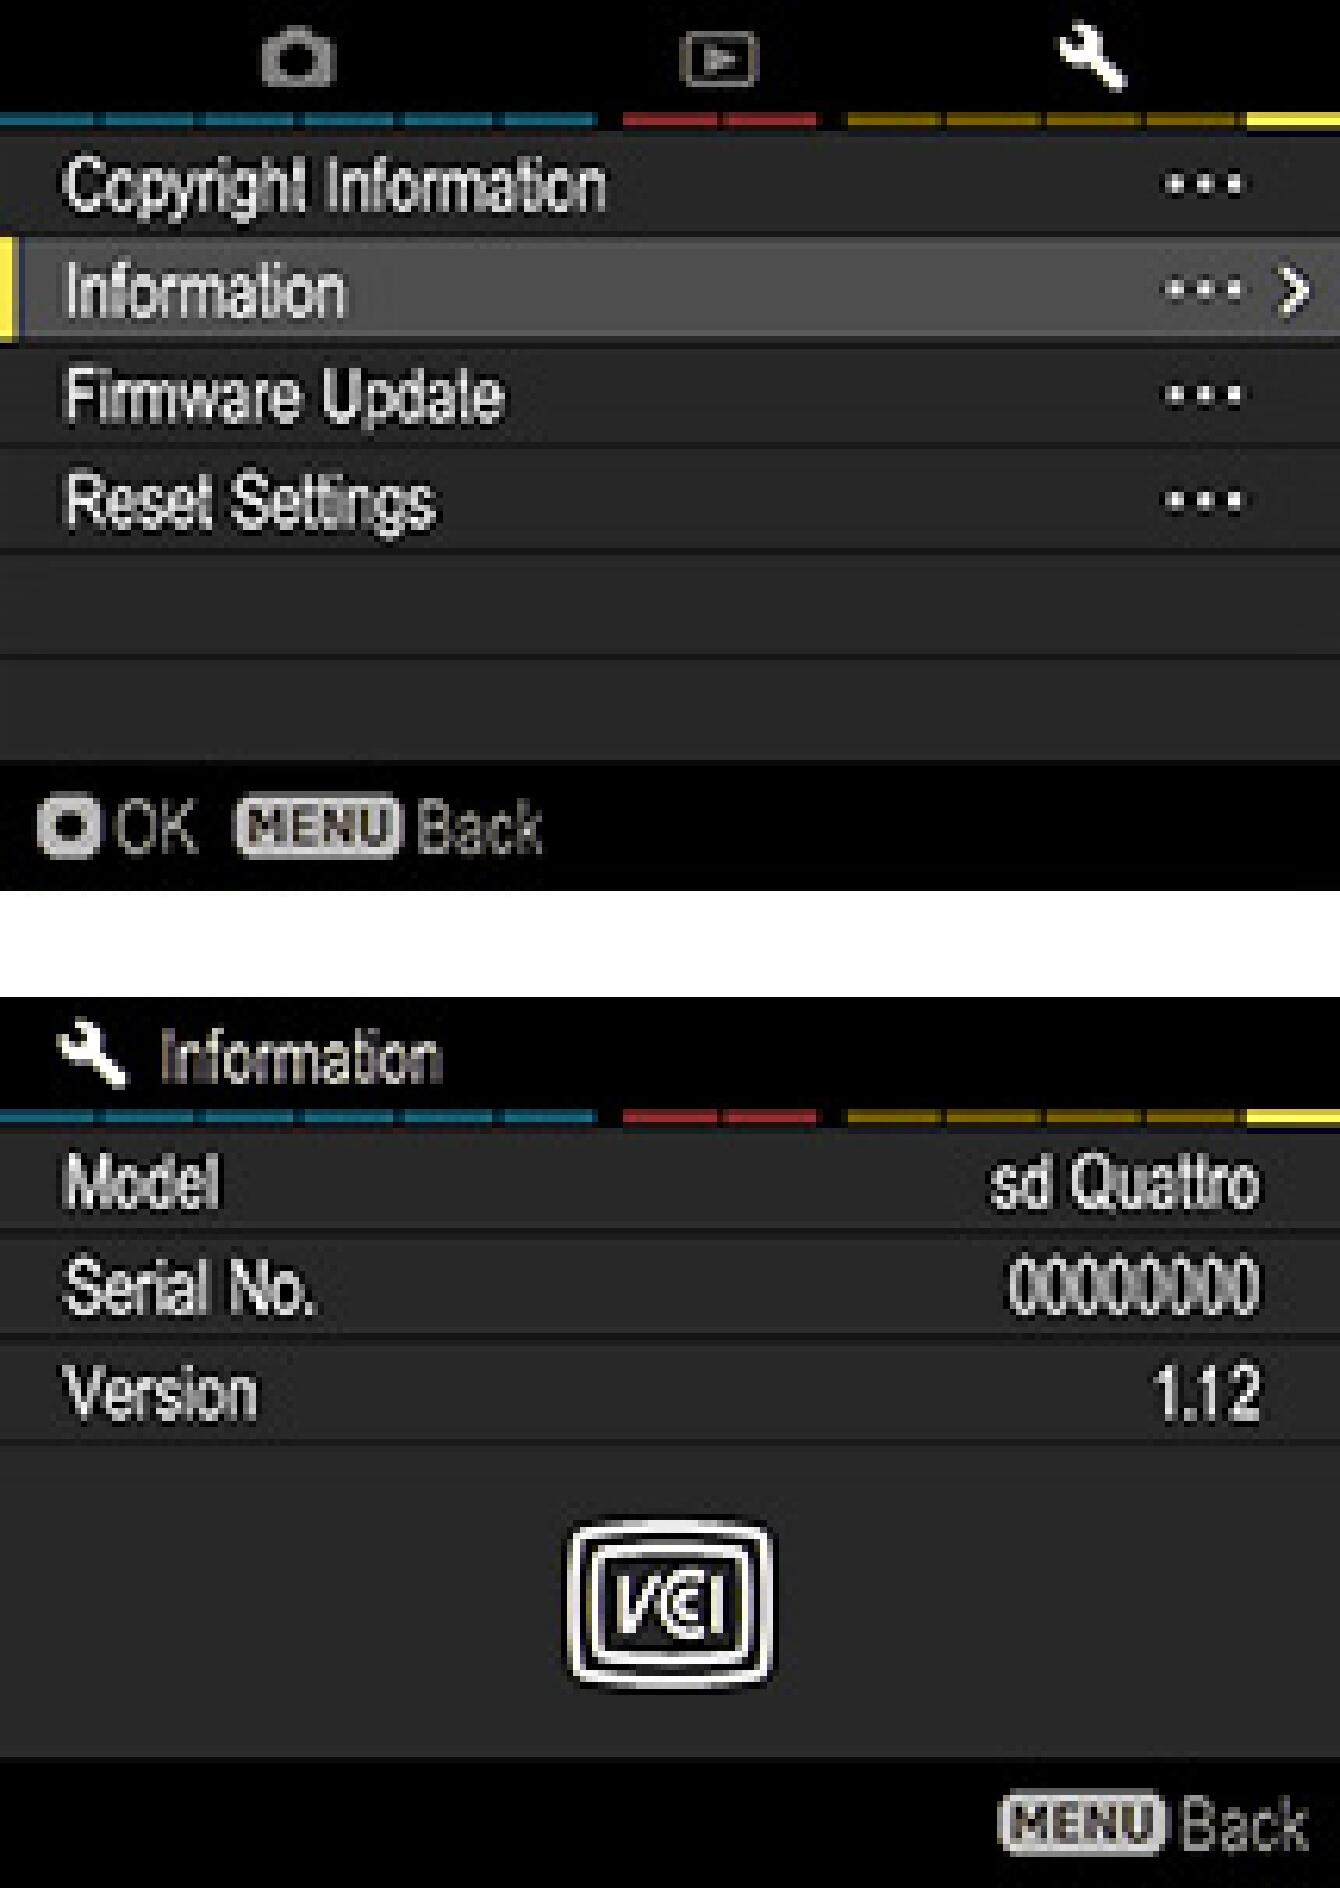
Select “Information” from the Set-up Menu.
Press the OK button to display the firmware version of the camera.
If the version is “Ver.1.12” or earlier, it is necessary to update to the new firmware version.
How to update the firmware
- STEP 01
Use a 512MB or larger SD/SDHC/SDXC card and format the card in the camera body.
* In order to avoid the loss of image data, double-check the SD/SDHC/SDXC card before formatting.
- STEP 02 For Windows
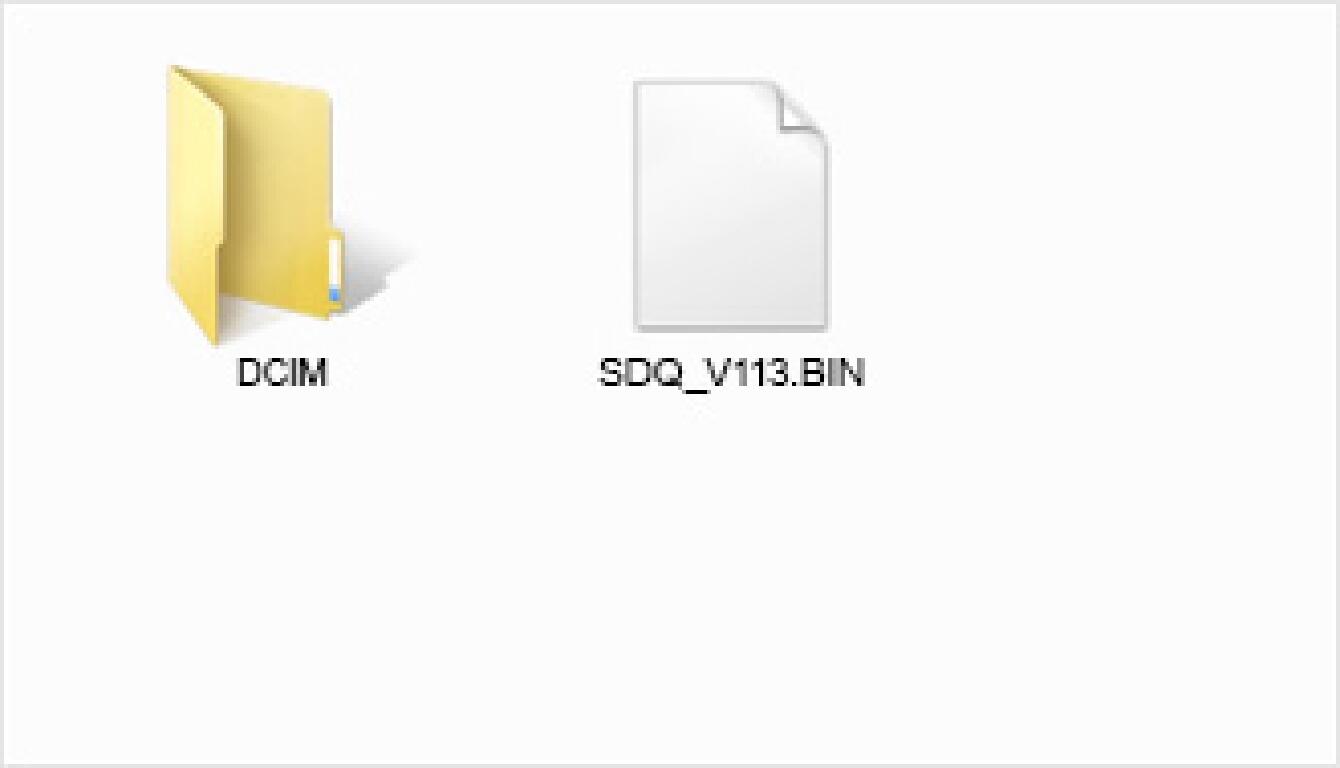
Insert the SD/SDHC/SDXC card into a card reader or the sd Quattro to a computer and click the download button, or right click on the mouse (if you use a Macintosh computer, please press Control + click) to store the firmware file in the SD/SDHC/SDXC card’s root directory (do not store the file in a subfolder such as “DCIM”).
* If the firmware is downloaded whilst the camera is connected to a computer, make sure the camera is turned off before disconnecting it from a computer.
(It appears differently depending on OS version.)
- STEP 02 For Macintosh
Insert the SD/SDHC/SDXC card into a card reader or the sd Quattro to a computer and click the download button, or right click on the mouse (if you use a Macintosh computer, please press Control + click) to store the firmware file in the SD/SDHC/SDXC card’s root directory (do not store the file in a subfolder such as “DCIM”).
* If the firmware is downloaded whilst the camera is connected to a computer, make sure the camera is turned off before disconnecting it from a computer.
(It appears differently depending on OS version.)
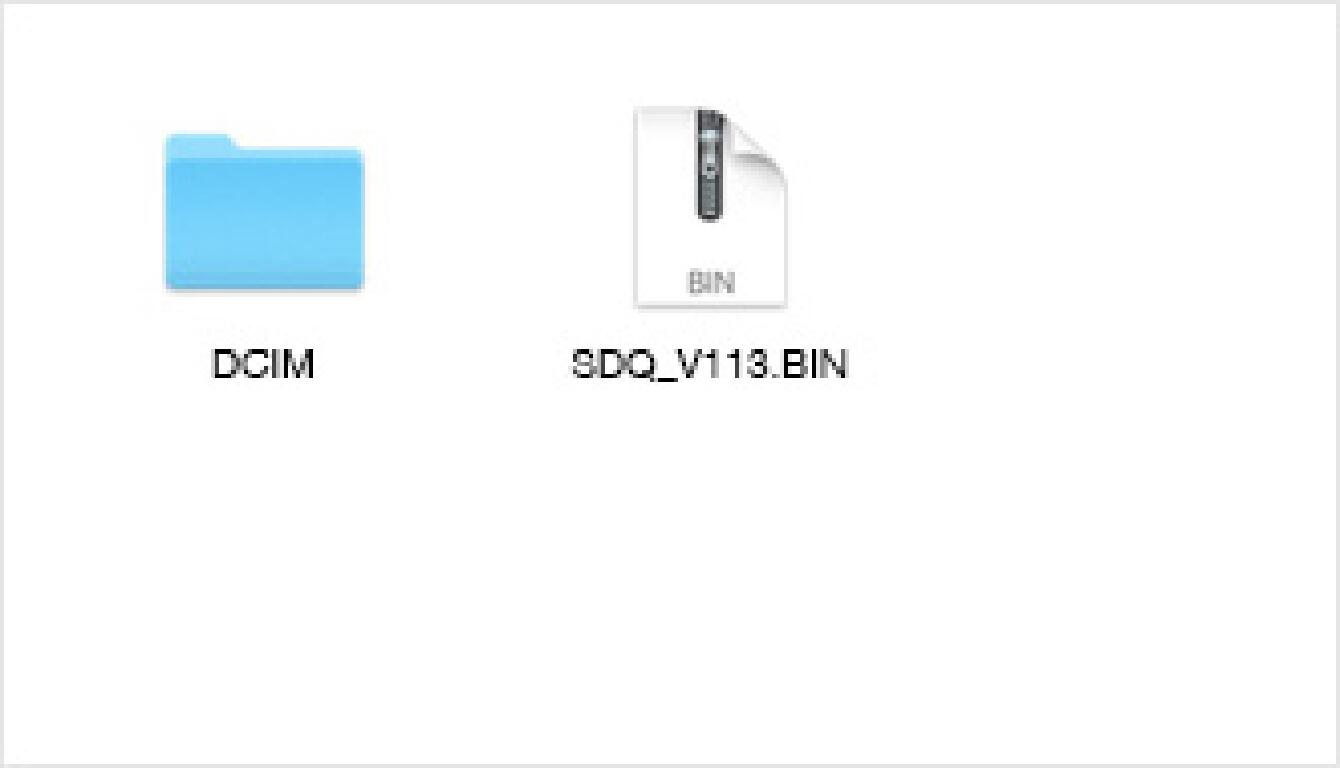
- STEP 03
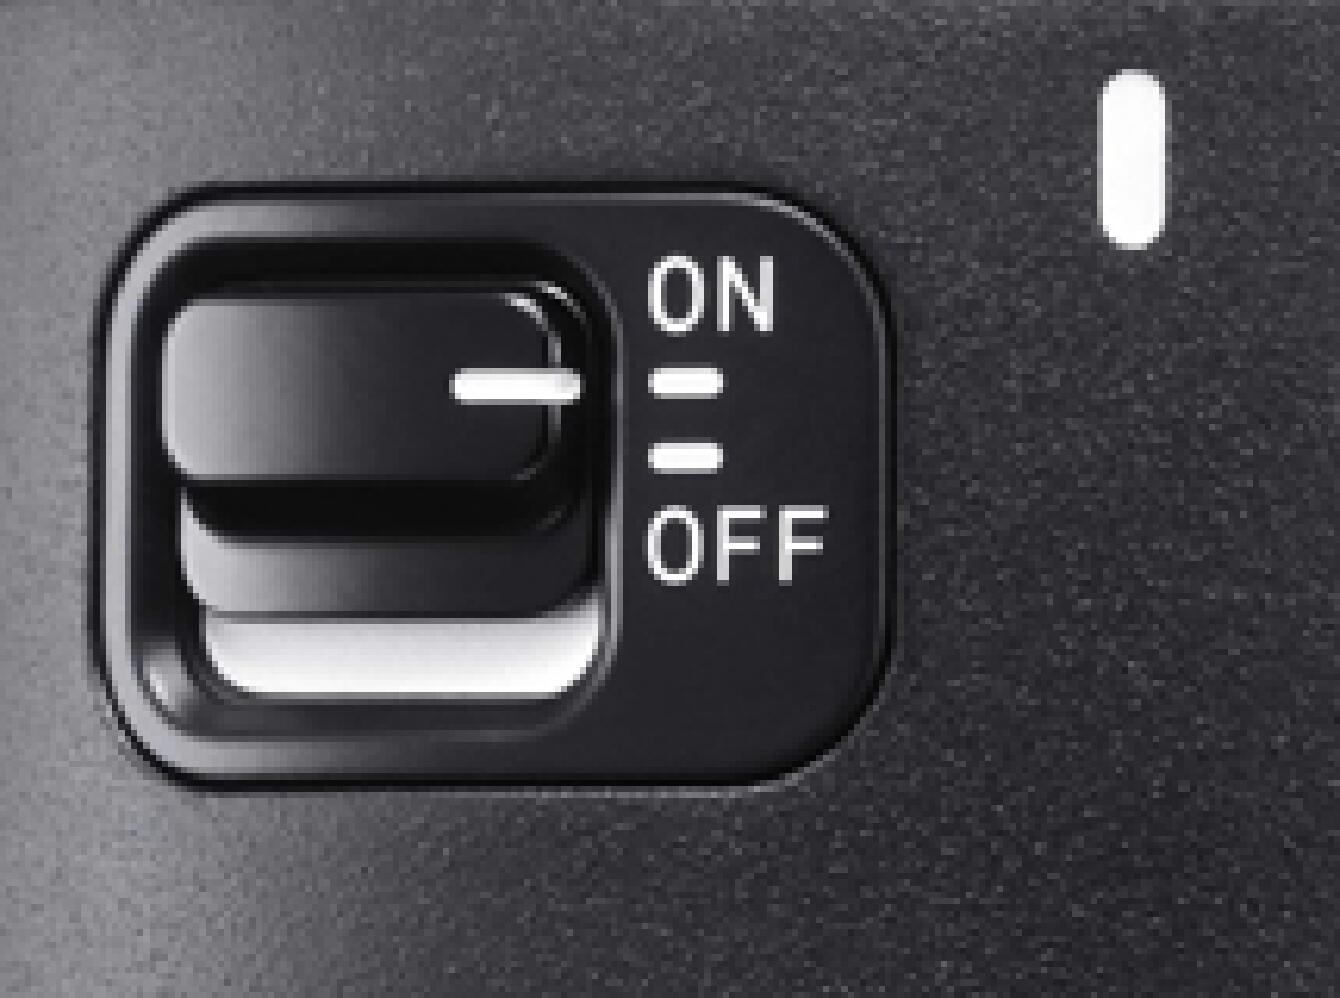
Insert the SD/SDHC/SDXC card storing the firmware file into the sd Quattro and turn the camera on.
* It is not necessary to connect the camera body to a computer during this process.
- STEP 04
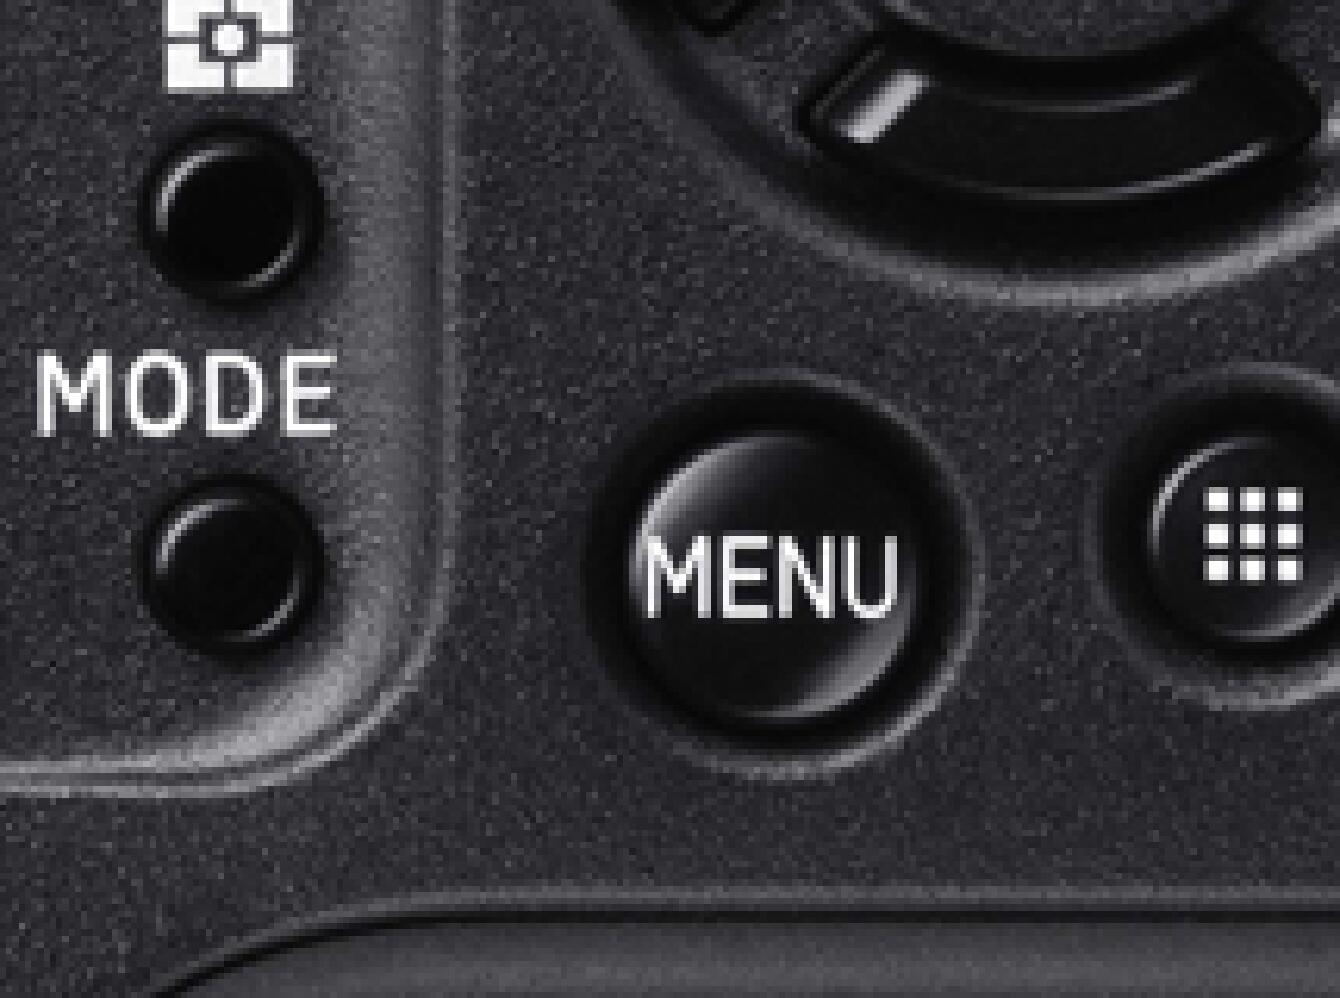
Press the MENU button on the back of the camera to display the Camera Set-up Menu.
- STEP 05
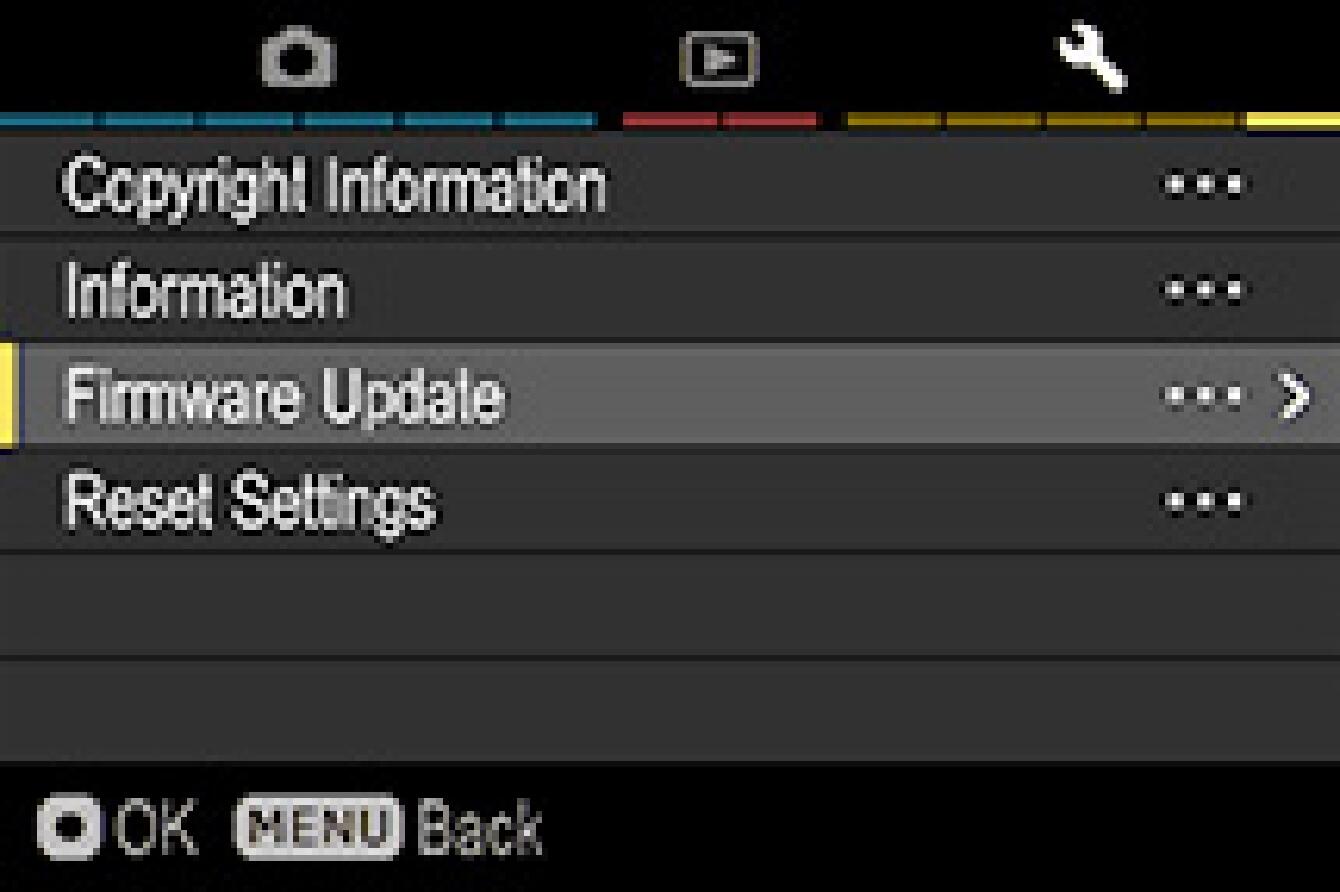
Select “Firmware Update” from the Set-up Menu.
Press the OK button to display the firmware update window.
- STEP 06
The “Start Firmware update?” message will be displayed.
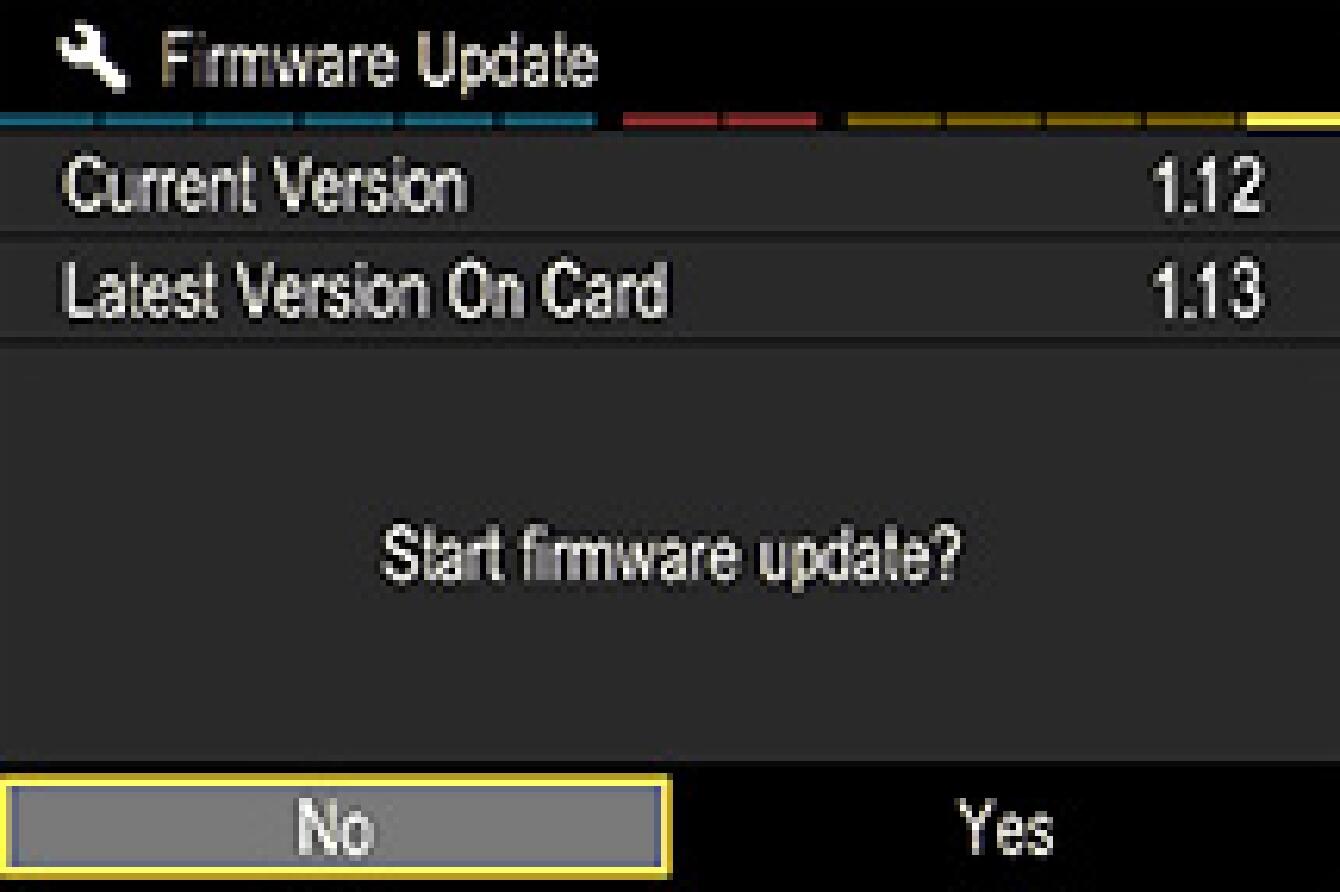
- If the "Start Firmware Update" message does not appear
In the unlikely event that the “Start Firmware update” message does not appear, an error message will be displayed in the lower part of the display.
A list of possible reasons for this error message along with the solutions are below.
- No firmware update file in the memory card
It is possible that the firmware update file was not properly stored in the root directory. Start over the above installation from STEP 02.
- Cannot update the firmware. No memory card is found.
Please turn off the camera and insert the SD/SDHC/SDXC card storing the firmware update file (copied to the root directory) into the camera. Then start the above installation from STEP 03.
- Cannot update the firmware. Battery is empty.
Use a dedicated AC adapter or a fully charged battery and start the above installation from STEP 03.
- Cannot update the firmware. USB cable is connected.
Turn off the camera and remove the USB cable. Please start the above installation from STEP 03.
- Cannot update the firmware. External flashgun is attached.
Turn off the camera and remove the external flashgun. Please start the above installation from STEP 03.
- STEP 07
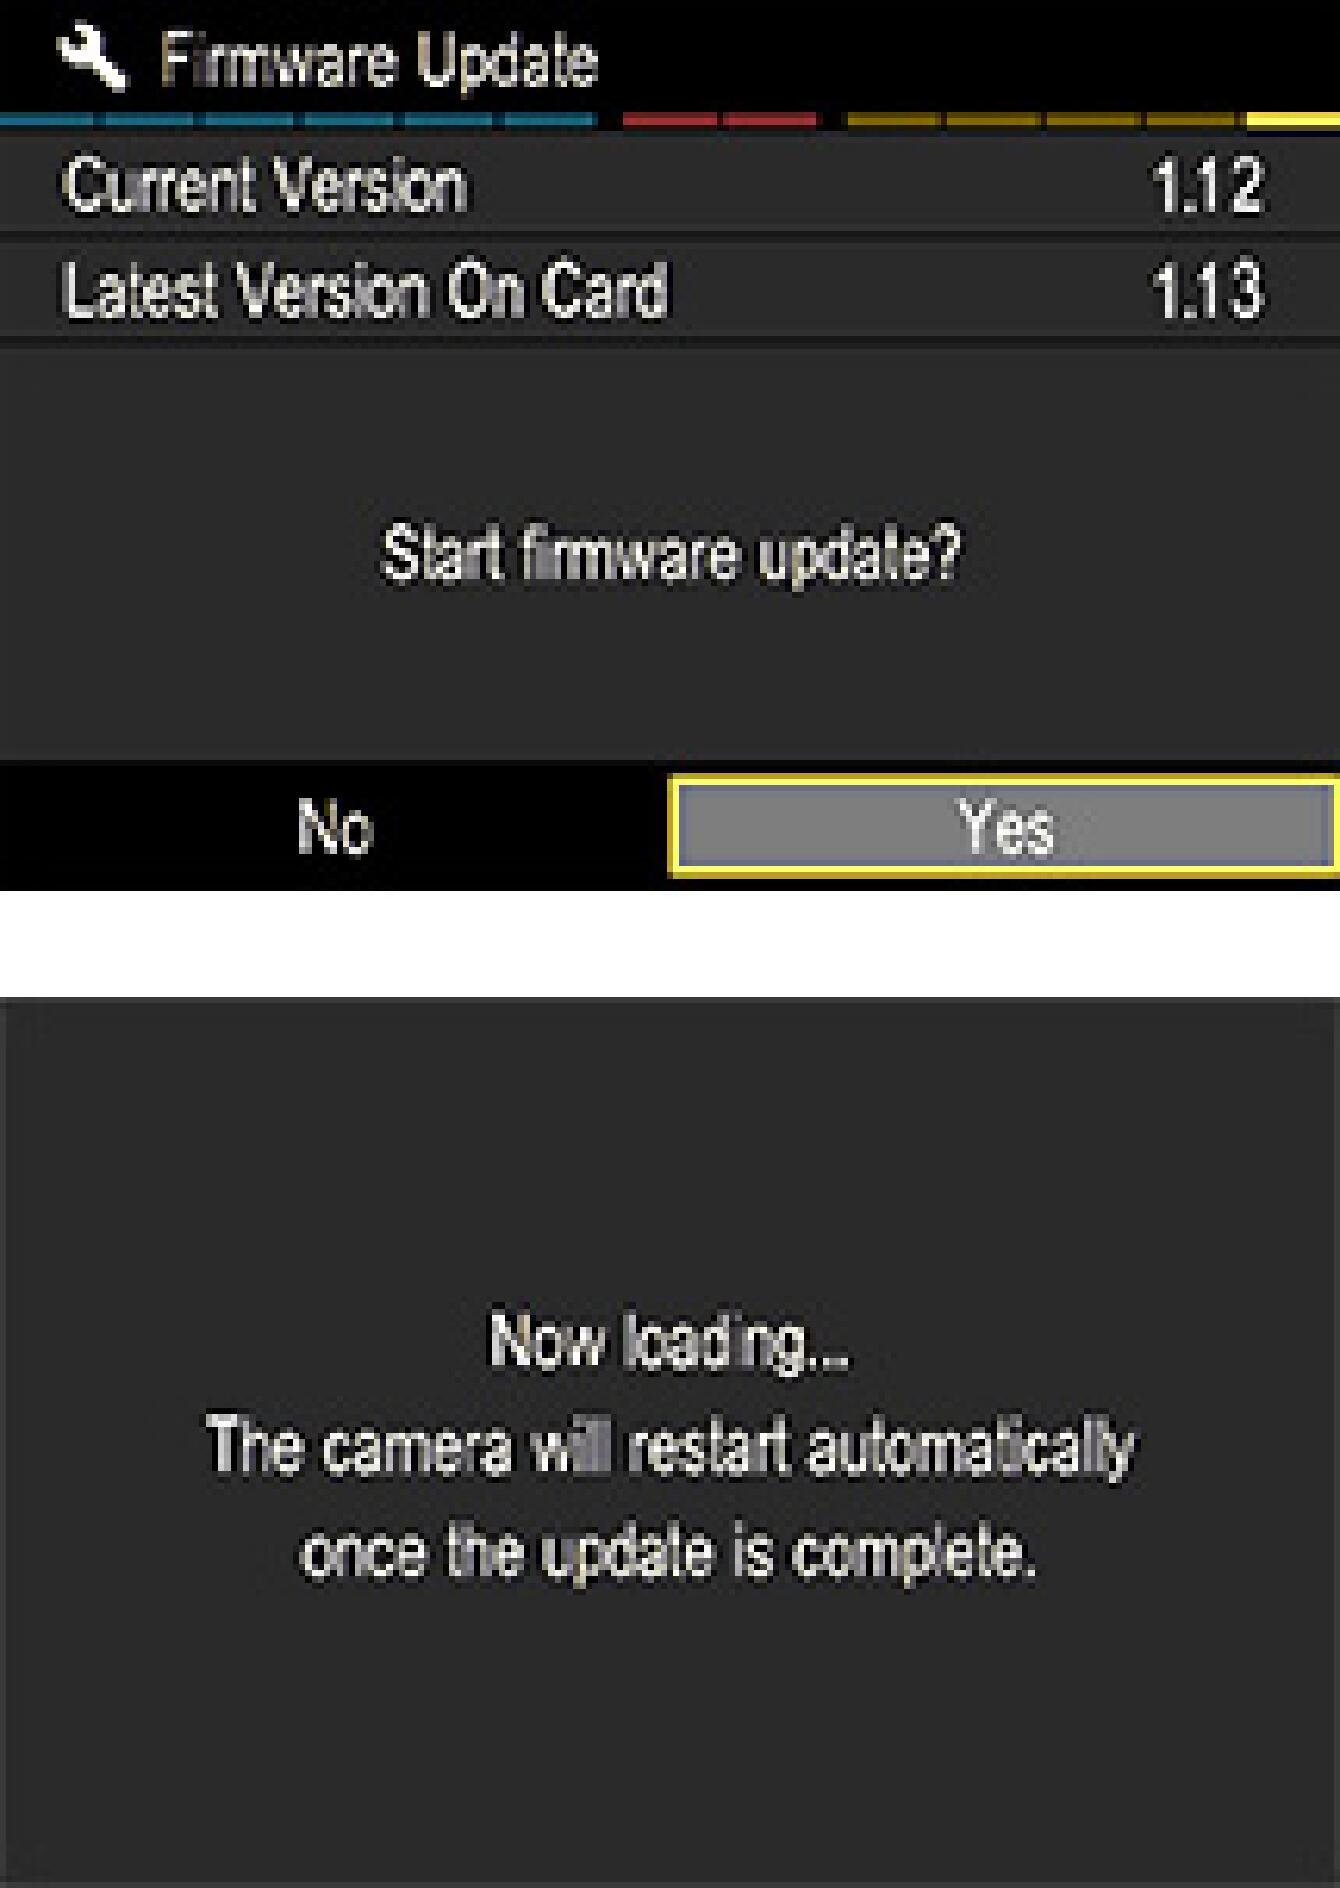
Select “Yes” and then press the OK button to start the firmware update. Firmware update will start.
(There will be two firmware updates. 5 seconds after starting the first update, the camera body will turn off automatically, and 3 seconds later it will turn on again to start the second update. In case the camera does not restart, turn on the power to resume the update. It takes about 3 minute in total to update.)
- Error!
If the message “Firmware update has failed.” appears during the firmware update, please check the Error Code and contact the nearest service center. The webpage “World Network” at the bottom will lead you to the contact details.
- STEP 08
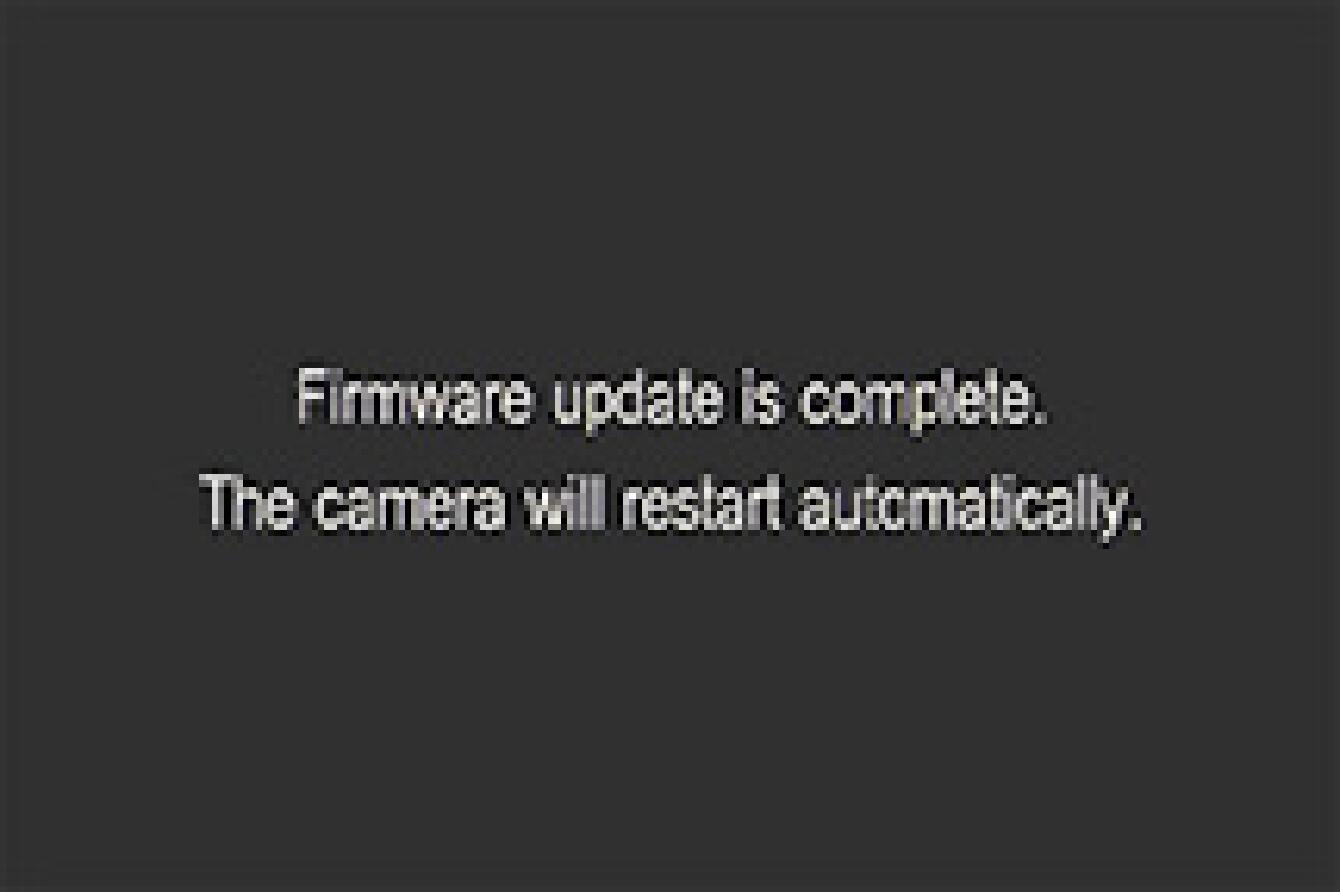
When the message “Firmware update is complete. The camera will restart automatically.” is displayed, the update is complete.
* Please do not operate the camera until the message “Firmware update is complete.” appears.
- STEP 09
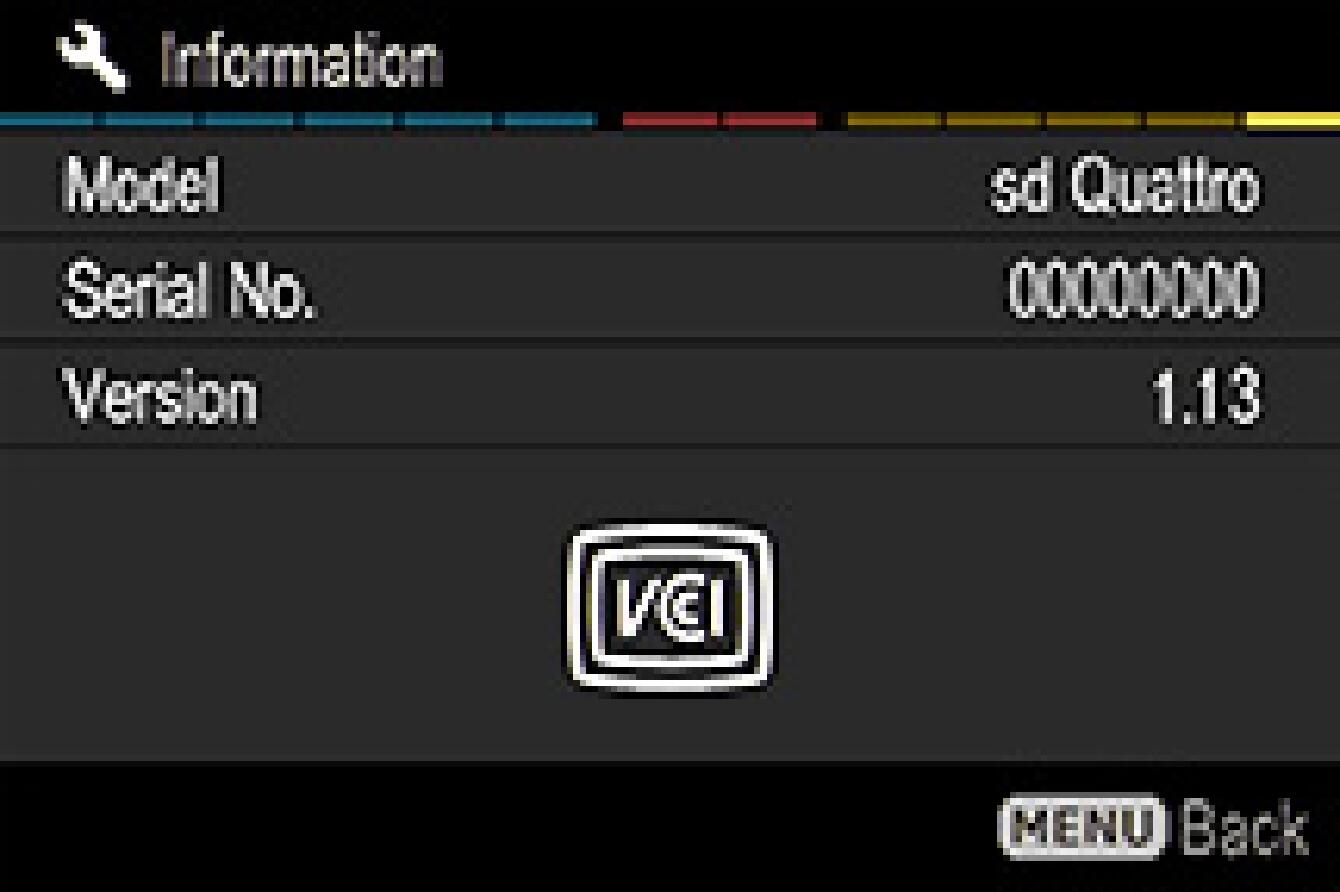
Select “Information” from the Set-up menu and confirm the firmware has been updated to “1.13”. If “1.13” is displayed, the update is successful.
Update History
Ver.1.12 2018.10.25
It has corrected the phenomenon whereby the camera freezes after reactivation from LCD Auto Off if the Viewfinder Mode or LCD Mode settings have been opened from the main menu.
It has shortened the time to recognize the card when an SDXC card is used.
Ver.1.11 2018.08.28
It has corrected the phenomenon whereby X3F files that have been extracted from X3I files cannot be developed a second time, if values are adjusted and saved onto the files using SIGMA Photo Pro.
Ver.1.10 2018.06.20
It has become possible to automatically retract the lens barrel of the 70mm F2.8 DG MACRO | Art, when the camera’s power is turned off.
It has set the maximum shutter speed in SFD (Super Fine Detail) Mode to 1/500 sec., so as not to duplicate shutter speeds of the individual images.
It has corrected the phenomenon that the X3F/X3I images taken with SIGMA Capture Pro cannot be developed properly when the value adjusted by SIGMA Photo Pro is saved to the file.
It has corrected the phenomenon that the images occasionally show some green or magenta color rendering after updating the firmware.
Ver.1.09 2018.04.13
It has improved the camera operation in low temperatures. Inconsistent performance of the viewfinder, main display, shutter and image saving has been improved.
Ver.1.08 2017.12.22
It has improved the image quality of the displayed files, when checked on the main display or through the viewfinder or output via HDMI.
JPEG images on the SIGMA sd Quattro
In order to optimize the image quality, we have been developing and updating the firmware for the SIGMA sd Quattro . For the SIGMA sd Quattro, from firmware Ver. 1.05 onward, improved noise reduction has been implemented to the image processing function. Although this specification benefits the overall image quality, under certain shooting conditions or depending on subjects, it may look like the resolution is lower than before. For such customers, we would like to offer a new option for the image processing that prioritizes the resolution power.
In order to change the image processing mode of JPEG files, please refer to the PDF file “How to change the image processing mode”. There is no change in the image quality of RAW data even when the image processing mode is changed.
In addition, for those who change the image processing mode, the change will remain even after updating the firmware in the future.
For those who prefer the current JPEG images or shoot in RAW mode, no change is required.