DP2 Merrill
Before Updating
If the camera is turned off during the update procedure, it might cause a malfunction and damage your camera. To avoid causing a malfunction, please read the following carefully before updating the firmware.
- Please use a dedicated AC adapter or a fully charged battery.
- Do not open the BATTERY/CARD COVER or operate the camera during the firmware update.
- Do not turn off the camera during the firmware update.
- This firmware update requires two files, DP2M_105.bin and DP2MV105.bin. Firstly, please download and save those files on a SD/SDHC/SDXC card.
- For firmware Ver. 1.03 or earlier, there are 2 steps to complete the firmware update. Once you finish the first step (STEP01 – STEP9), please proceed to the second step (STEP10 – STEP12).
* This firmware update requires two files; DP2M_105.bin and DP2MV105.bin. Firstly, please download and save those files on a SD/SDHC/SDXC card.
Ver.1.05 2013.06.13
Improves the stability of operation.
Improves the precision of bounce flash shooting when ELECTRONIC FLASH EF-610 DG SUPER SA-STTL and ELECTRONIC FLASH EF-610 DG ST SA-STTL are used.
When you enlarge an image, it used to enlarge the center of the image. However, the new firmware magnifies the image depending on the focusing position.
It is possible to select the file name of the image either from “SDIM” or “DP2M”.
It has integrated the color tones of Custom White Balance (Sunlight, Shade, Overcast, Incandescent, Fluorescent, Flash) among the DP Merrill series.
Corrects the phenomenon that the AEL setting goes back to default if the AEL button is set for “Central AEL + AEL”, and alternate MF to AF or vice versa, while it is still displaying the operation icon.
Corrects the phenomenon that self-timer shooting whilst using P Mode would cancel the program shift for the customized shutter speed and aperture settings if you press the release button.
Properly displays the image according to the selected magnification percentage.
Corrects the phenomenon that the selected exposure is not appropriately applied when an external flashgun is used with Custom Mode.
Corrects the phenomenon that, in rare cases, images are not recorded properly when the battery level is low.
Corrects the rare phenomenon that the recording process does not go perfectly when the camera is turned off right after taking the image.
It displays the size of the file when you select an image and open the Image Info Screen.
NOTICE OF FUNCTION CHANGE(PDF:210KB)
Update Procedure
Select and save the file ①DP2M_105.bin and ②DP2MV105.bin to the desired destination.
- STEP1
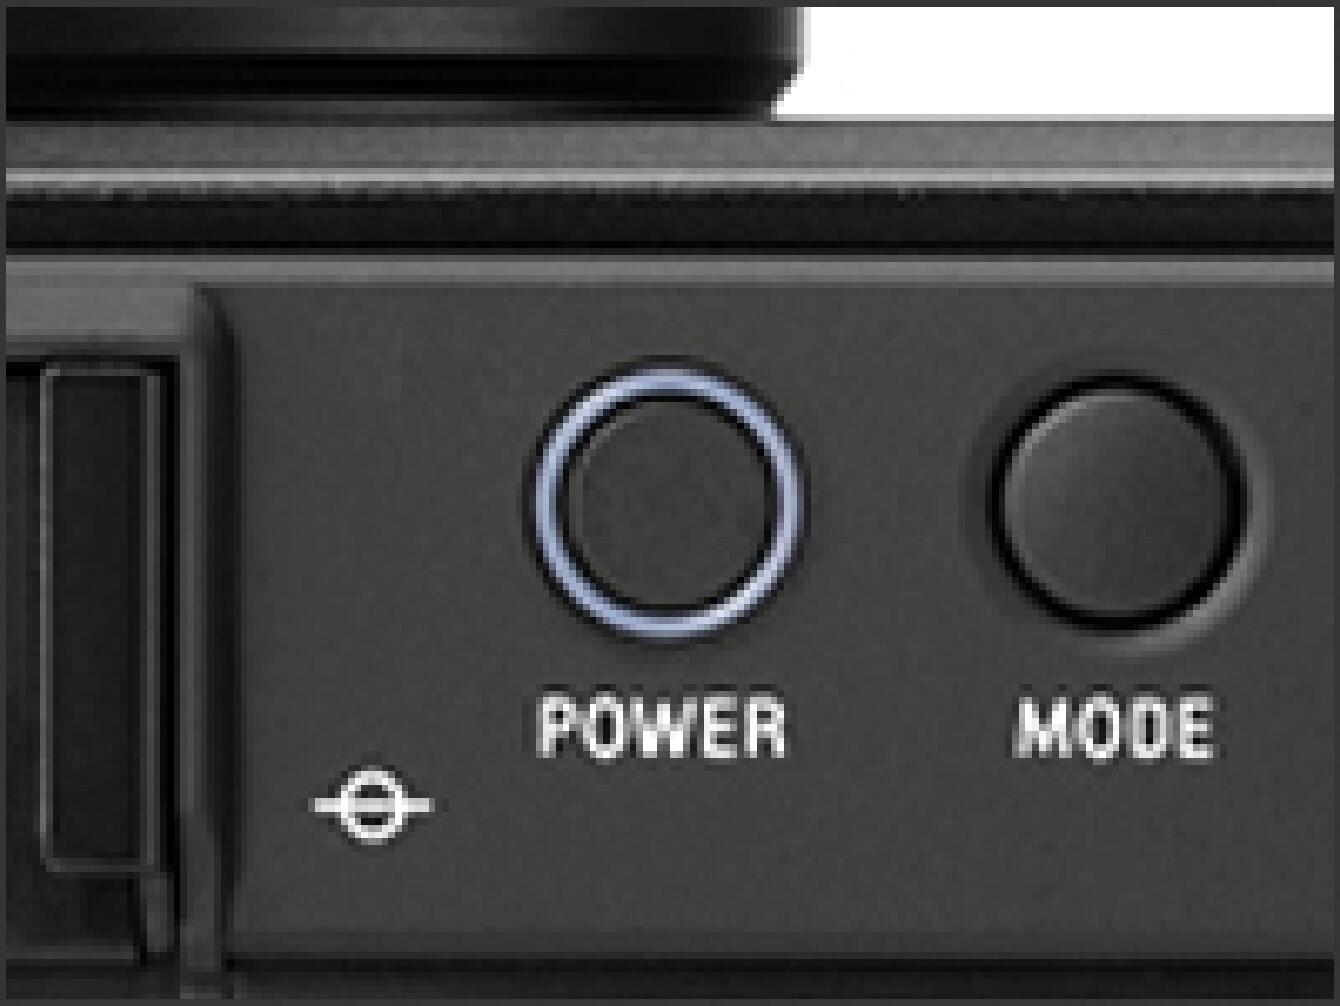
Turn on the camera.
- STEP2
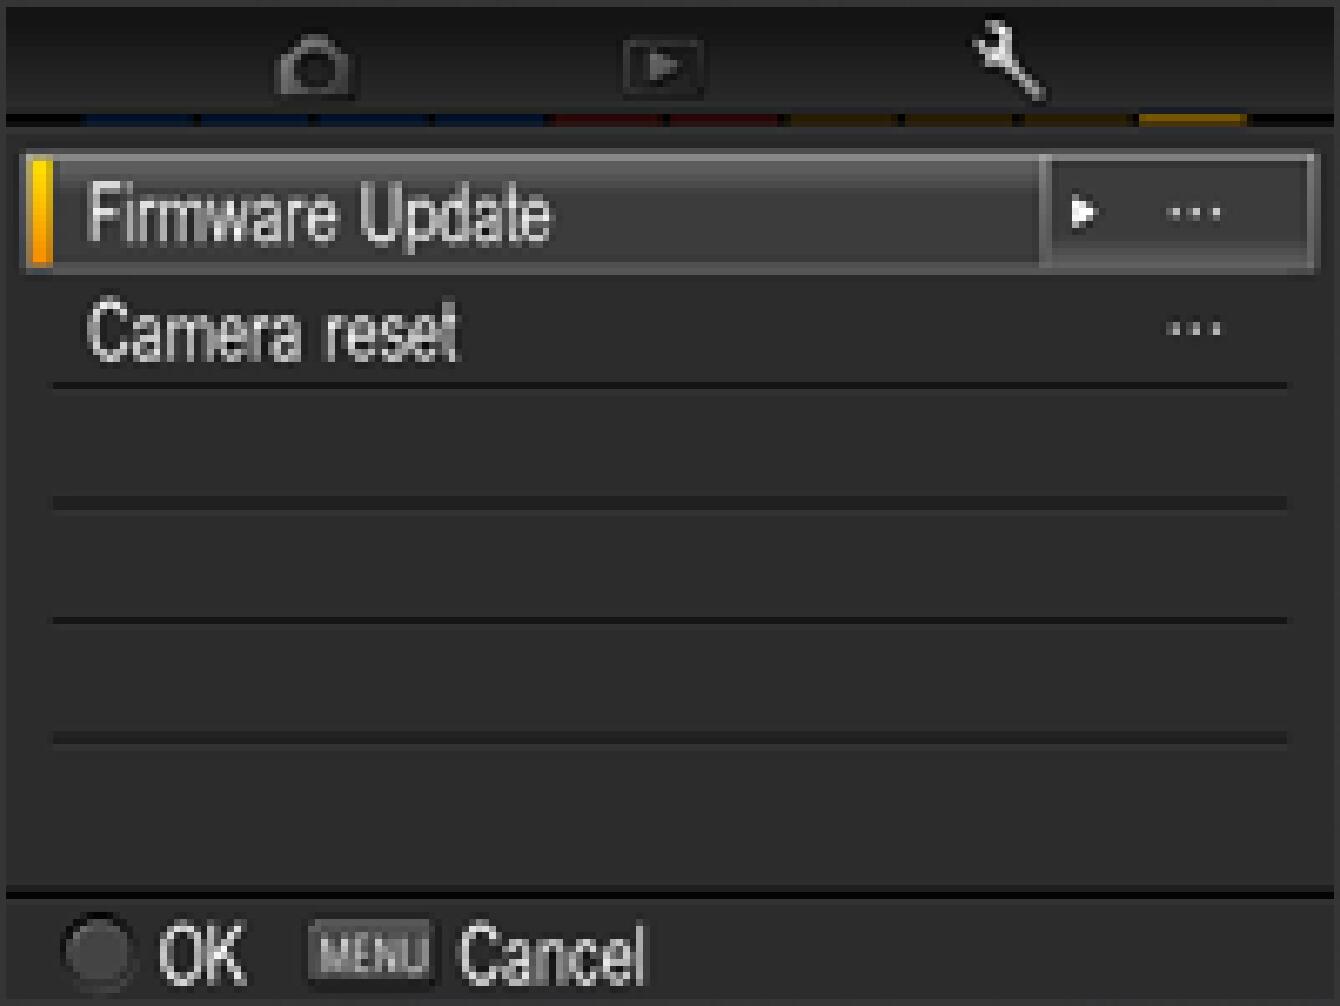
Press the MENU button on the back of the camera to display the Camera Set-up Menu.

- STEP3
Turn on the camera.
- STEP4
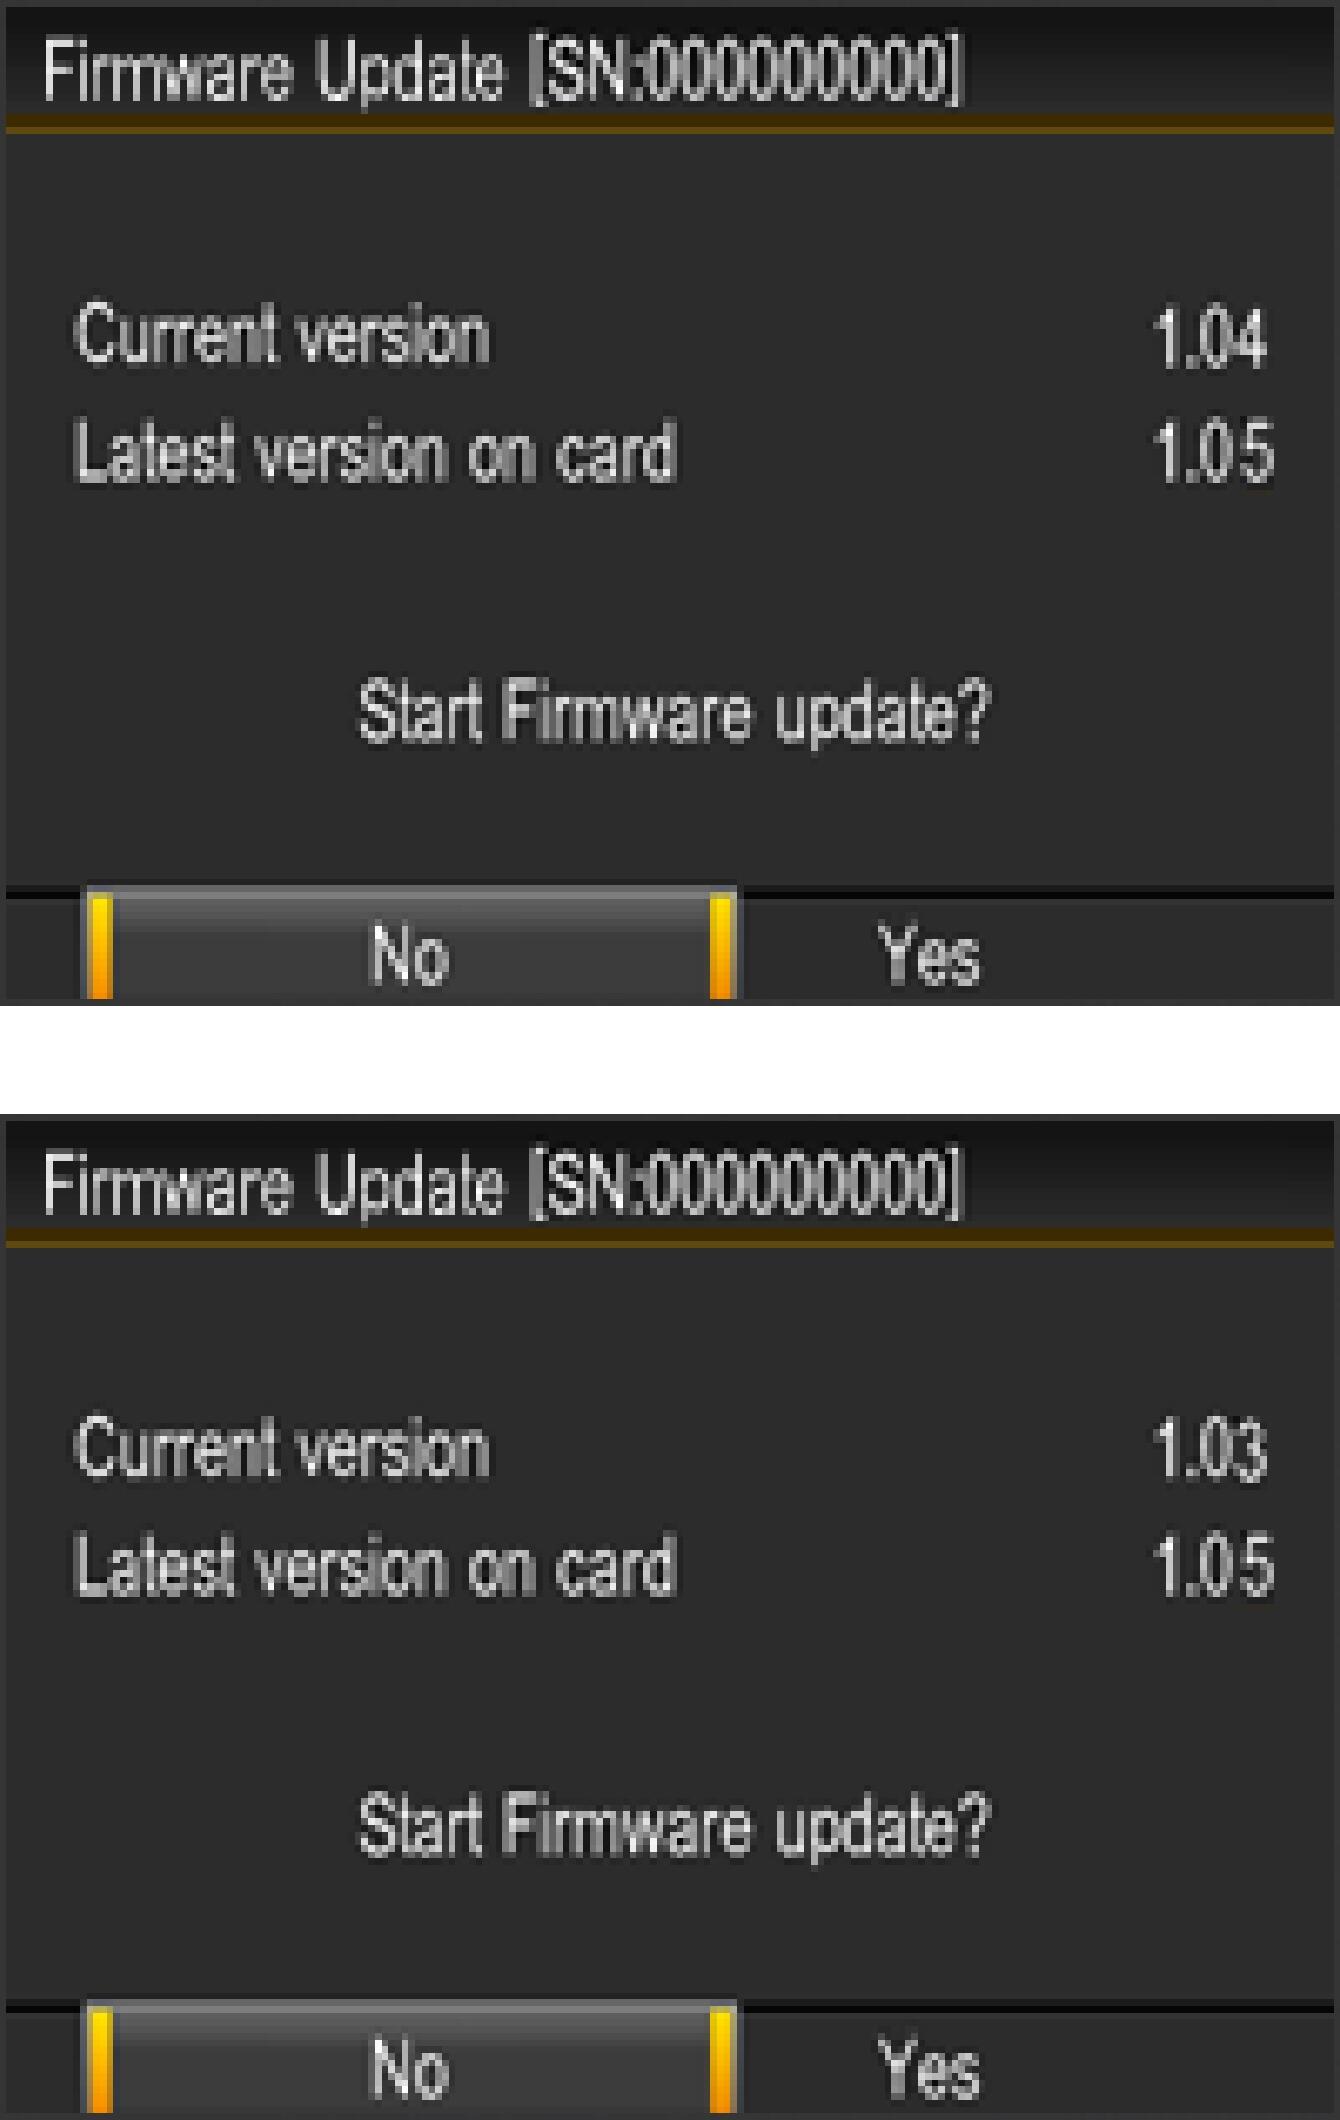
If the current firmware version is Ver. 1.04
It is necessary to go through from STEP01 to STEP09 of the “How to update the firmware”, and follow the instruction and process it accordingly.
If the current firmware version is Ver. 1.03 or earlier
It is necessary to go through from STEP01 to STEP12 of the “How to update the firmware”, and follow the instruction and process it accordingly.
* For firmware Ver. 1.03 or earlier, there are 2 steps to complete the firmware update. Once you finish the first step (STEP01 – STEP9), please proceed to the second step (STEP10 – STEP12).
How to update the firmware
- STEP1
Please use 512MB or larger SD/SDHC/SDXC card and format the card in the camera body.
* To avoid loss of your important data, please check the SD/SDHC/SDXC card before formatting
- STEP2
Please connect a card reader containing the SD/SDHC/SDXC card or the DP1 Merrill to your computer and click the Download button or right click on the mouse (if you use a Macintosh computer, please press Control + click) to store the 2 firmware files of DP2M_105.bin(16.6 MB) and DP2MV105.bin(24.7 MB) in the SD/SDHC/SDXC card root directory (Please do not store the file in a subfolder such as “DCIM”).
* If the firmware has downloaded whilst the camera is connected to your computer, please turn off your camera before disconnecting it from your computer.
- STEP3
Insert the SD/SDHC/SDXC card storing the 2 firmware files of DP2M_105.bin(16.6 MB) and DP2MV105.bin(24.7 MB) into your camera and turn on the DP2 Merrill.
* It is not necessary to connect the camera body to your computer.
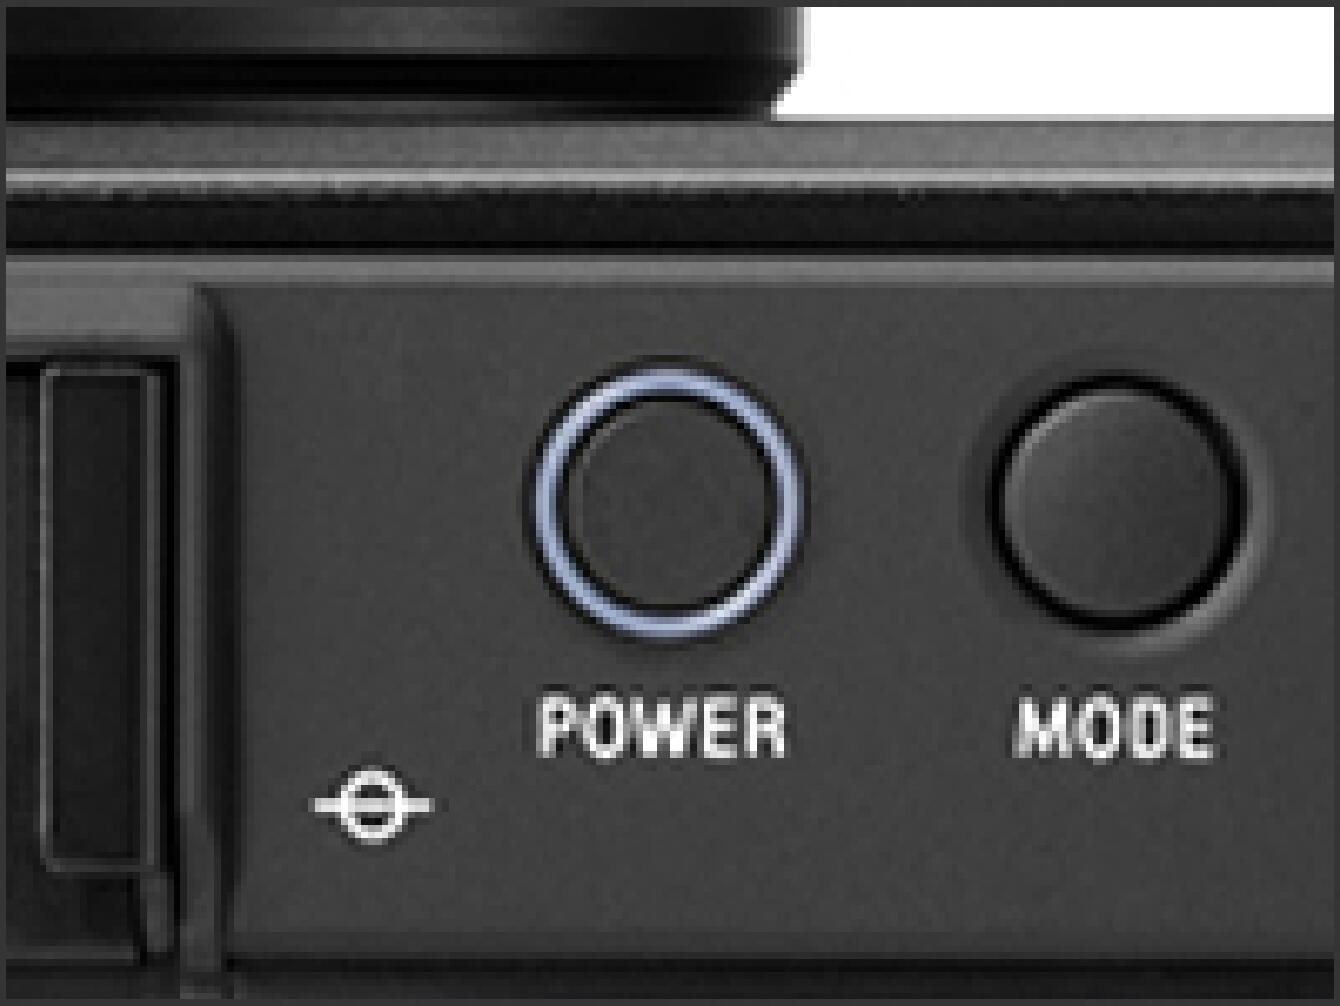
- STEP4
Press the MENU button on the back of the camera to display the Camera Set-up Menu.

- STEP5
Select “Firmware Update” from the Set-up Menu.
Press the OK button again to display the firmware update window.
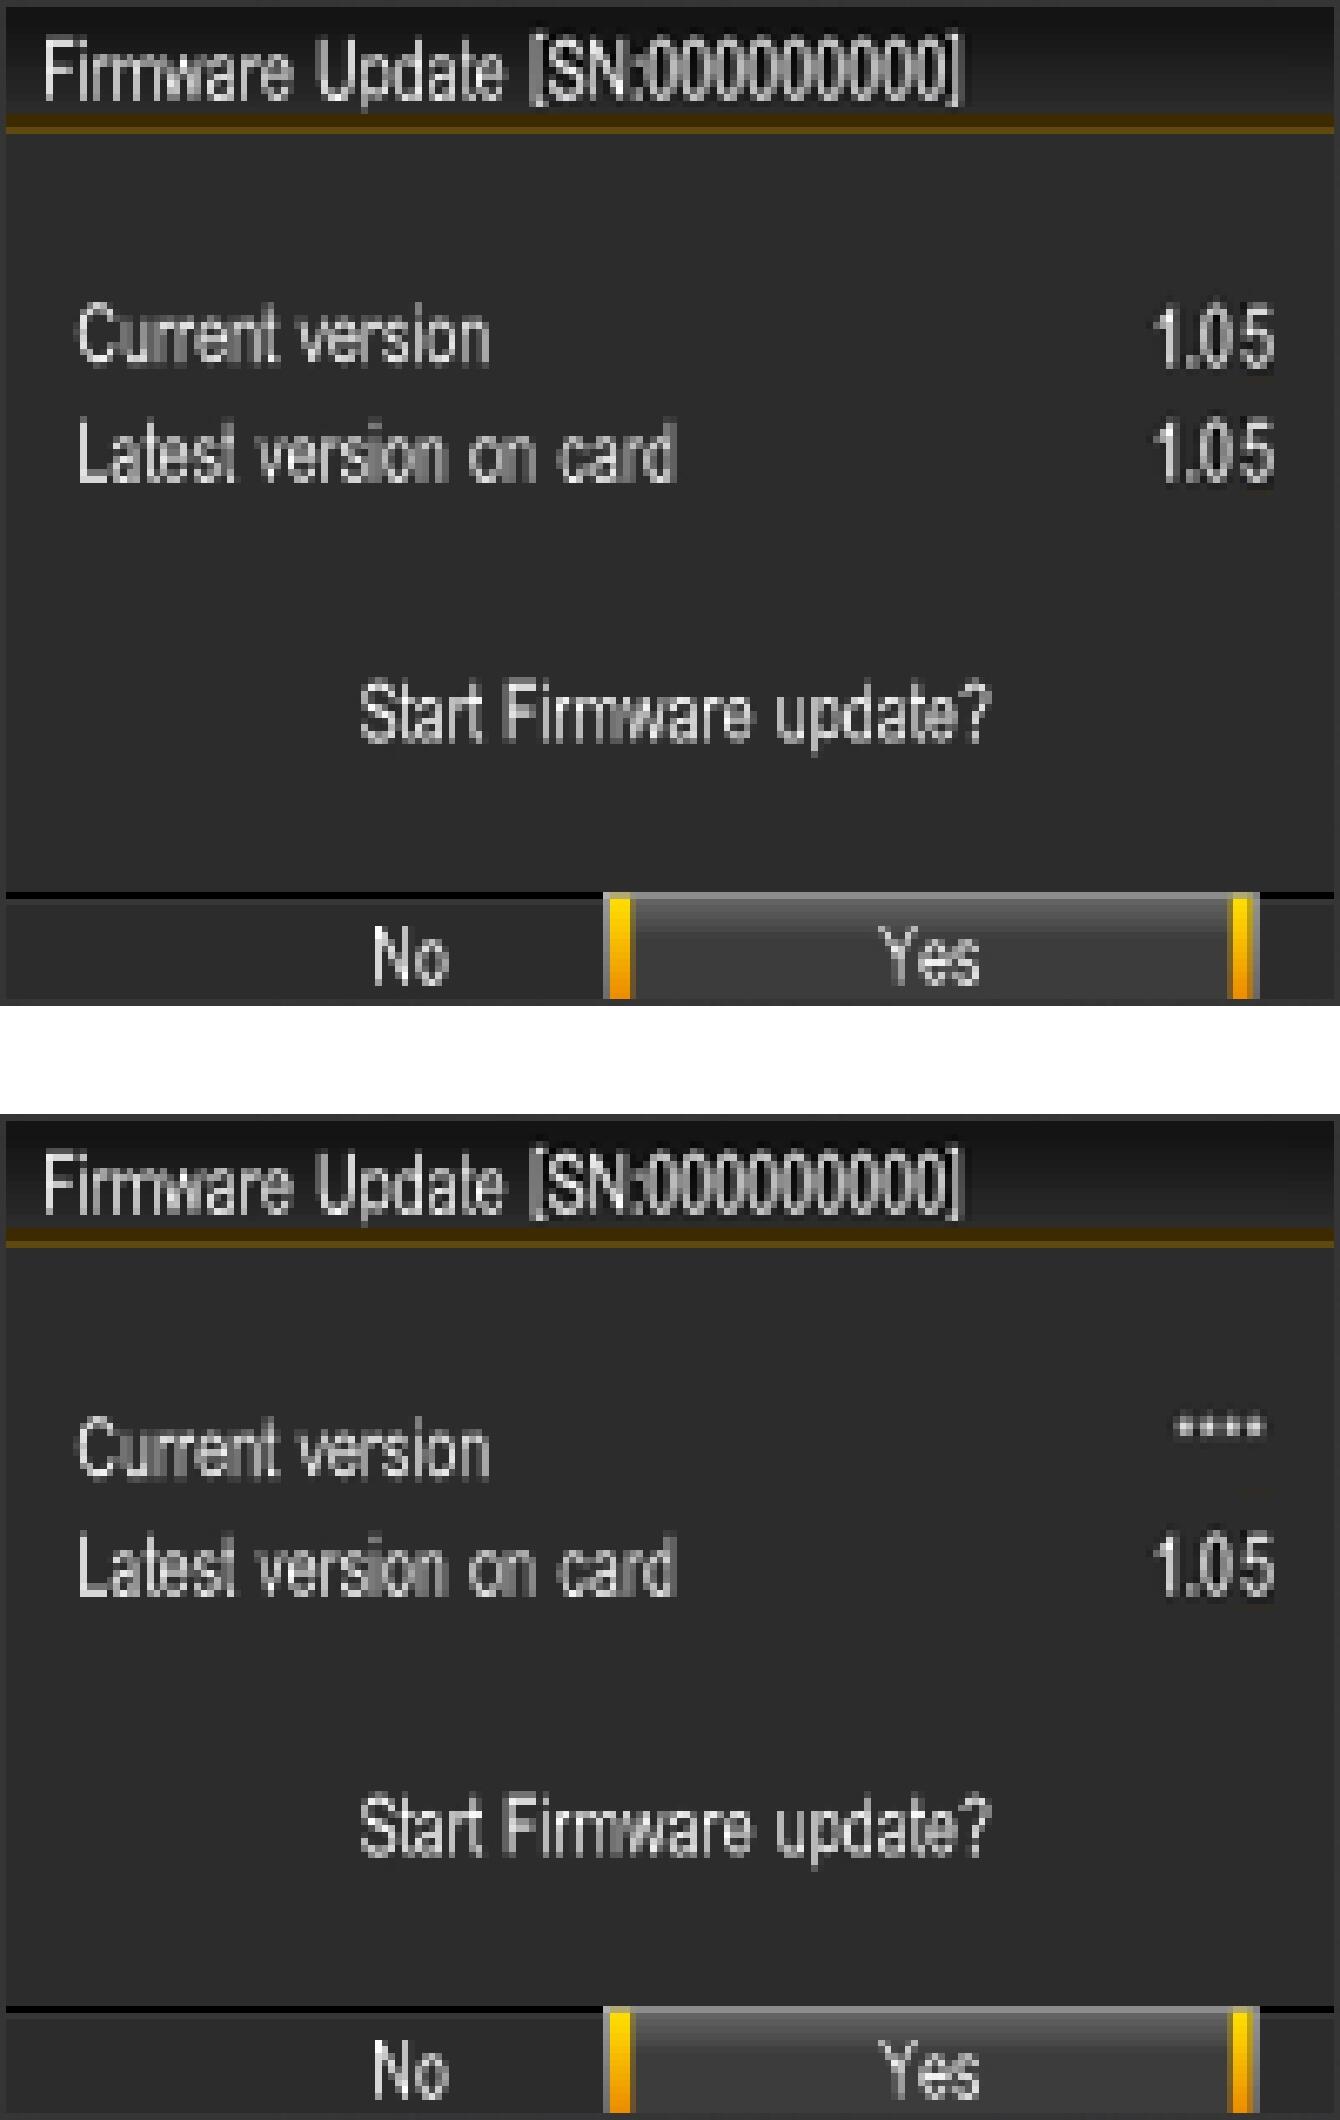
The installed firmware information is displayed.
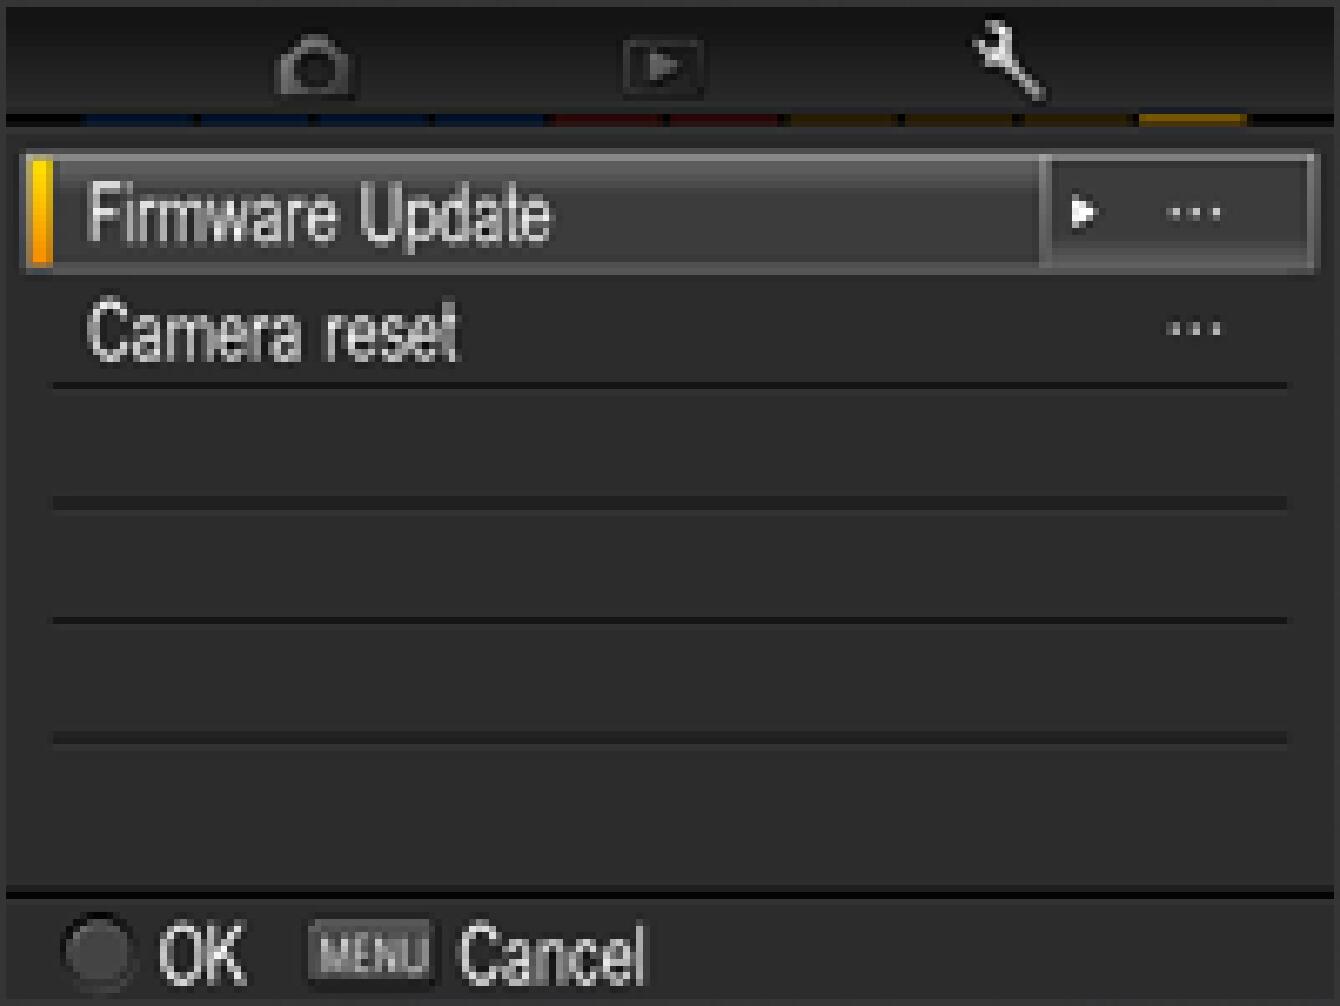
- STEP6
“Start Firmware update?” message will be displayed.
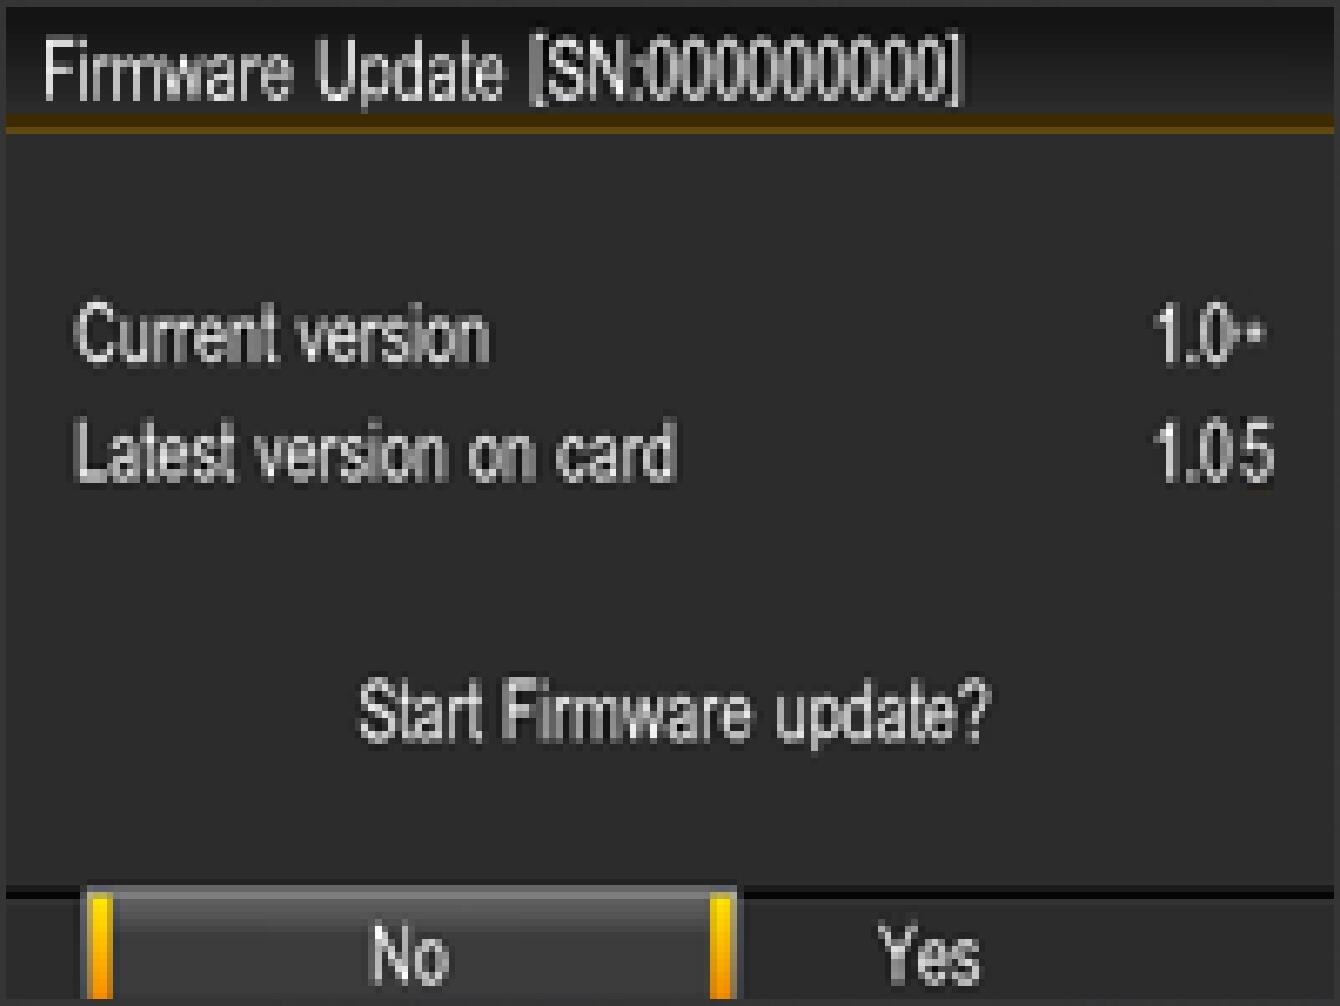
- If the update start message is not displayed.
In the unlikely event that the “Start Firmware update” message does not appear, an error message will be displayed in the lower part of display.
A list of possible reasons for this error message, along with the solutions, appear below.
- No Firmware update file on Memory card
It is possible that the Firmware update file is not stored in the root directory. Please repeat the above installation from STEP 02.
- Cannot update firmware. No Memory Card.
Please turn off your camera and insert the SD/SDHC/SDXC card with the stored firmware “DP2M_105.bin(16.6 MB) and DP2MV105.bin(24.7 MB)” (copied to root directory) into your camera. Then repeat the above installation from STEP : 03.
- Cannot update firmware. Battery Empty.
Please use a dedicated fully charged battery and repeat the above installation from STEP : 03.
- Cannot update firmware. Connecting cable.
AV cable from your camera. Please repeat above installation from STEP 03.
- Cannot update firmware. Setting external flash.
Turn off the camera and remove the external flashgun from your camera. Please repeat the above installation from STEP 03.
- STEP7
Select “Yes” and then press the OK button to start the firmware update. Firmware update will now start. (It takes about a 3 minutes to update.)
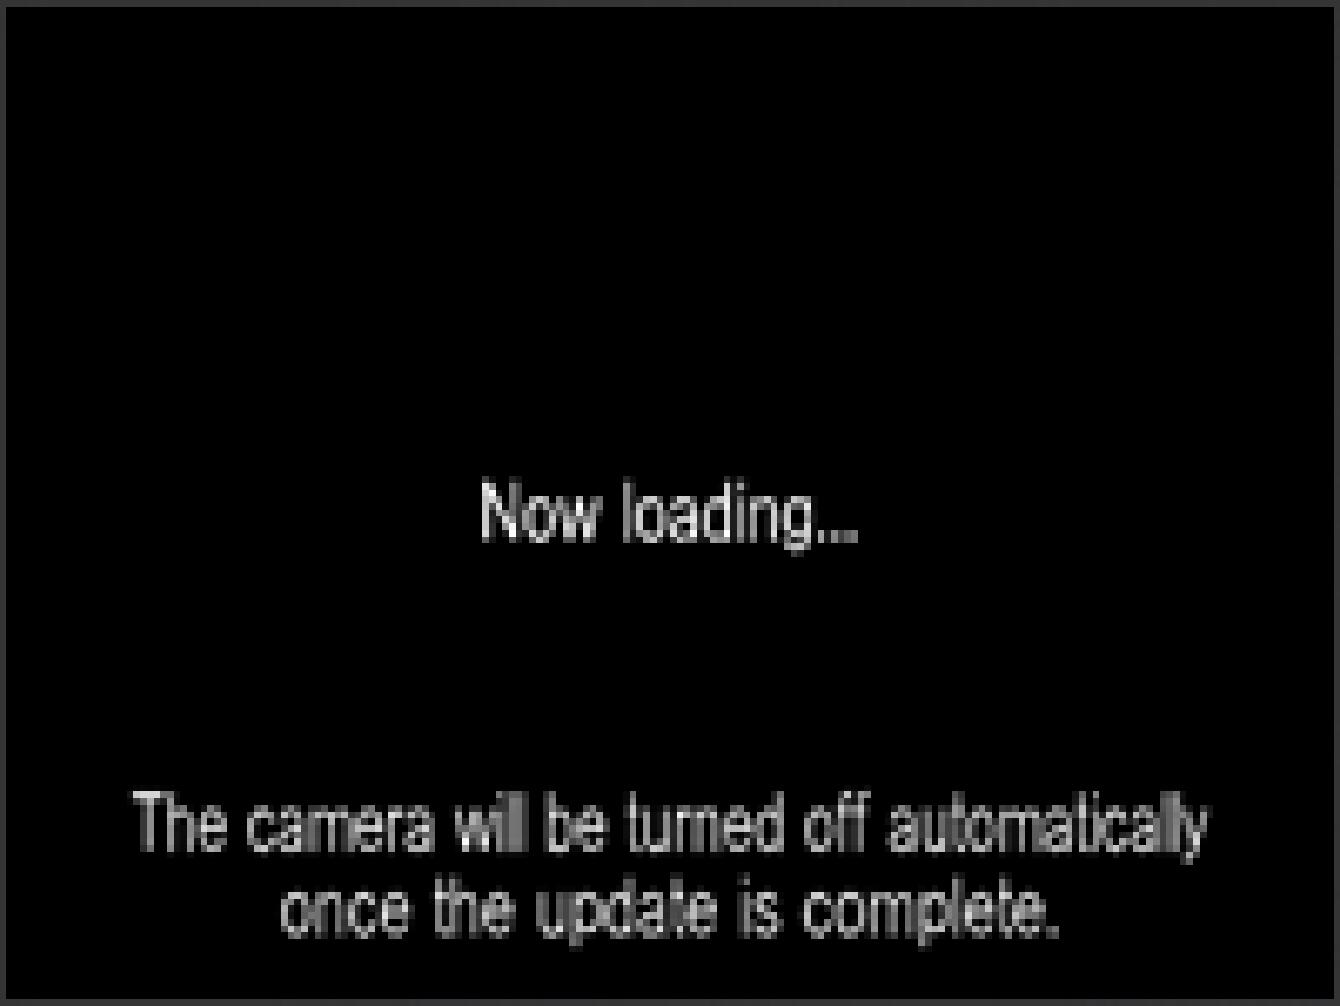
- ERROR
If the “Firmware update has failed.” message appears during firmware updating, please check the following Error Code table. Please turn off the camera and repeat the above installation from STEP 01. If it is not possible to update by following “Solution”, please visit the following technical support page for our World Network contact details.
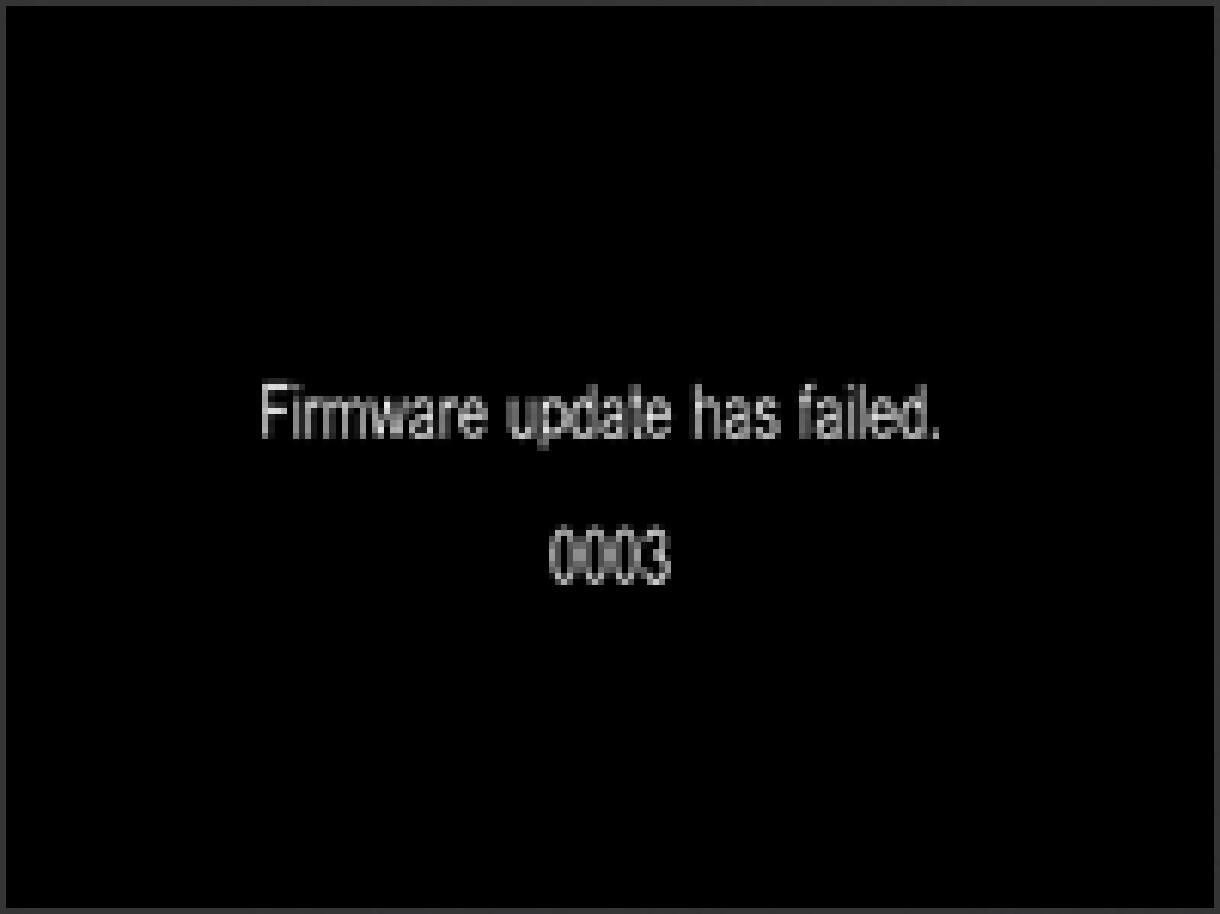
- If the firmware update fails.
- Error Code:003 Firmware update has failed.
Please download the firmware once again and repeat the above installation from STEP 01.
- STEP8
If the current firmware version is Ver. 1.04
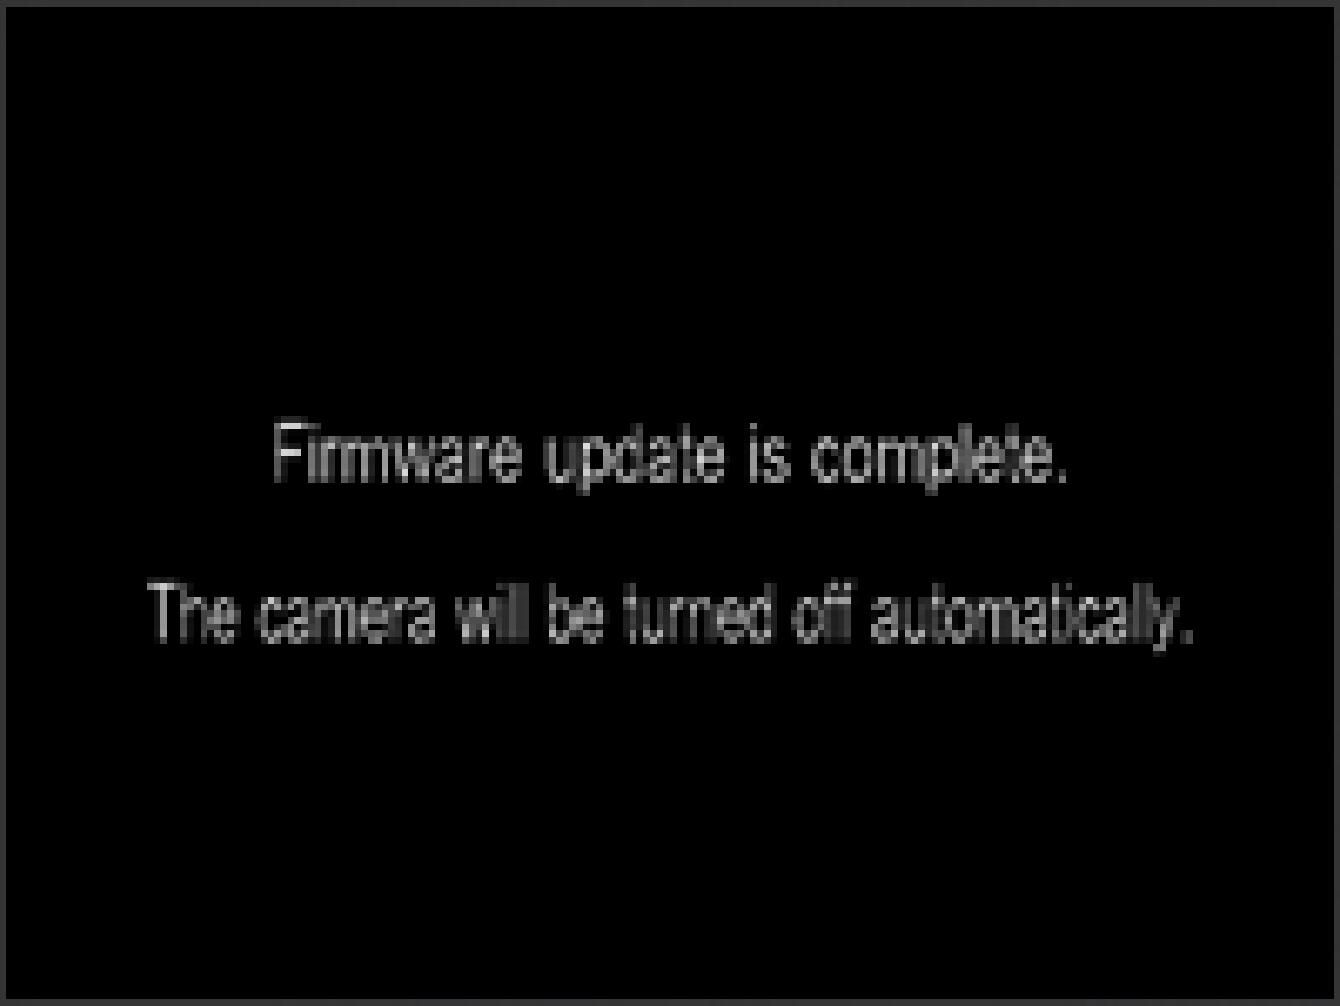
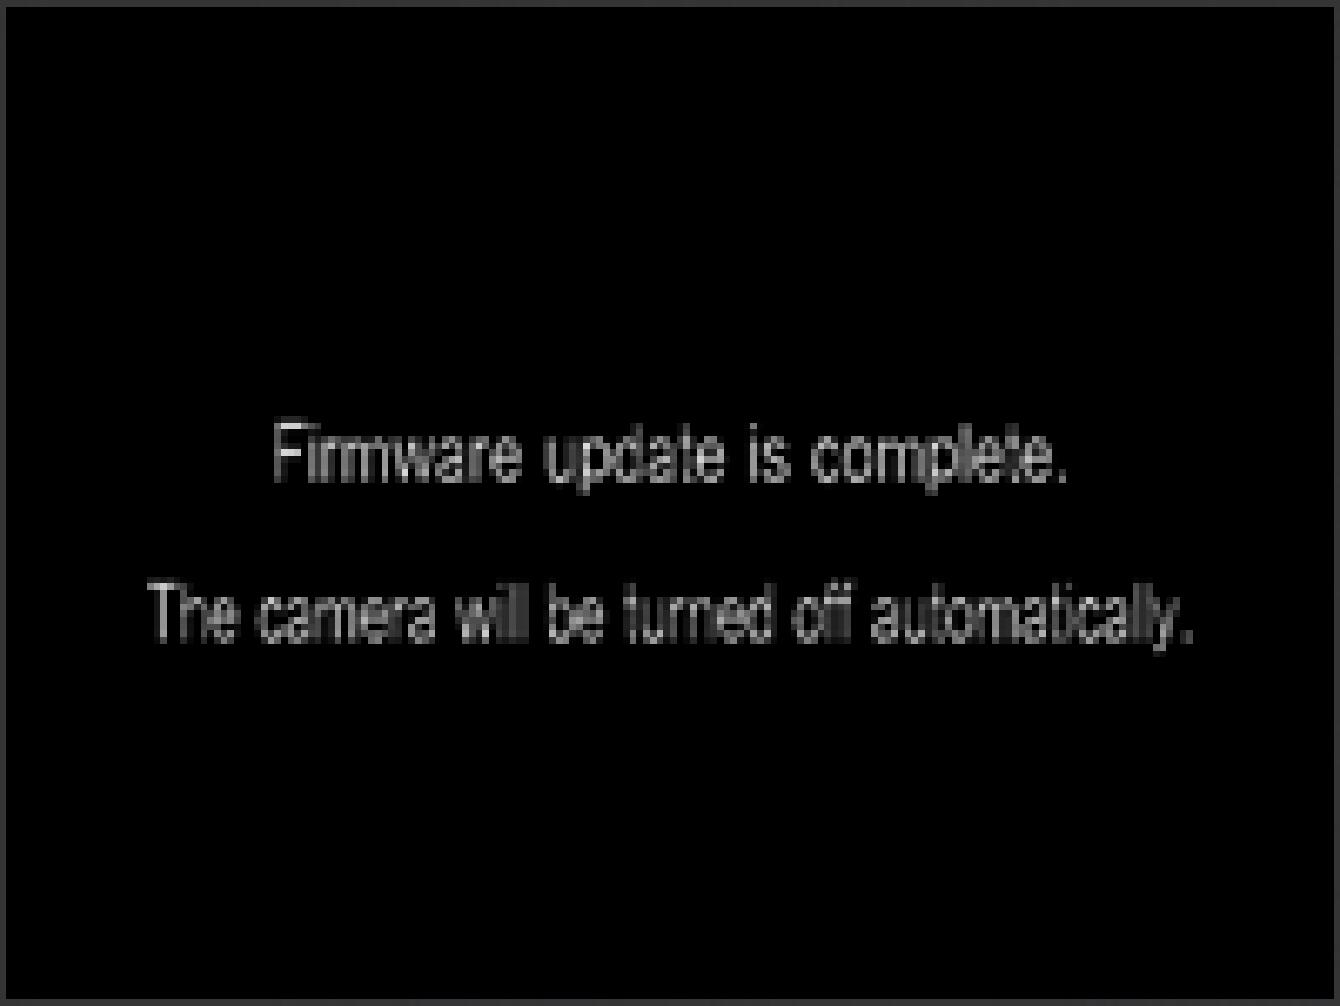
When the message “Firmware update is complete. The camera will be turned off automatically.” is displayed, the first update is complete.* Please do not operate the camera until the message “Firmware update is complete.” appears.
If the current firmware version is Ver. 1.03 or earlier
When the message “Firmware update is complete. The camera will be turned off automatically.” is displayed, please proceed to STEP 10.* Please do not operate the camera until the message “Firmware update is complete.” appears.
- STEP09
If the current firmware version is Ver. 1.04
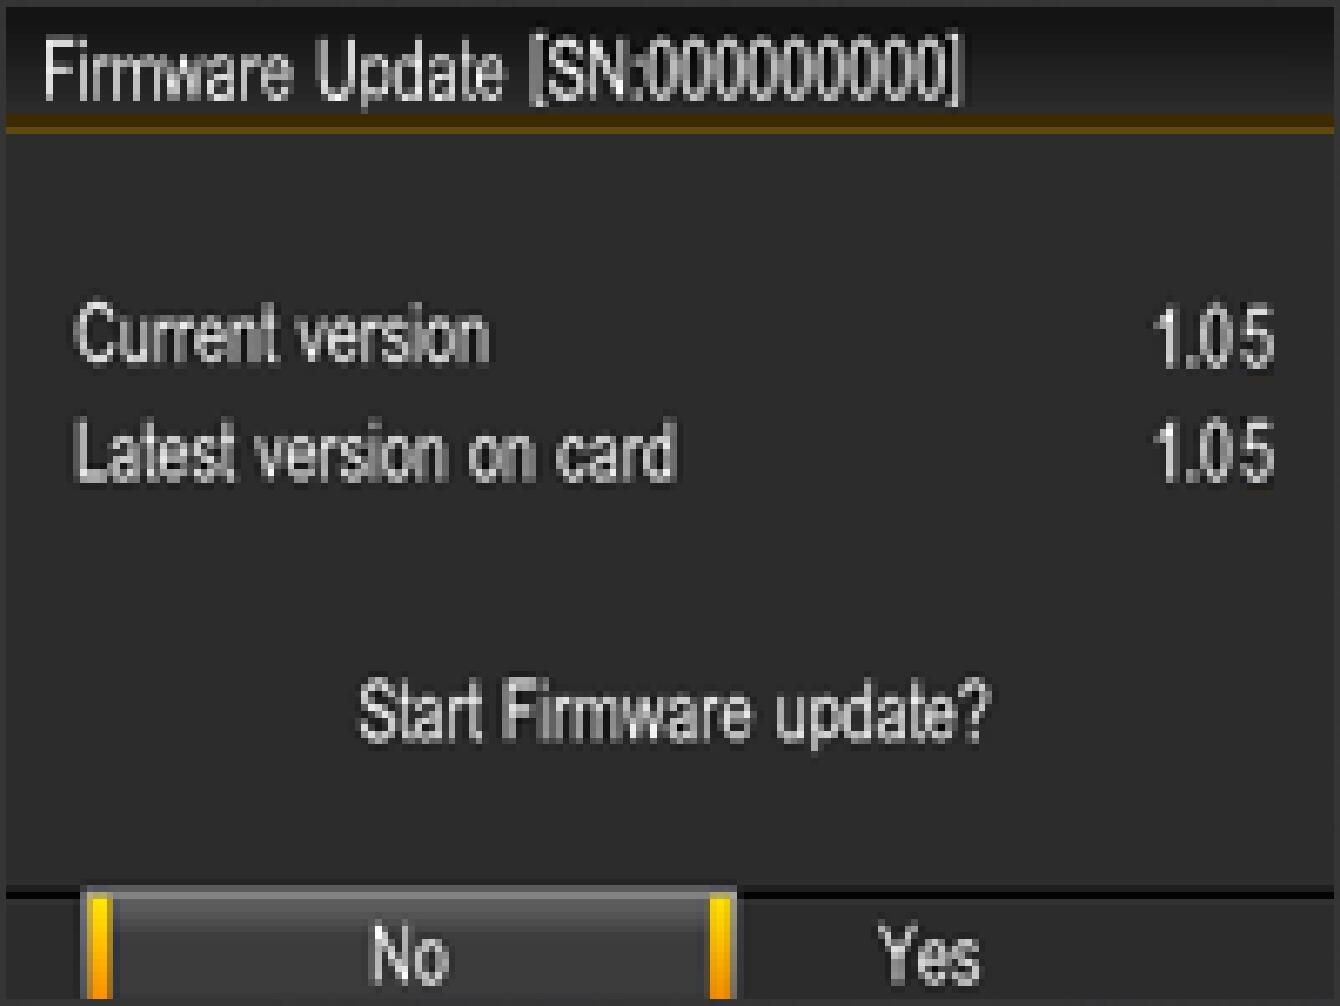
Select the “Firmware Update” from the Set Up menu and choose “Current Version” to confirm the firmware has updated to “Ver.1.05”. If “Ver.1.05” is displayed, the update is complete.
If the current firmware version is Ver. 1.03 or earlier
Select “Firmware” from the Set Up menu and choose ‘Current Version’, then confirm the firmware has been updated to “****”. If “****” is displayed properly, the first update is complete. Please press the OK button to move on to STEP 10.
- If the update start message is not displayed.
Should the “Start Firmware Update” message not appear, an error message will be displayed in the lower part of the display. Possible reasons are listed as follows, so please process it in reference to the solution.
- The data for firmware update is not found in the memory card.
Please turn off your camera and insert the SD/SDHC/SDXC card with the stored firmware “DP2MV105.bin” (copied to root directory) into your camera. Then start over the above installation process from STEP : 09.
- Failed in firmware update. The battery is running out.
Please use the dedicated fully charged battery or AC adapter, and start over the above installation process from STEP : 09.
- STEP10
Select “Yes” and press OK button to start the firmware update (usually it takes about 3-5 minutes to update).
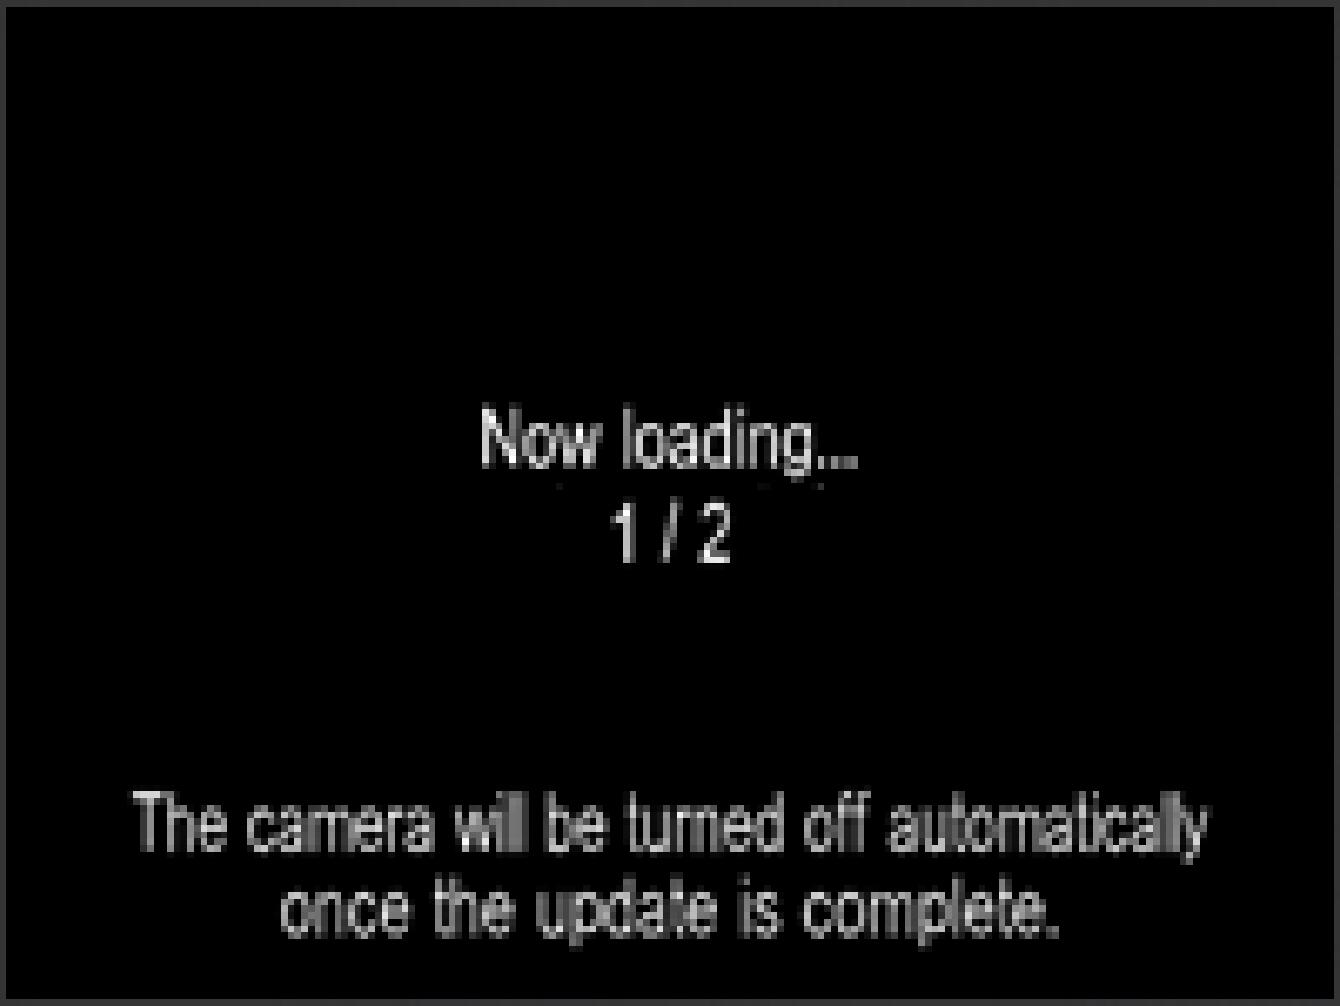
- If the firmware update fails.
- Error Code:003 Firmware update has failed.
Download the firmware once again and start over the above installation process from STEP 09.
- STEP11
When the message “Firmware update is complete. The camera will be turned off automatically.” is displayed, the update is complete.
* Please do not operate the camera until the message “Firmware update is complete.” appears.
- STEP12
Select the “Firmware Update” from the Set Up menu and choose “Current Version” to confirm the firmware has updated to “Ver.1.05”. If “Ver.1.05” is displayed, the update is complete.
