Before Updating
If the camera is turned off during the update procedure, it might cause a malfunction and damage your camera. To avoid causing a malfunction, please read the following carefully before updating the firmware.
- Please use a dedicated AC adapter or a fully charged battery.
- Do not open the BATTERY/CARD COVER or operate the camera during the firmware update.
- Do not turn off the camera during the firmware update.
* To avoid causing malfunction, please download only above file “dp1v200.bin” and update, firstly. Format the CF card after first update and please download the following file “dp1u200.bin”.
Ver.2.00 2008.11.05
It is possible to allocate different functions to each of the Digital Zoom buttons.
When the image is magnified in the review display, the magnification ratio will appear.
NOTICE OF FUNCTION CHANGE(PDF:621KB)
Update Procedure
- STEP1
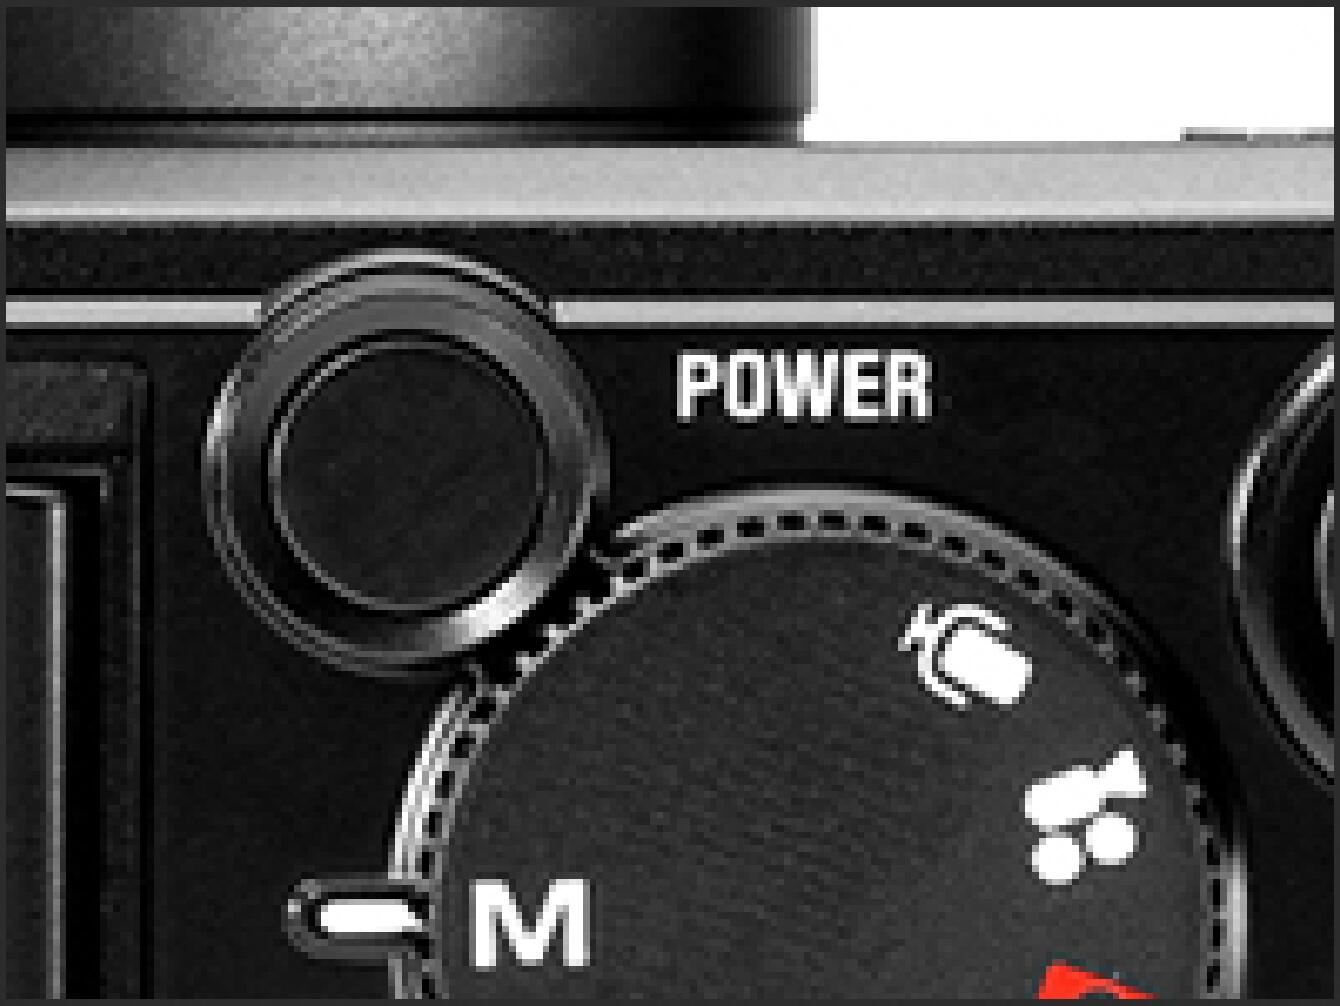
Turn on camera power.
- STEP2
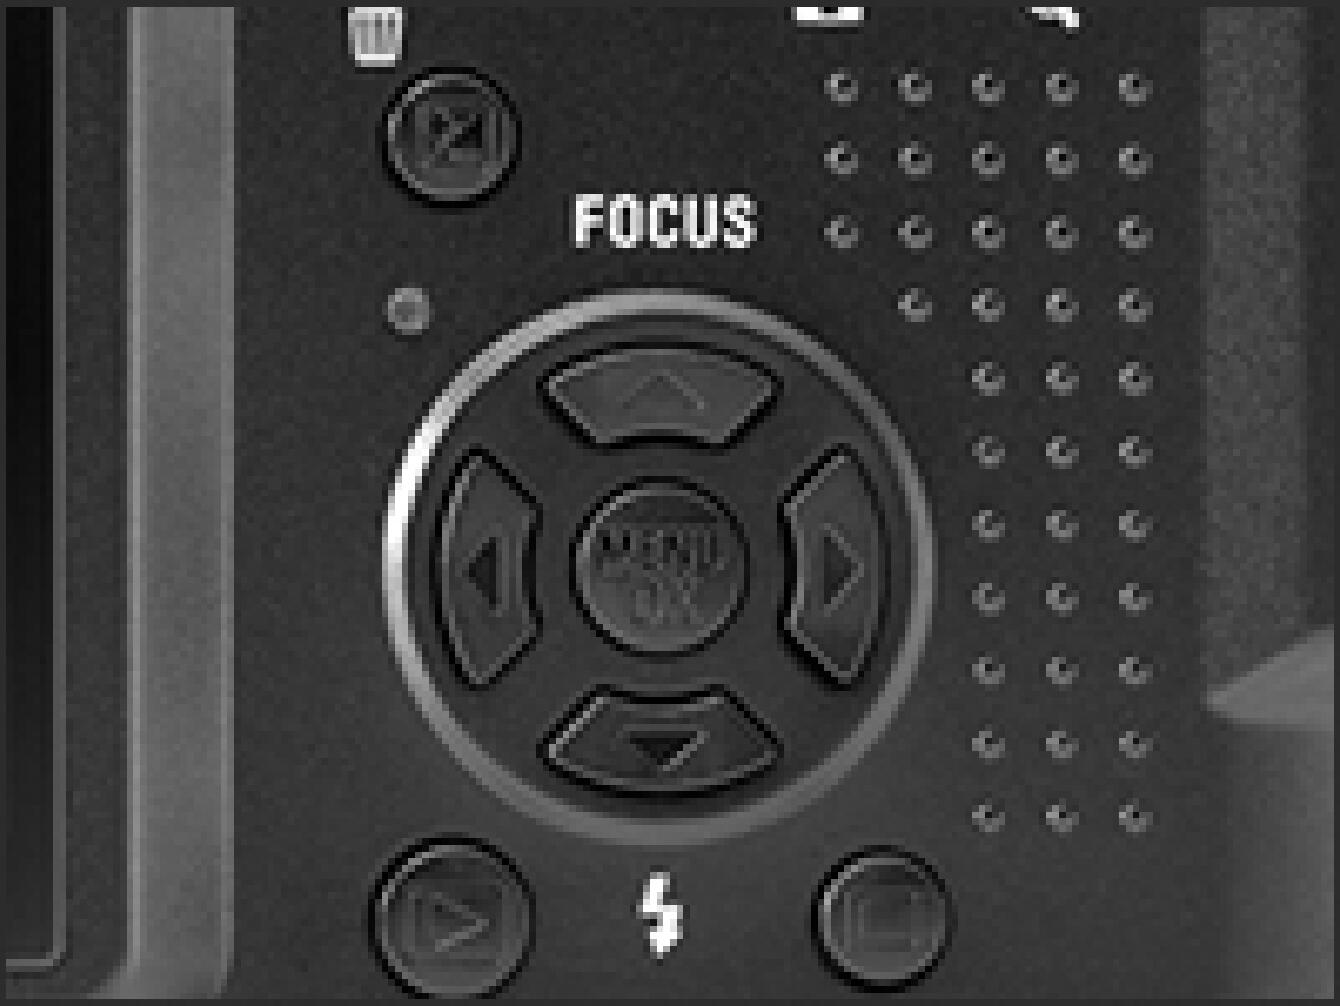
Press the MENU/OK button on the back of the camera to open the Set Up menu.
- STEP3
Turn on camera power.
- STEP4
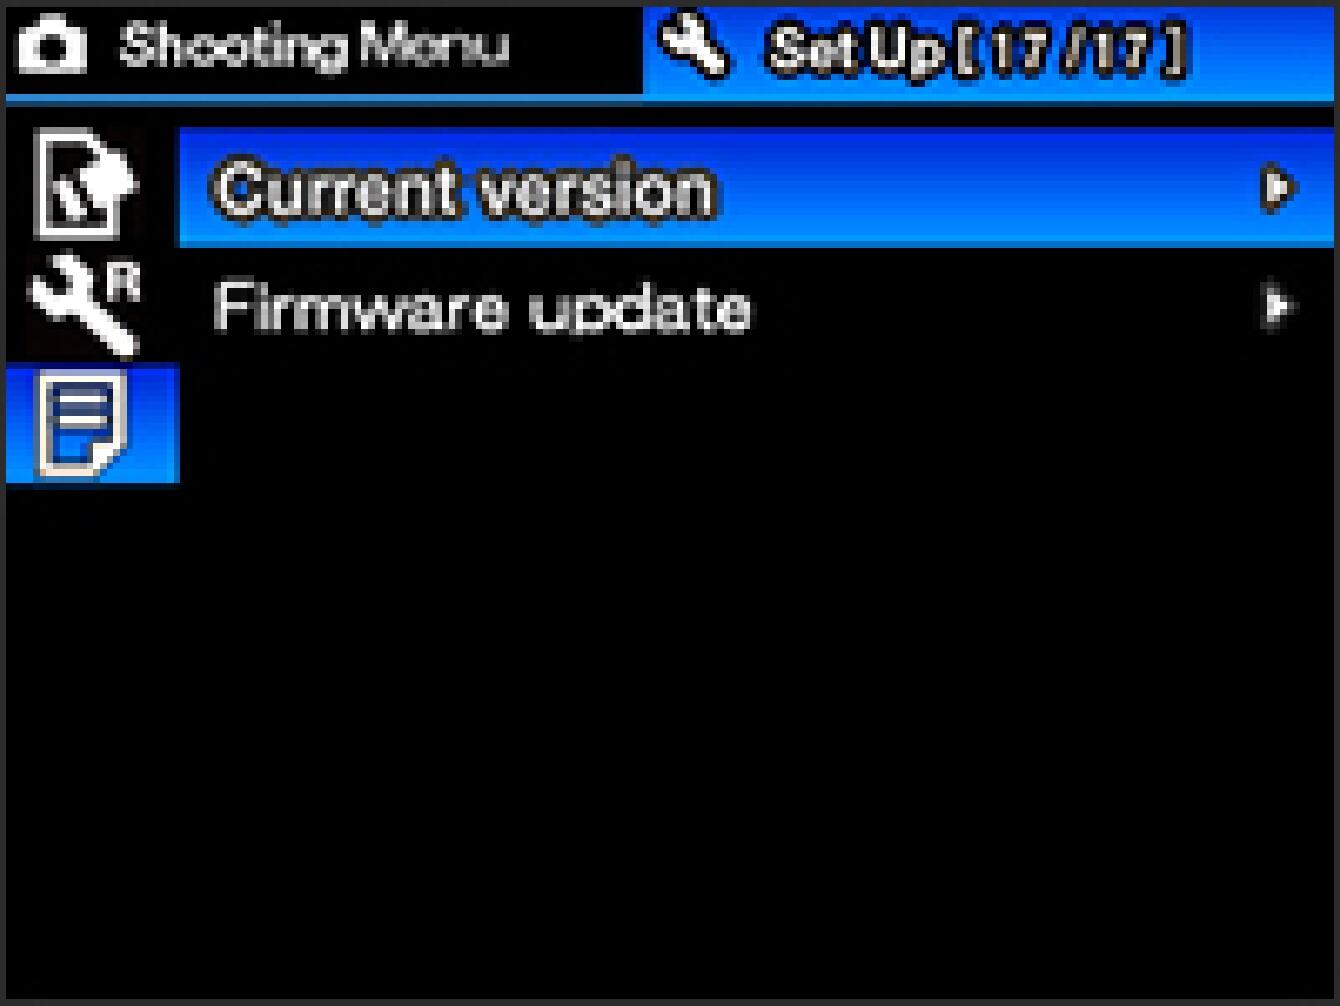
Use the 4-Way Controller to open the sub menu and then select “Current version”.
- STEP5
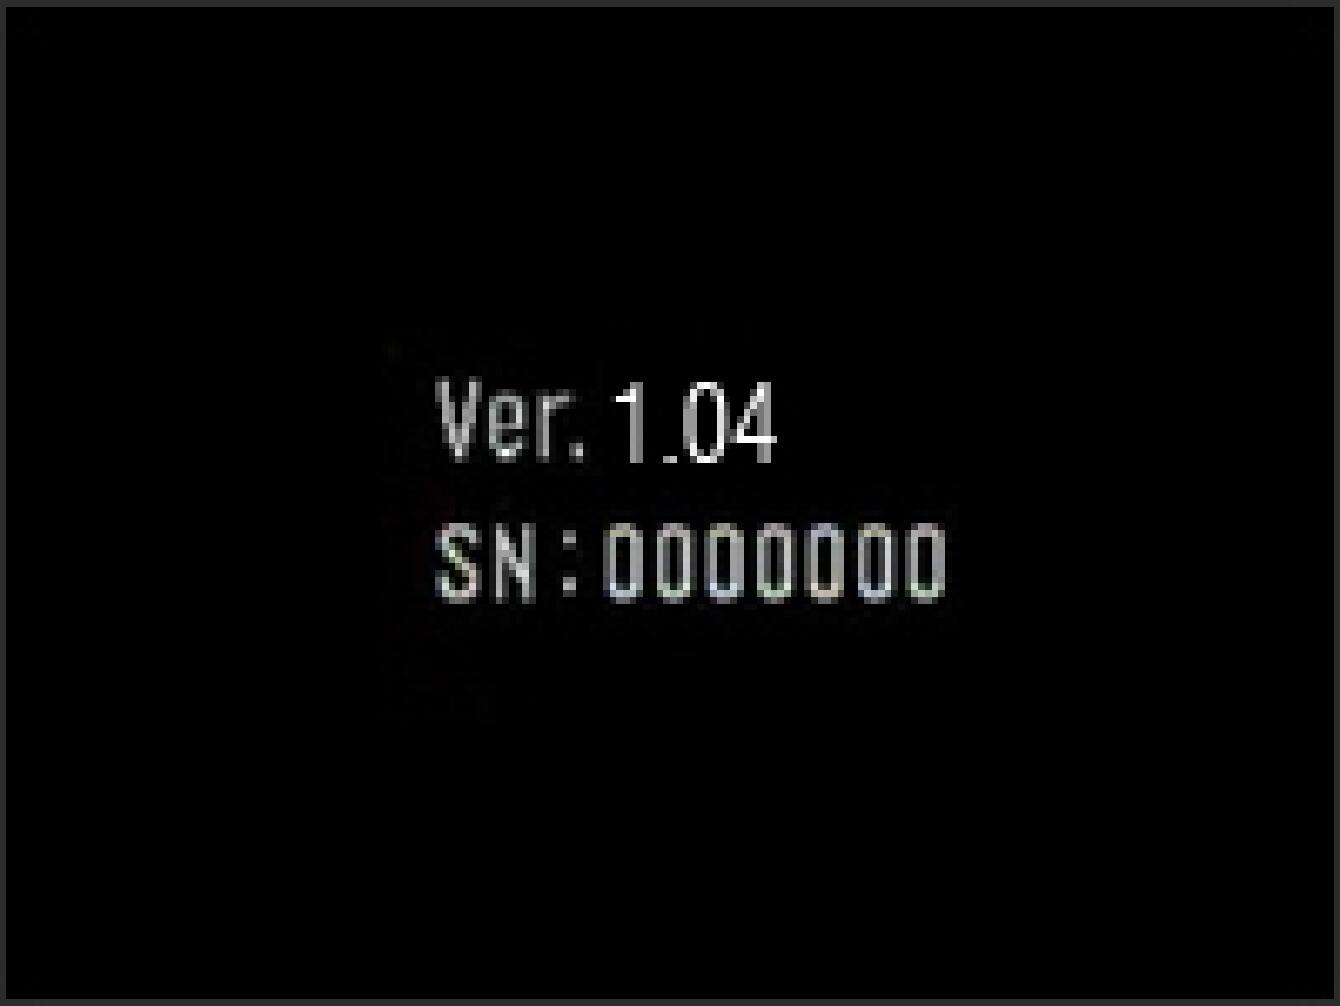
The installed firmware information will be displayed.
How to update the firmware
- STEP1
Please use 256MB or larger SD/SDHC card and format the card in the camera body.
* To avoid loss of your important data, please check the SD/SDHC card before formatting.
- STEP2
Firstly, please download the “dp1v200.bin” file. Please connect a card reader containing the SD/SDHC card or the DP1 to your computer and click the Download button or right click on the mouse (if you use a Macintosh computer, please press Control + click) to store the firmware file in the SD/SDHC card root directory (Please do not store in subfolder such as “DCIM”).
* To avoid loss of your important data, please check the SD/SDHC card * If the firmware is downloaded whilst the camera is connected to your computer, please turn off your camera before disconnecting it from your computer.
* Please download only “dp1v200.bin” file. It is not possible to update the firmware properly, if the “dp1u200.bin” file is in subfolder.
* Please download the “dp1v200.bin” file, firstly. It might cause a malfunction and damage your camera, if you start updating the firmware with the “dp1u200.bin” file before the “dp1v200.bin” file.
- STEP3
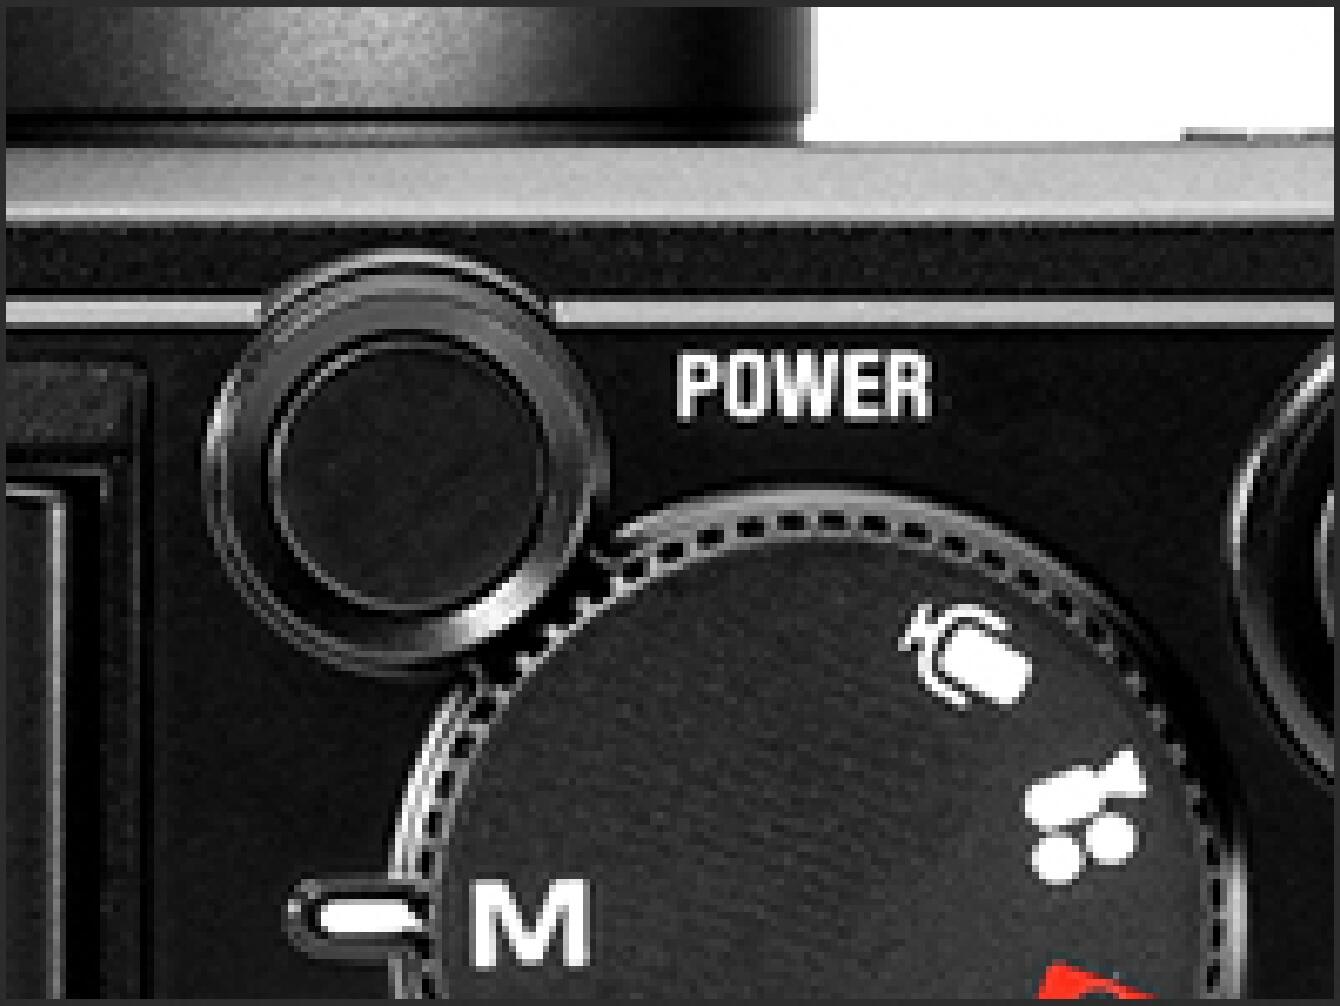
Insert the SD/SDHC card containing the firmware into your camera and turn on the DP1.
* It is not necessary to connect the camera body to your computer.
- STEP4
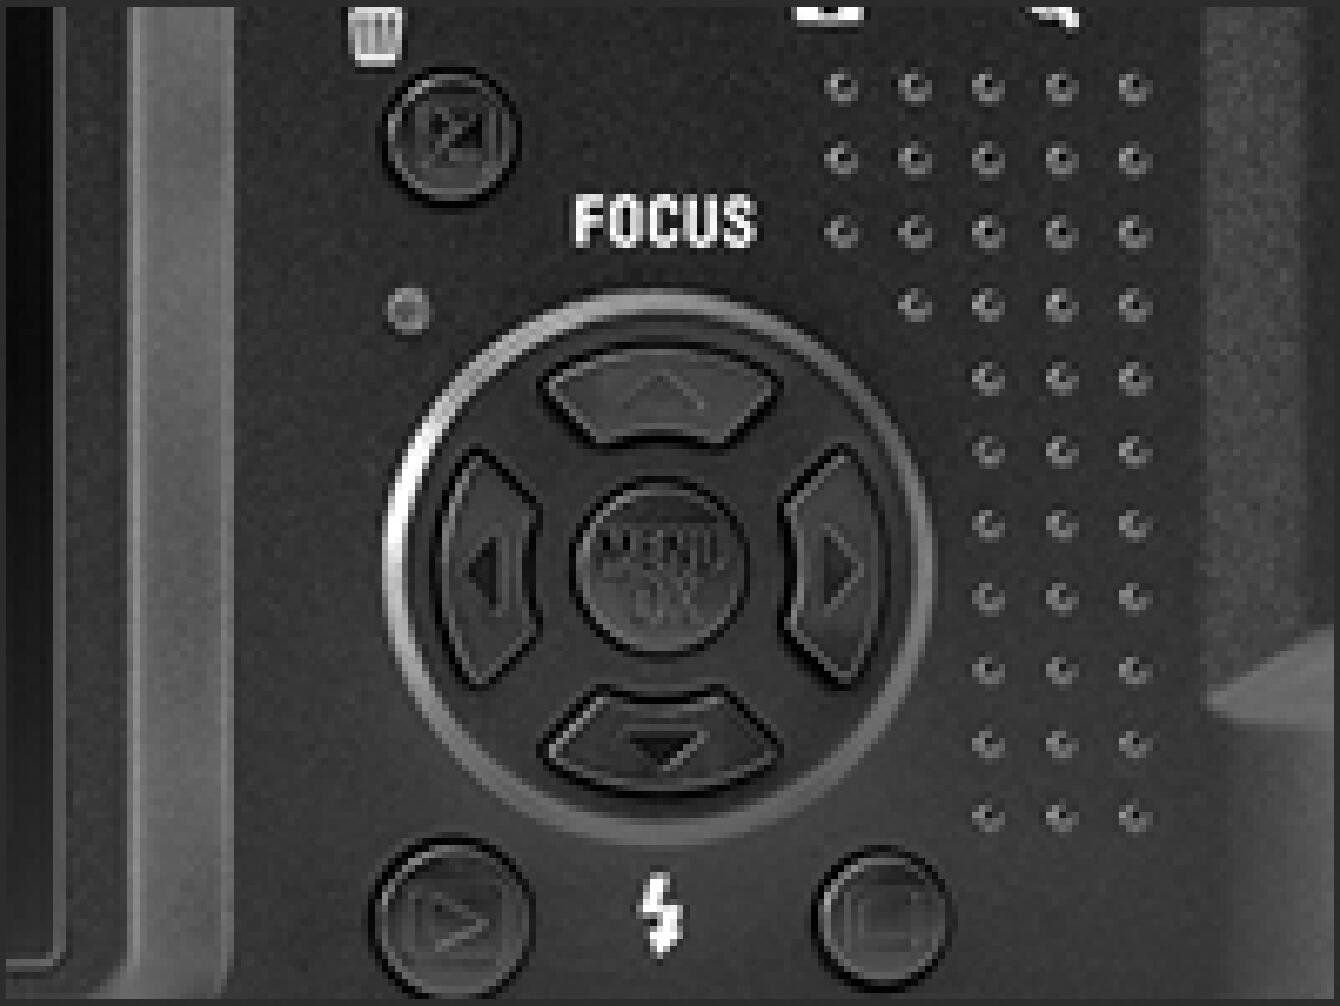
Press the MENU/OK button on the back of the camera to display the Set Up menu.
- STEP5
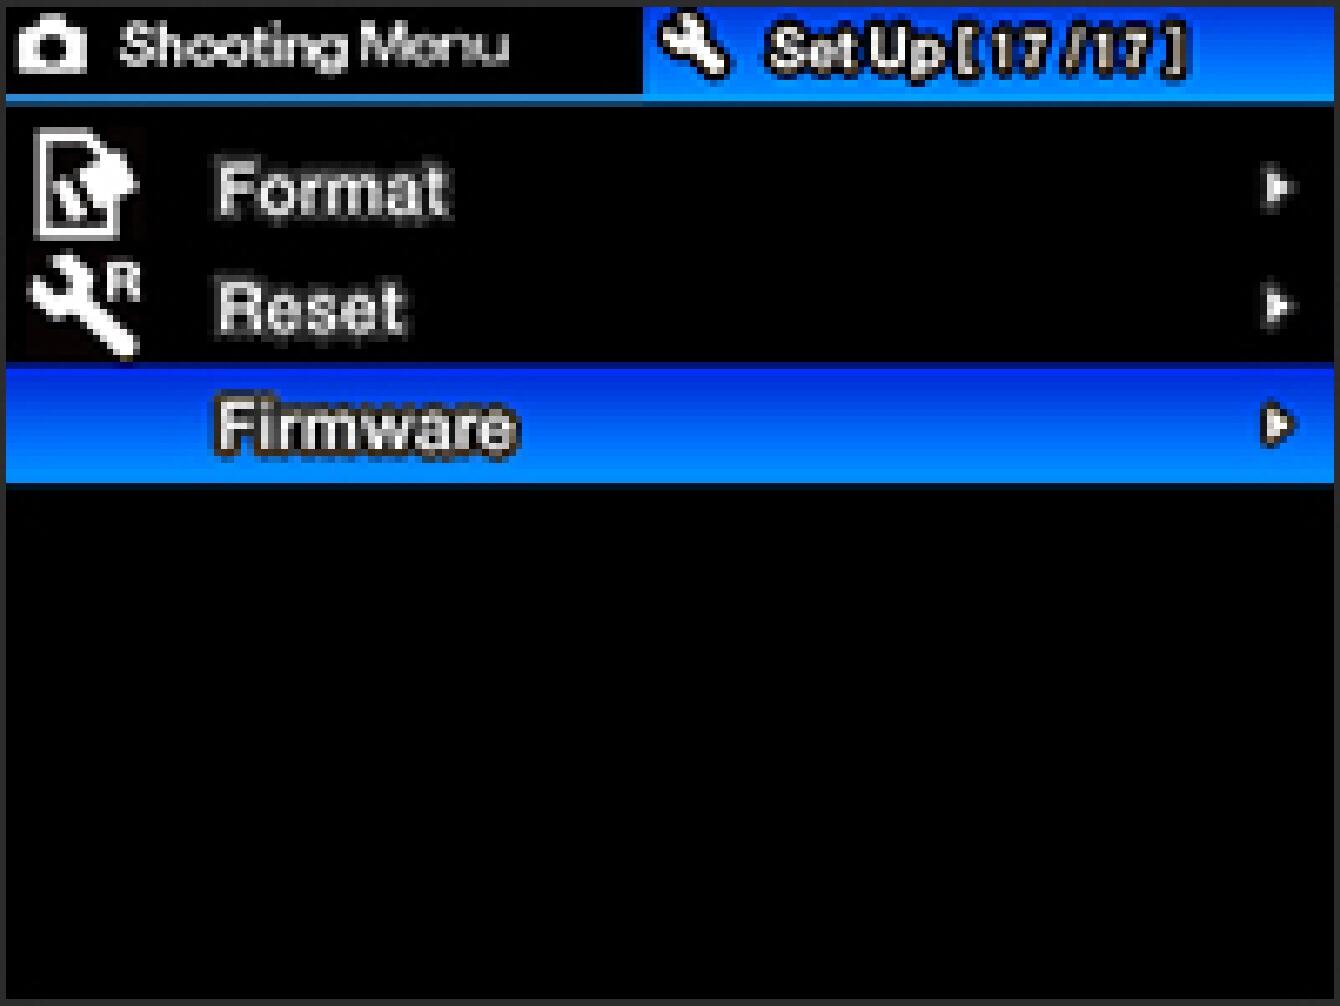
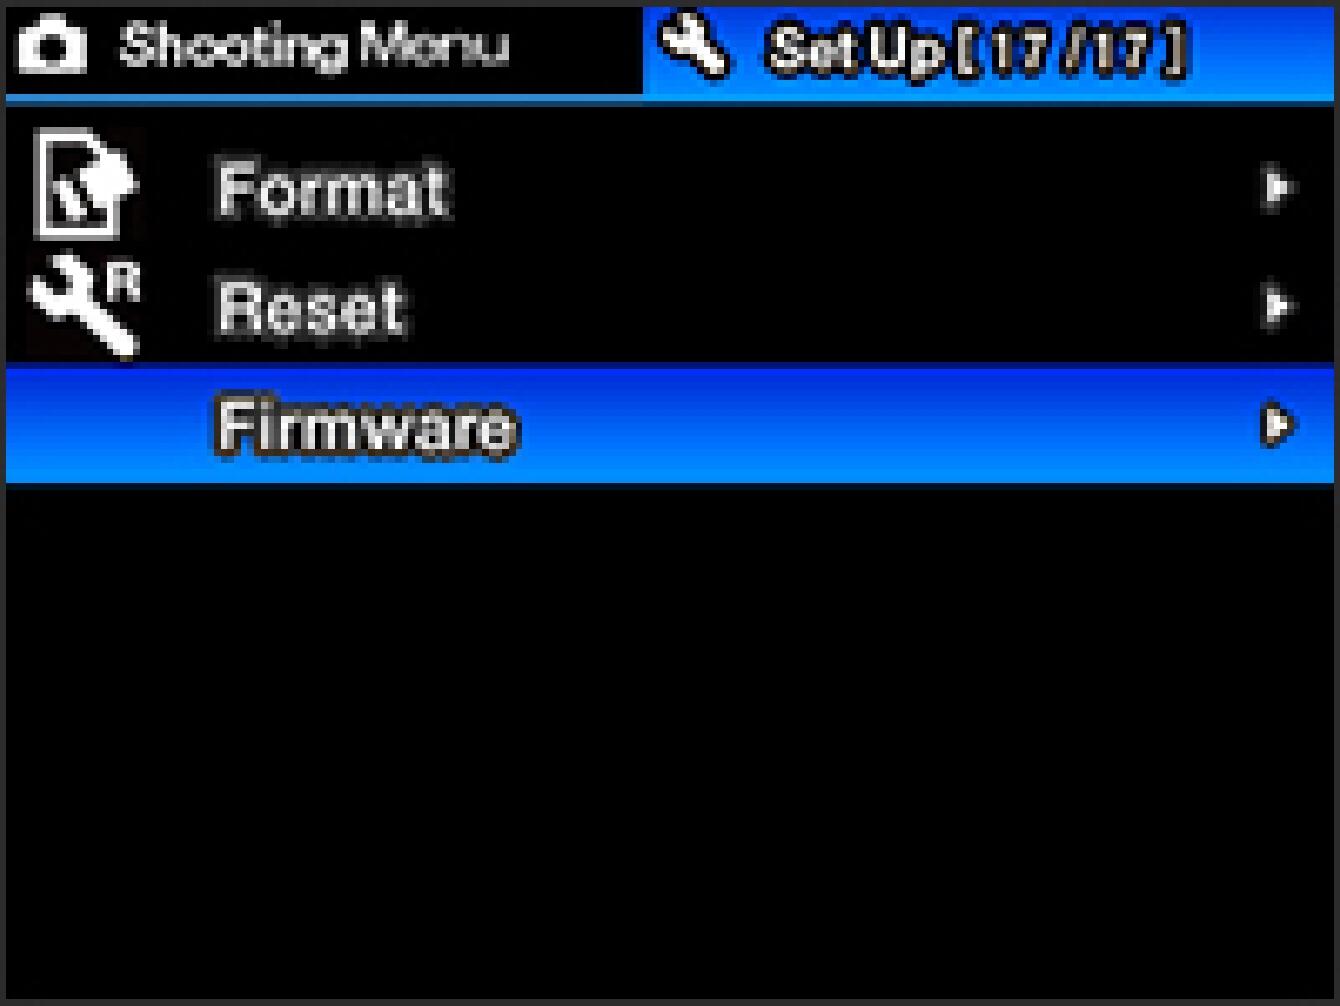
Select the “Firmware” menu.
- STEP6
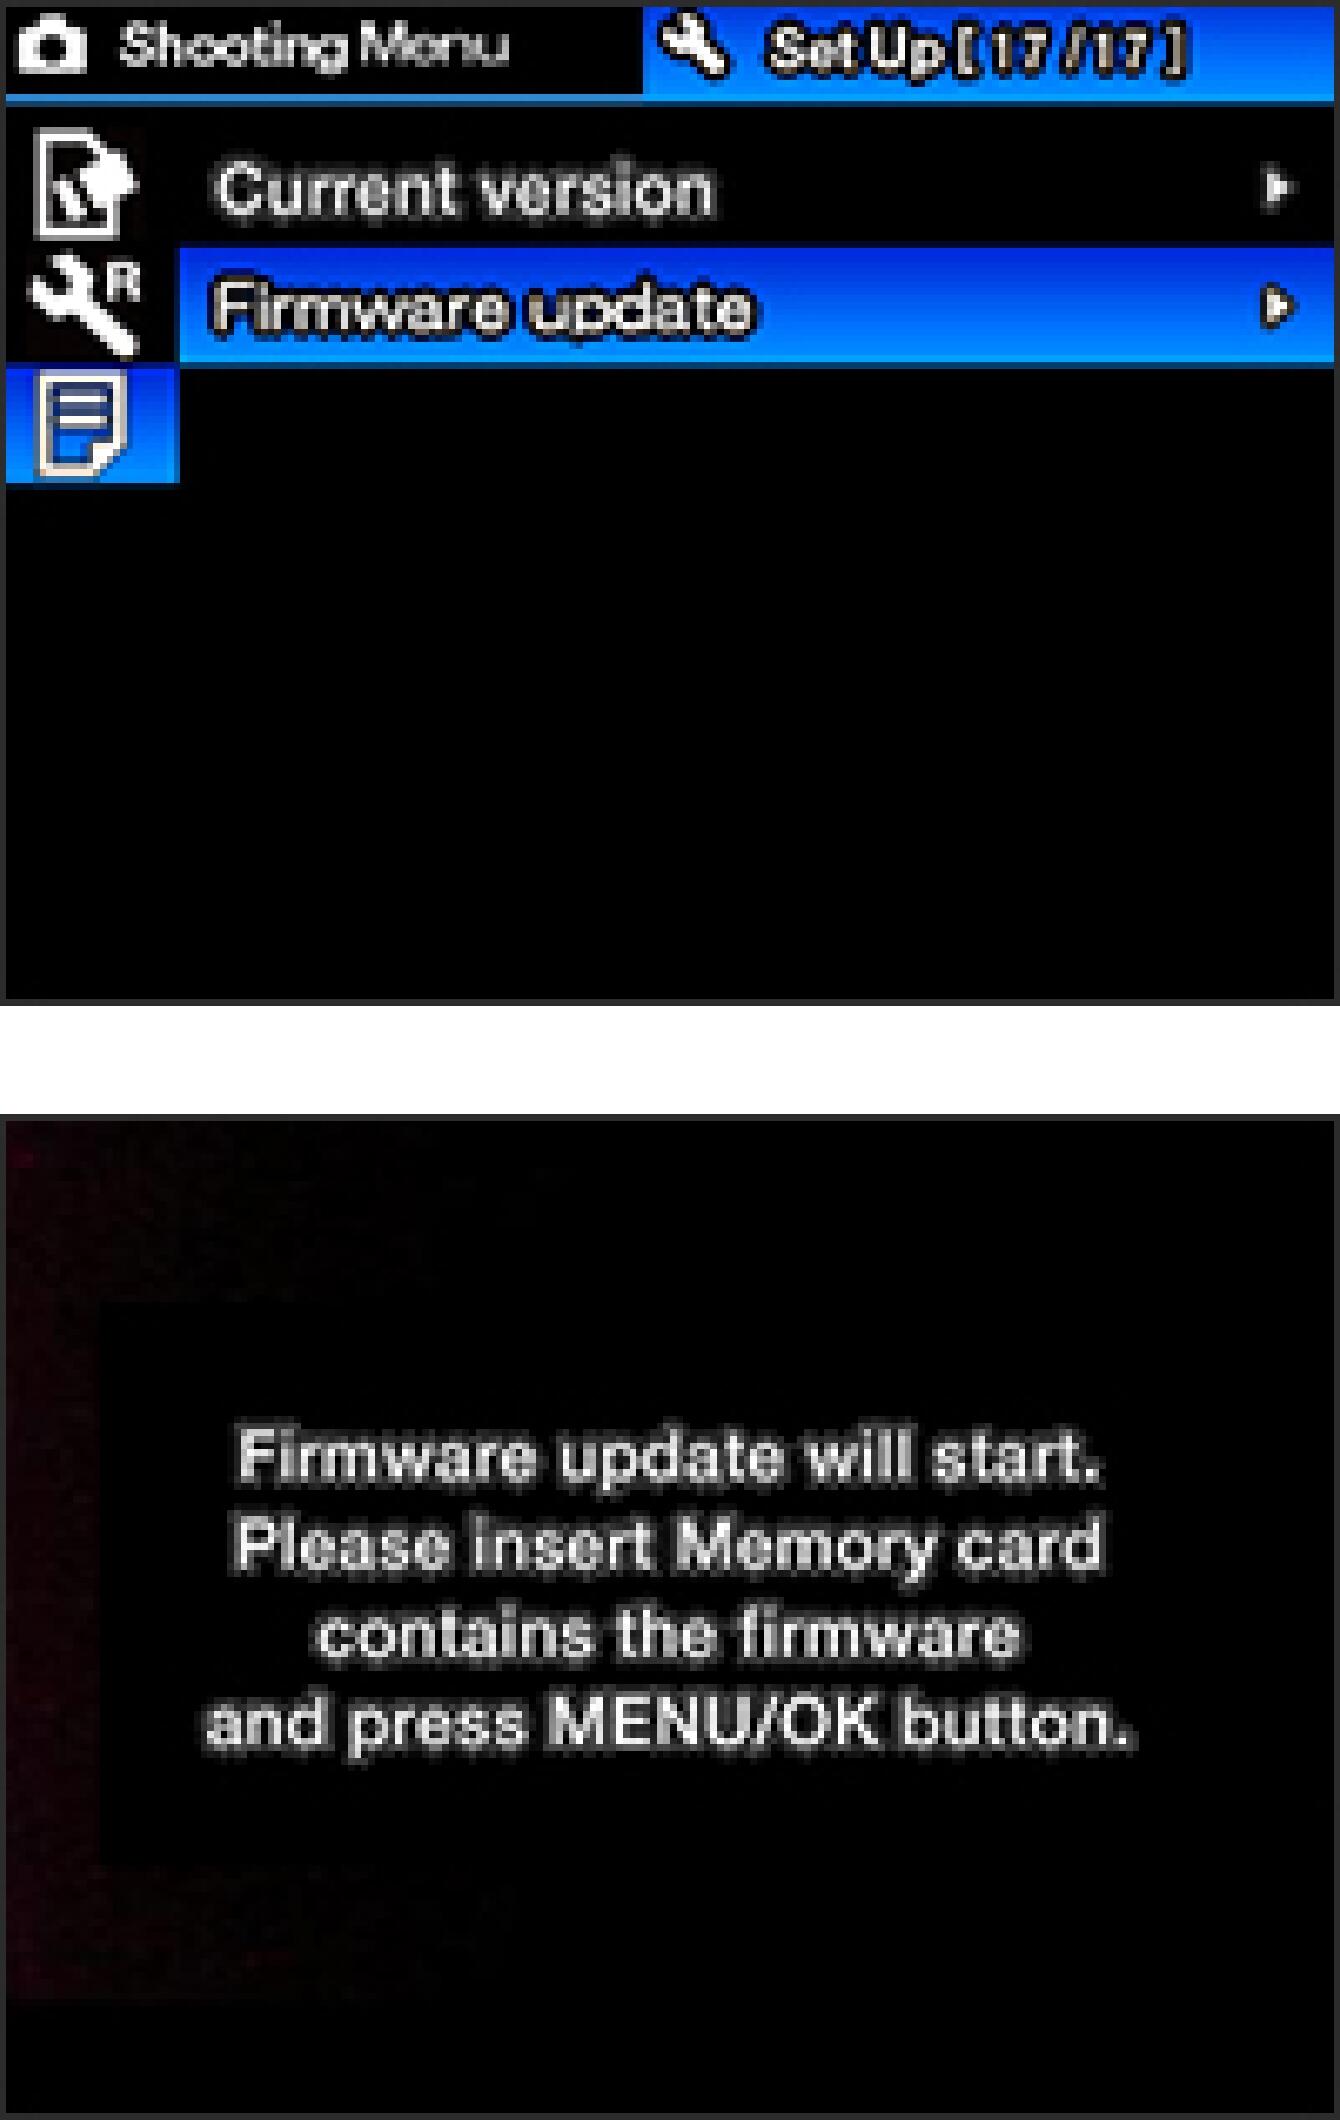
Press the right button of the 4-Way Controller to open the sub menu and select “Firm update”, then press the MENU/OK button to display the following message.
- STEP7
Press the MENU/OK button again to start the firmware update. (It takes about two minutes to update.)

- STEP8
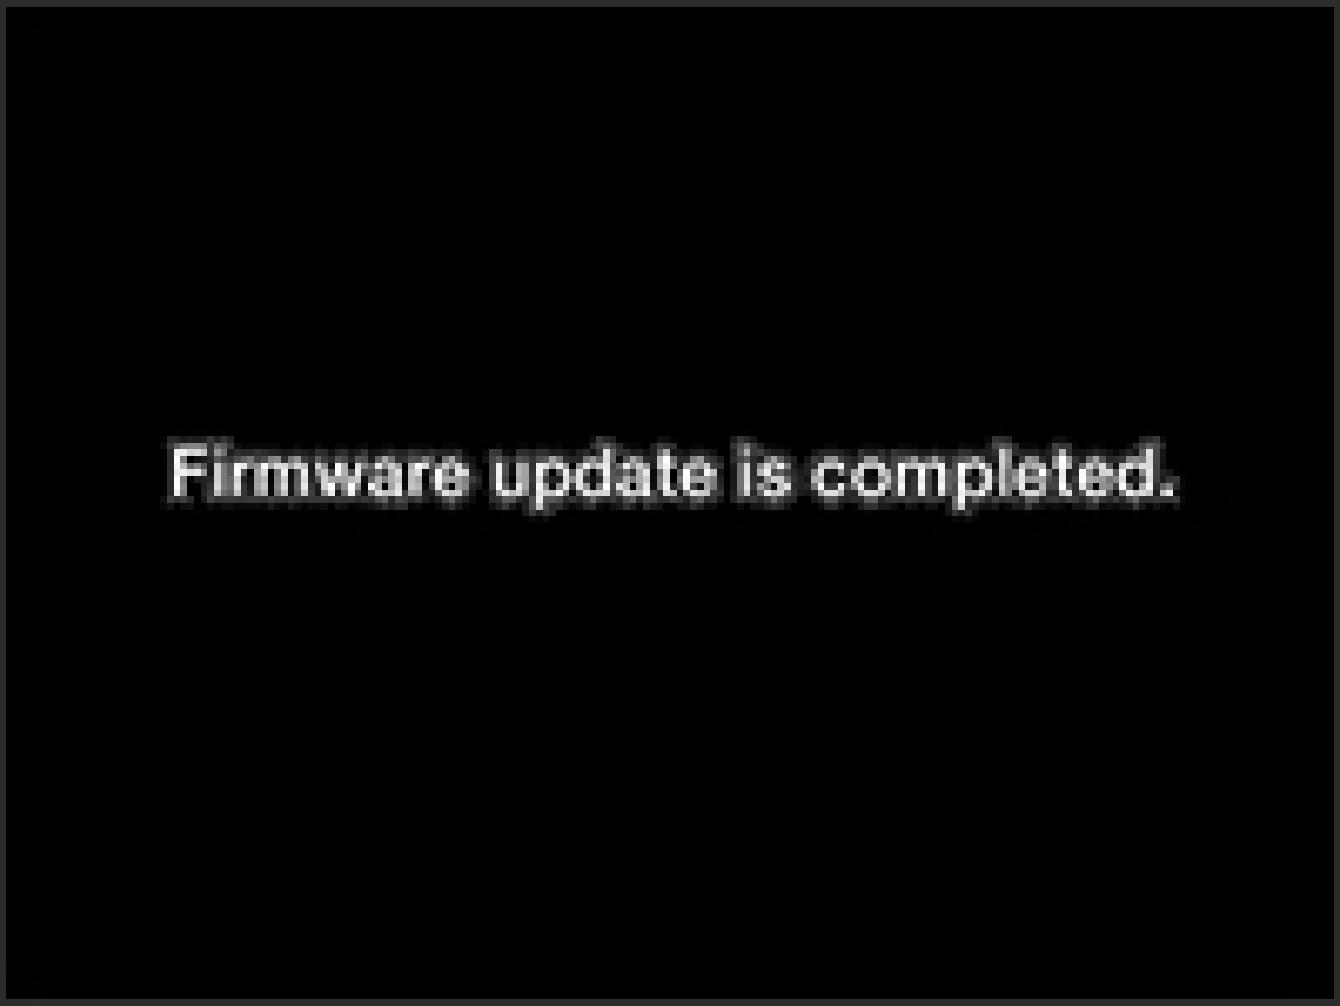
Press the right button of the 4-Way Controller to open the sub menu and select “Firm update”, then press the MENU/OK button to display the following message.
- STEP9
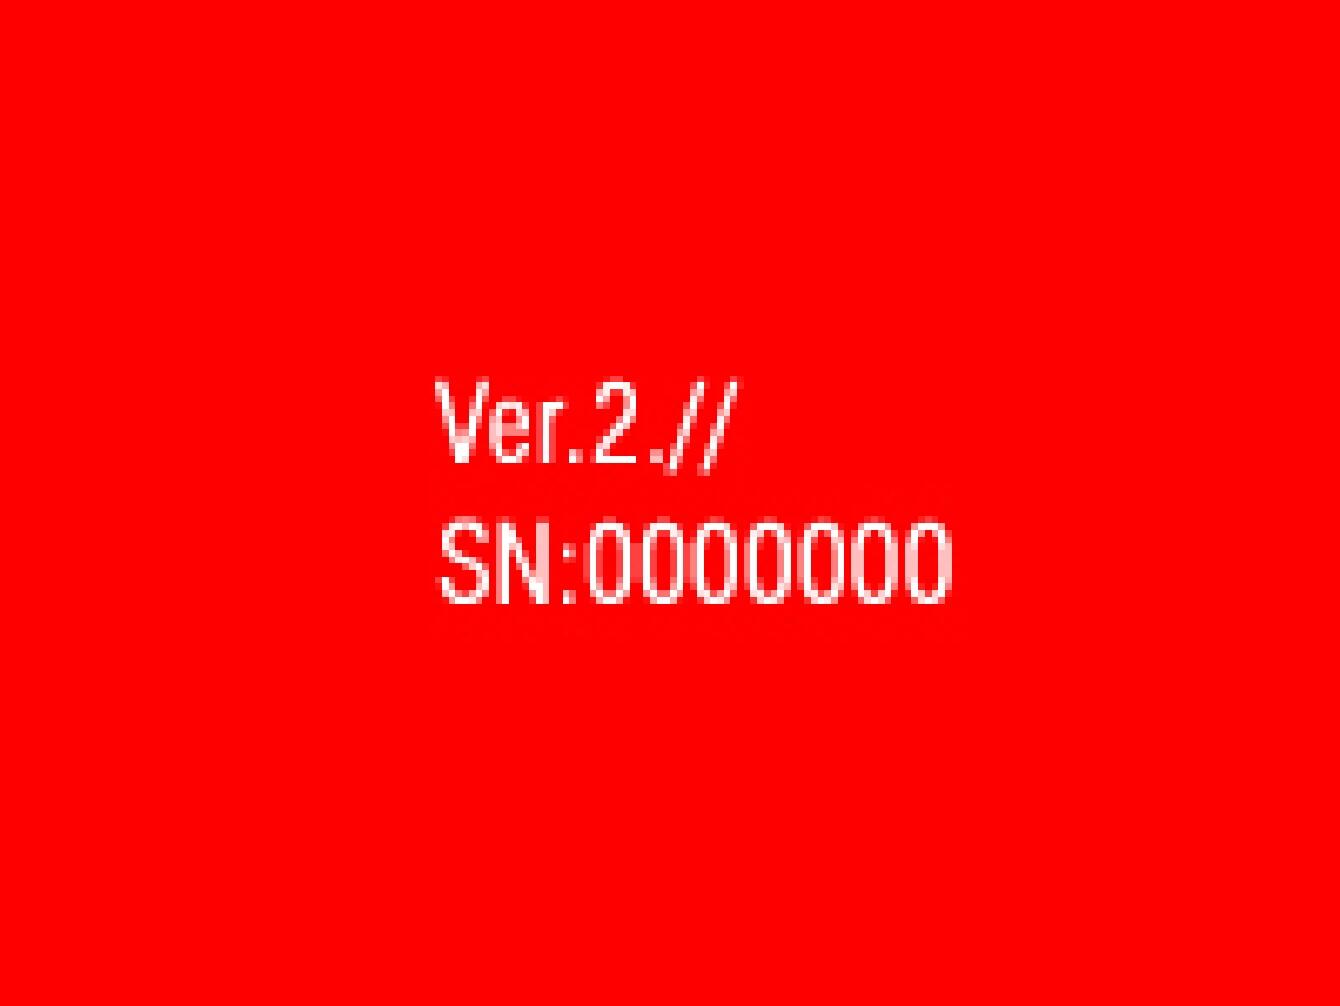
Select “Current version” from the Set-up Menu and confirm the firmware is updated to “Ver.2.//”. If “Ver.2.//” is displayed, the first update is complete. Please format the card and continue the update procedure from STEP:10.
- ERROR
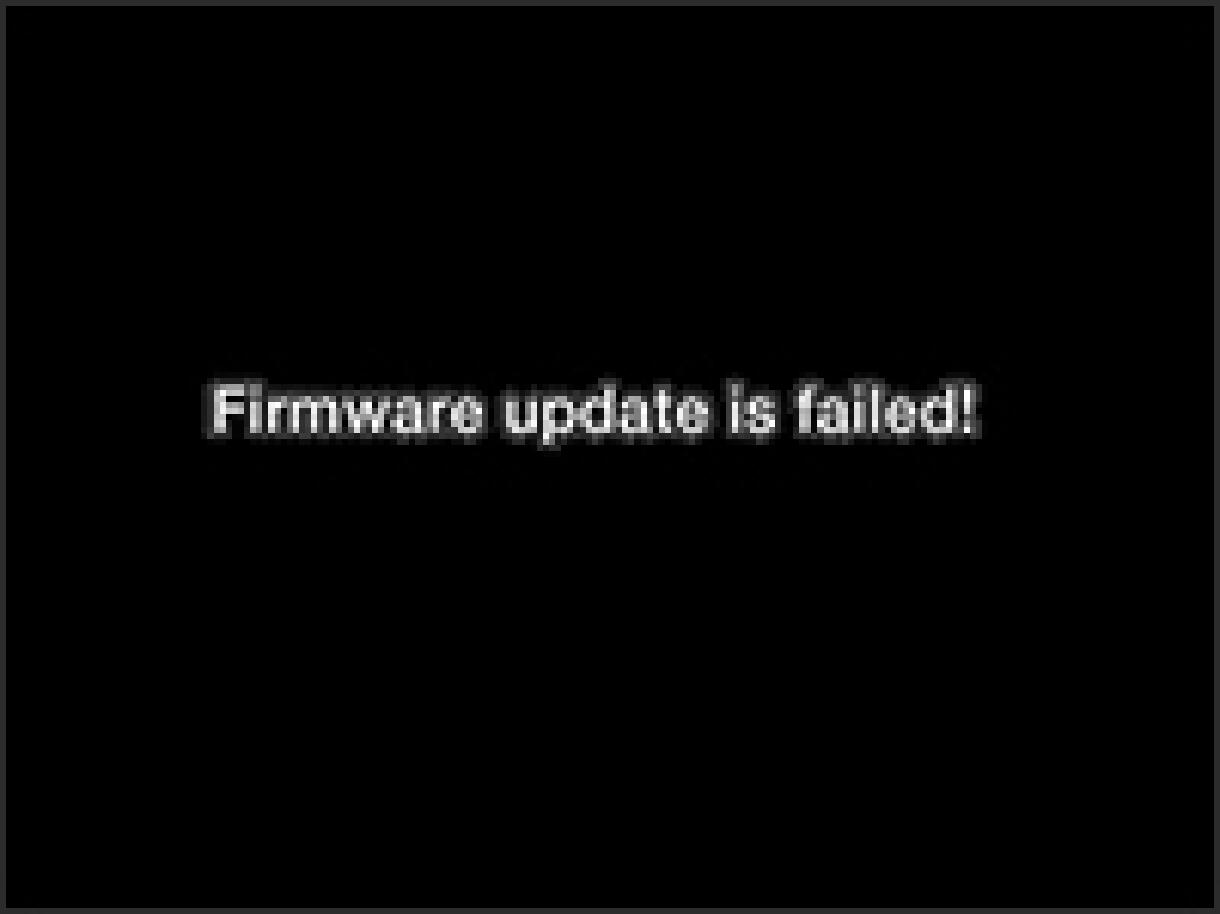
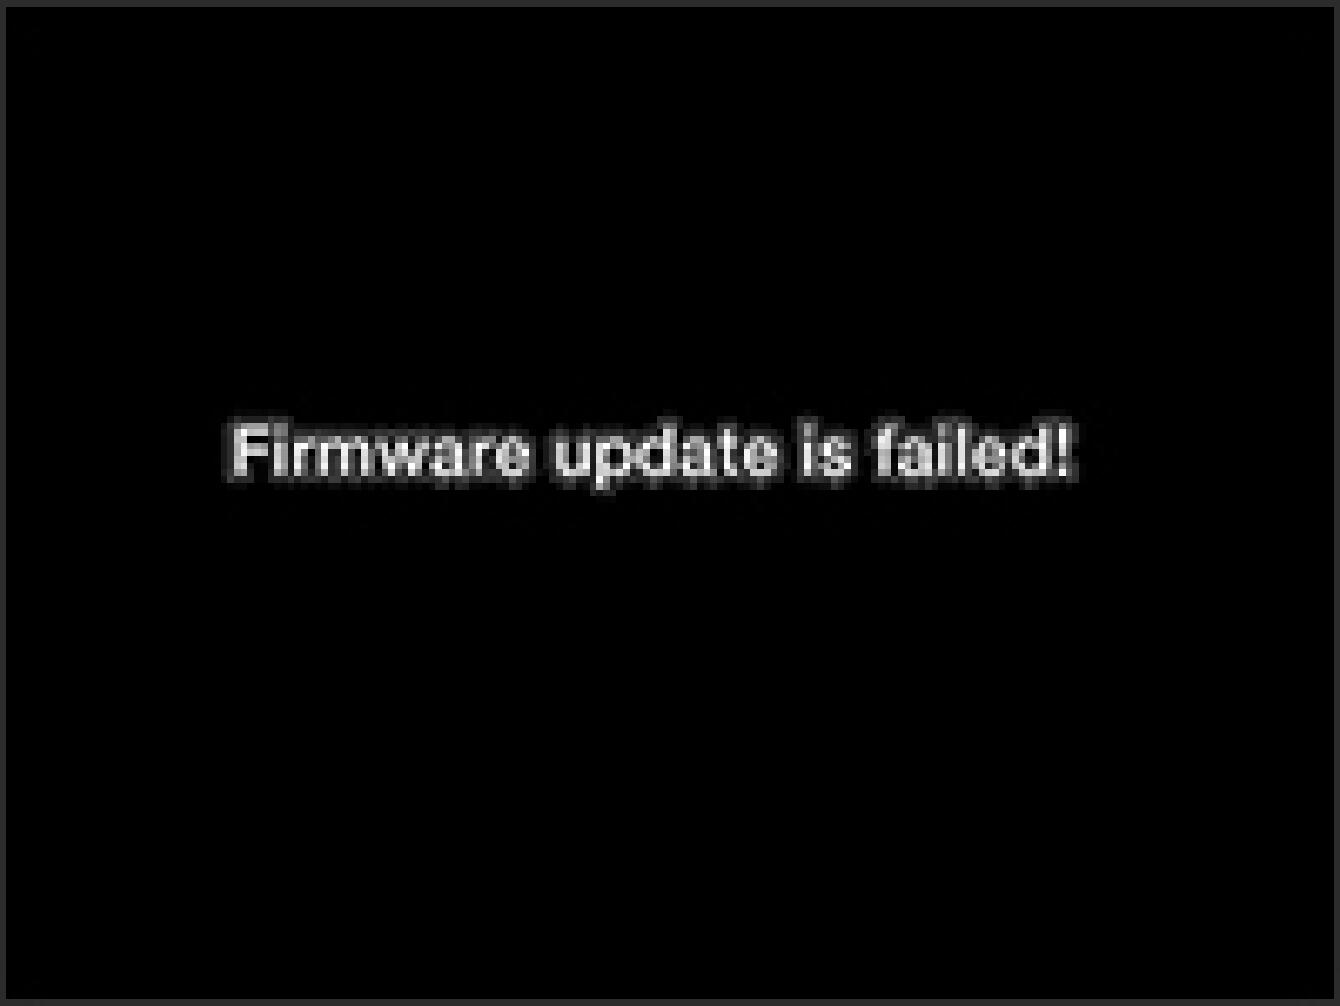
If “Firmware update has failed!” is displayed during firmware update, please repeat above installation from STEP 1. If the update continues to fail, please visit the following technical support page for our World Network contact details.
- STEP10
Please use 256MB or larger SD/SDHC card and format the card in the camera body.
* If the firmware has downloaded whilst the camera is connected to your computer, please turn off your camera before disconnecting it from your computer.
* If the “dp1v200.bin” file is still in the SD/SDHC card, it is not possible to perform the update correctly. Therefore, please format the SD/SDHC card before downloading.If “Firmware update has failed!” is displayed during firmware update, please repeat above installation from STEP 1. If the update continues to fail, please visit the following technical support page for our World Network contact details.
- STEP11
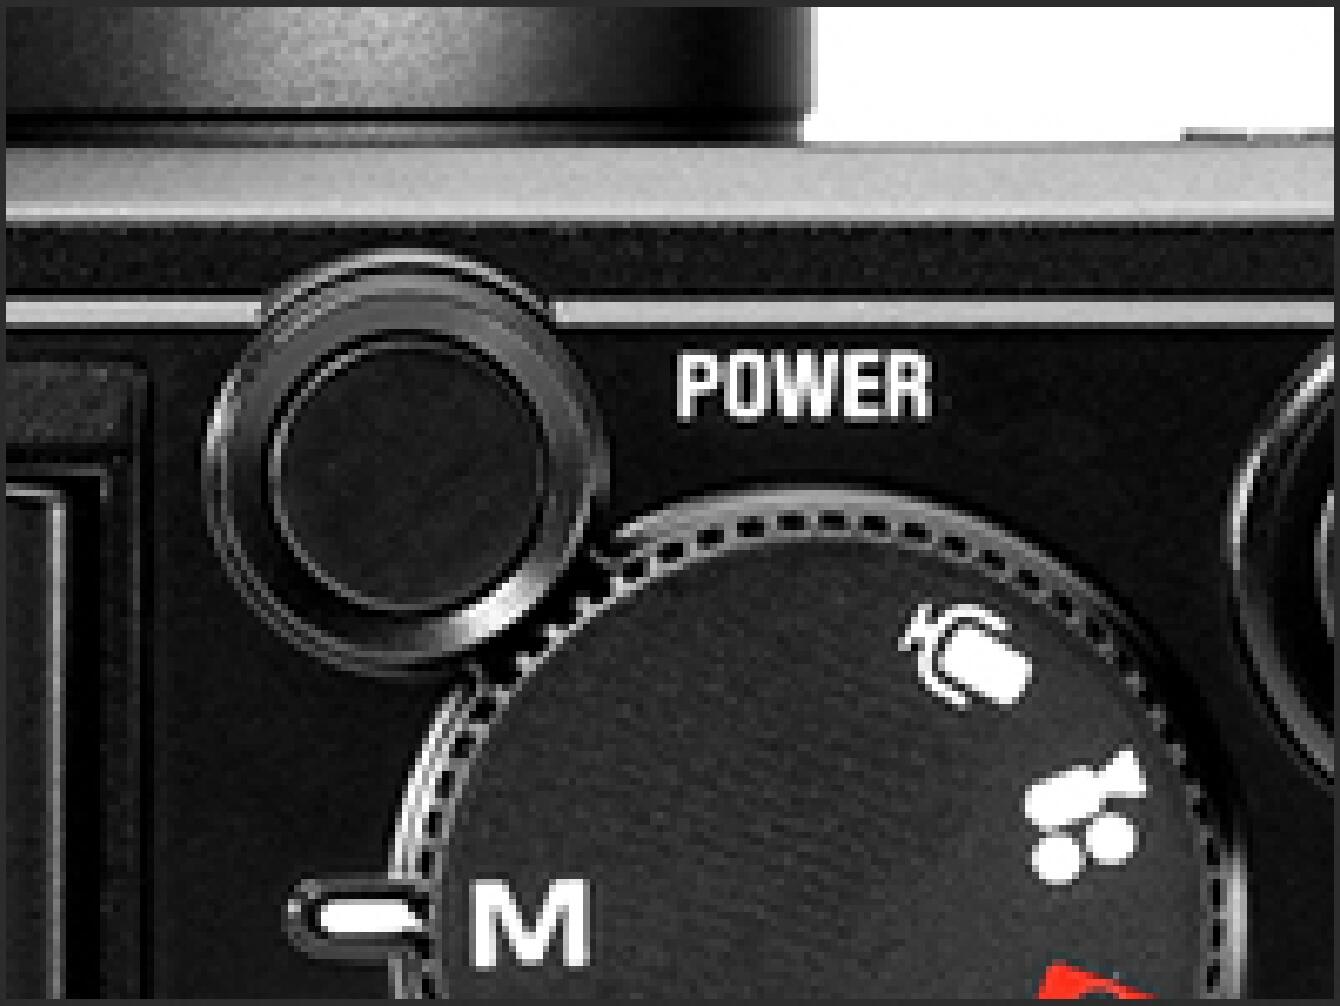
Insert the SD/SDHC card with the stored ” dp1u200.bin ” file into your camera and turn on the DP1.
* It is not necessary to connect the camera body to your computer.
- STEP12
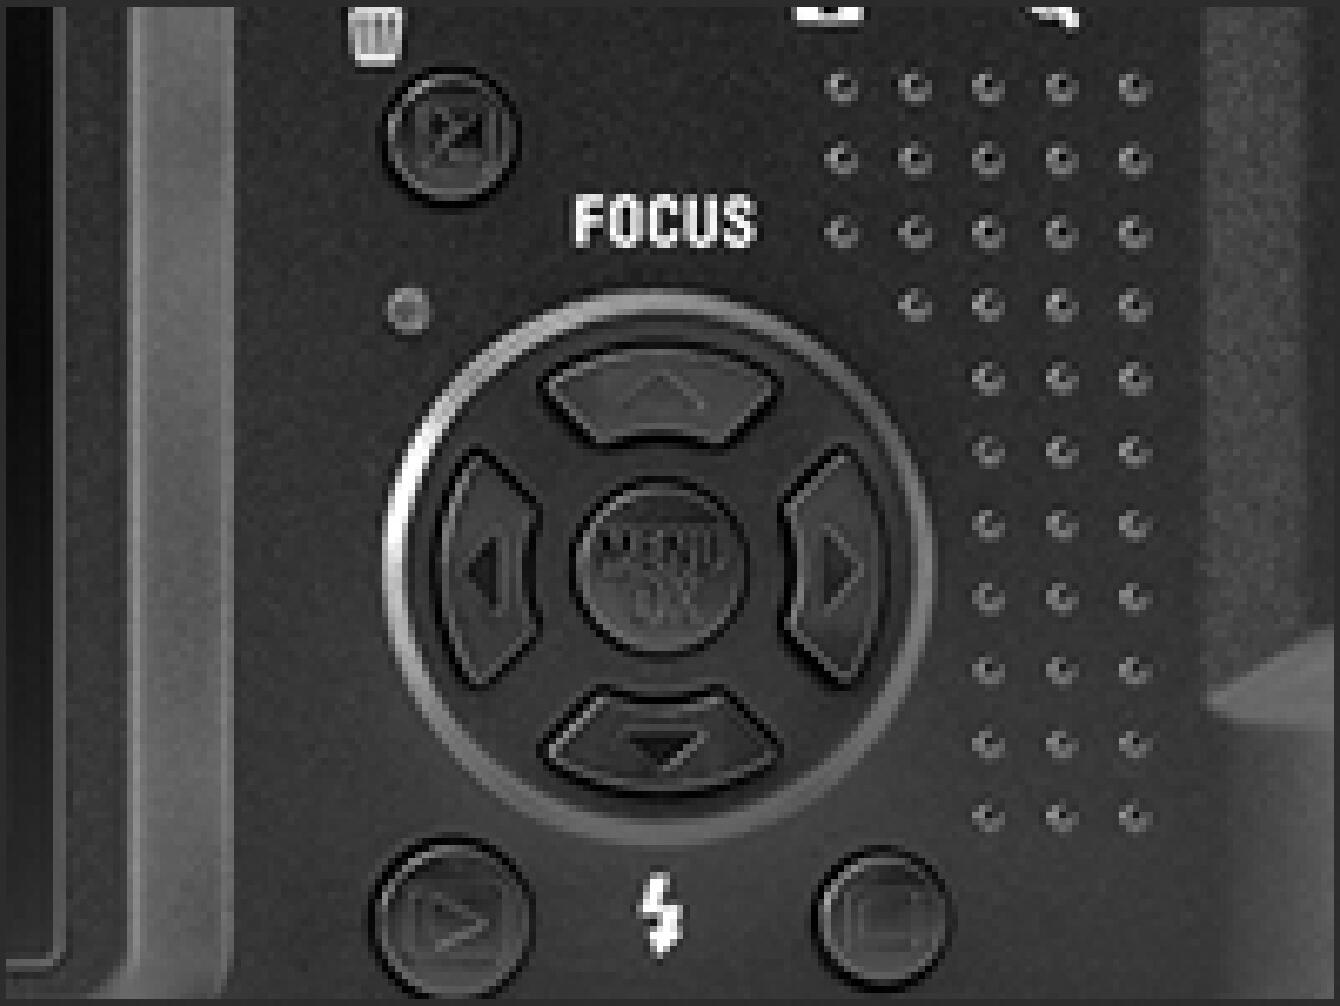
Press the MENU/OK button on the back of the camera to display the Set Up menu.
- STEP13
Select the “Firmware” menu.
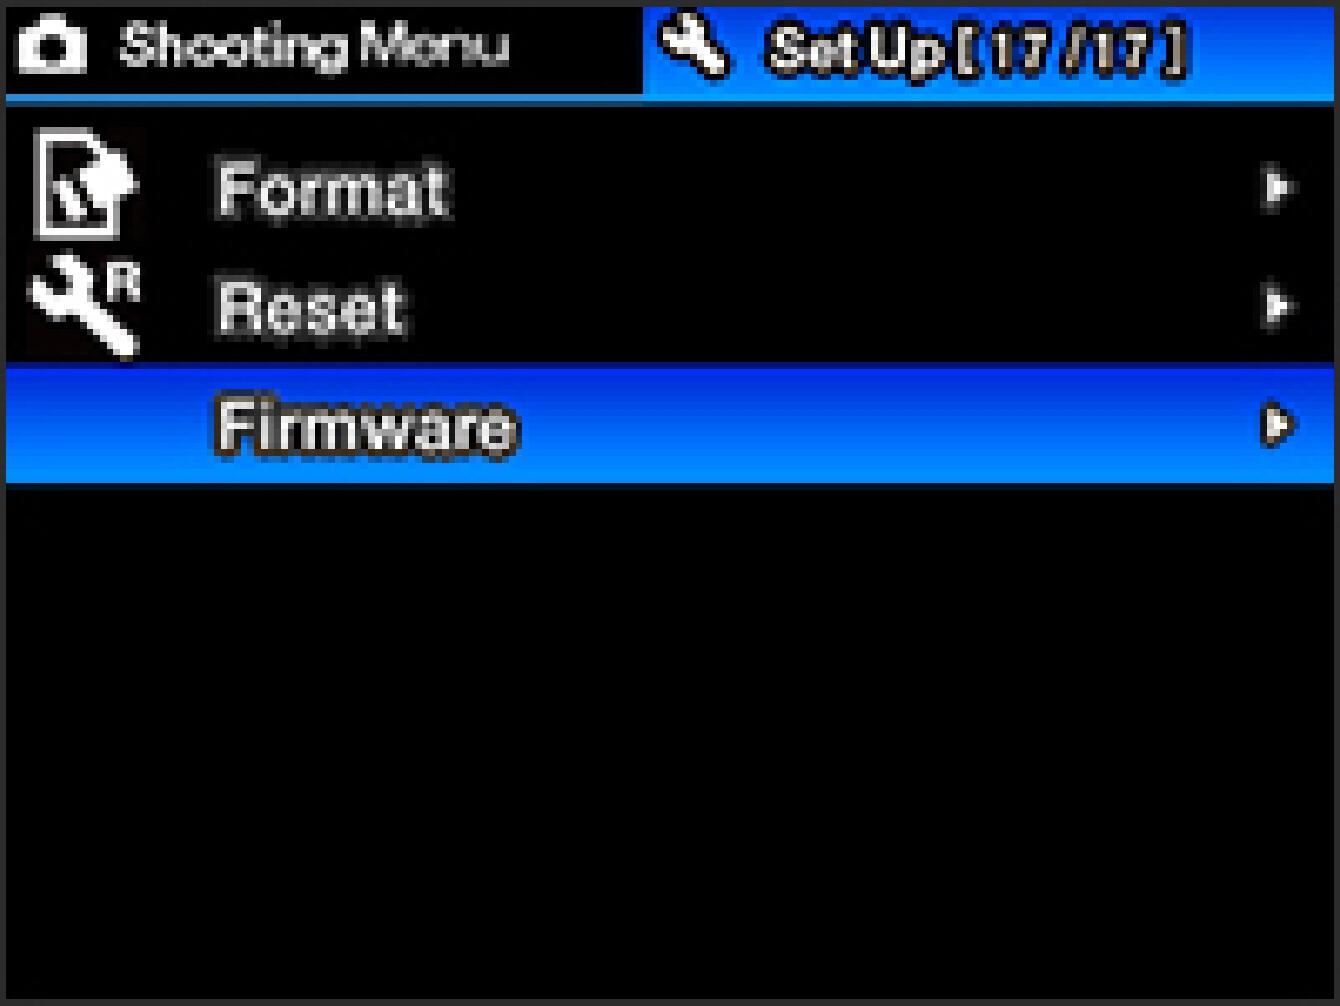
- STEP14
Press the right button of the 4-Way Controller to open the sub menu and select “Firm update”, then press the MENU/OK button to display the following message.
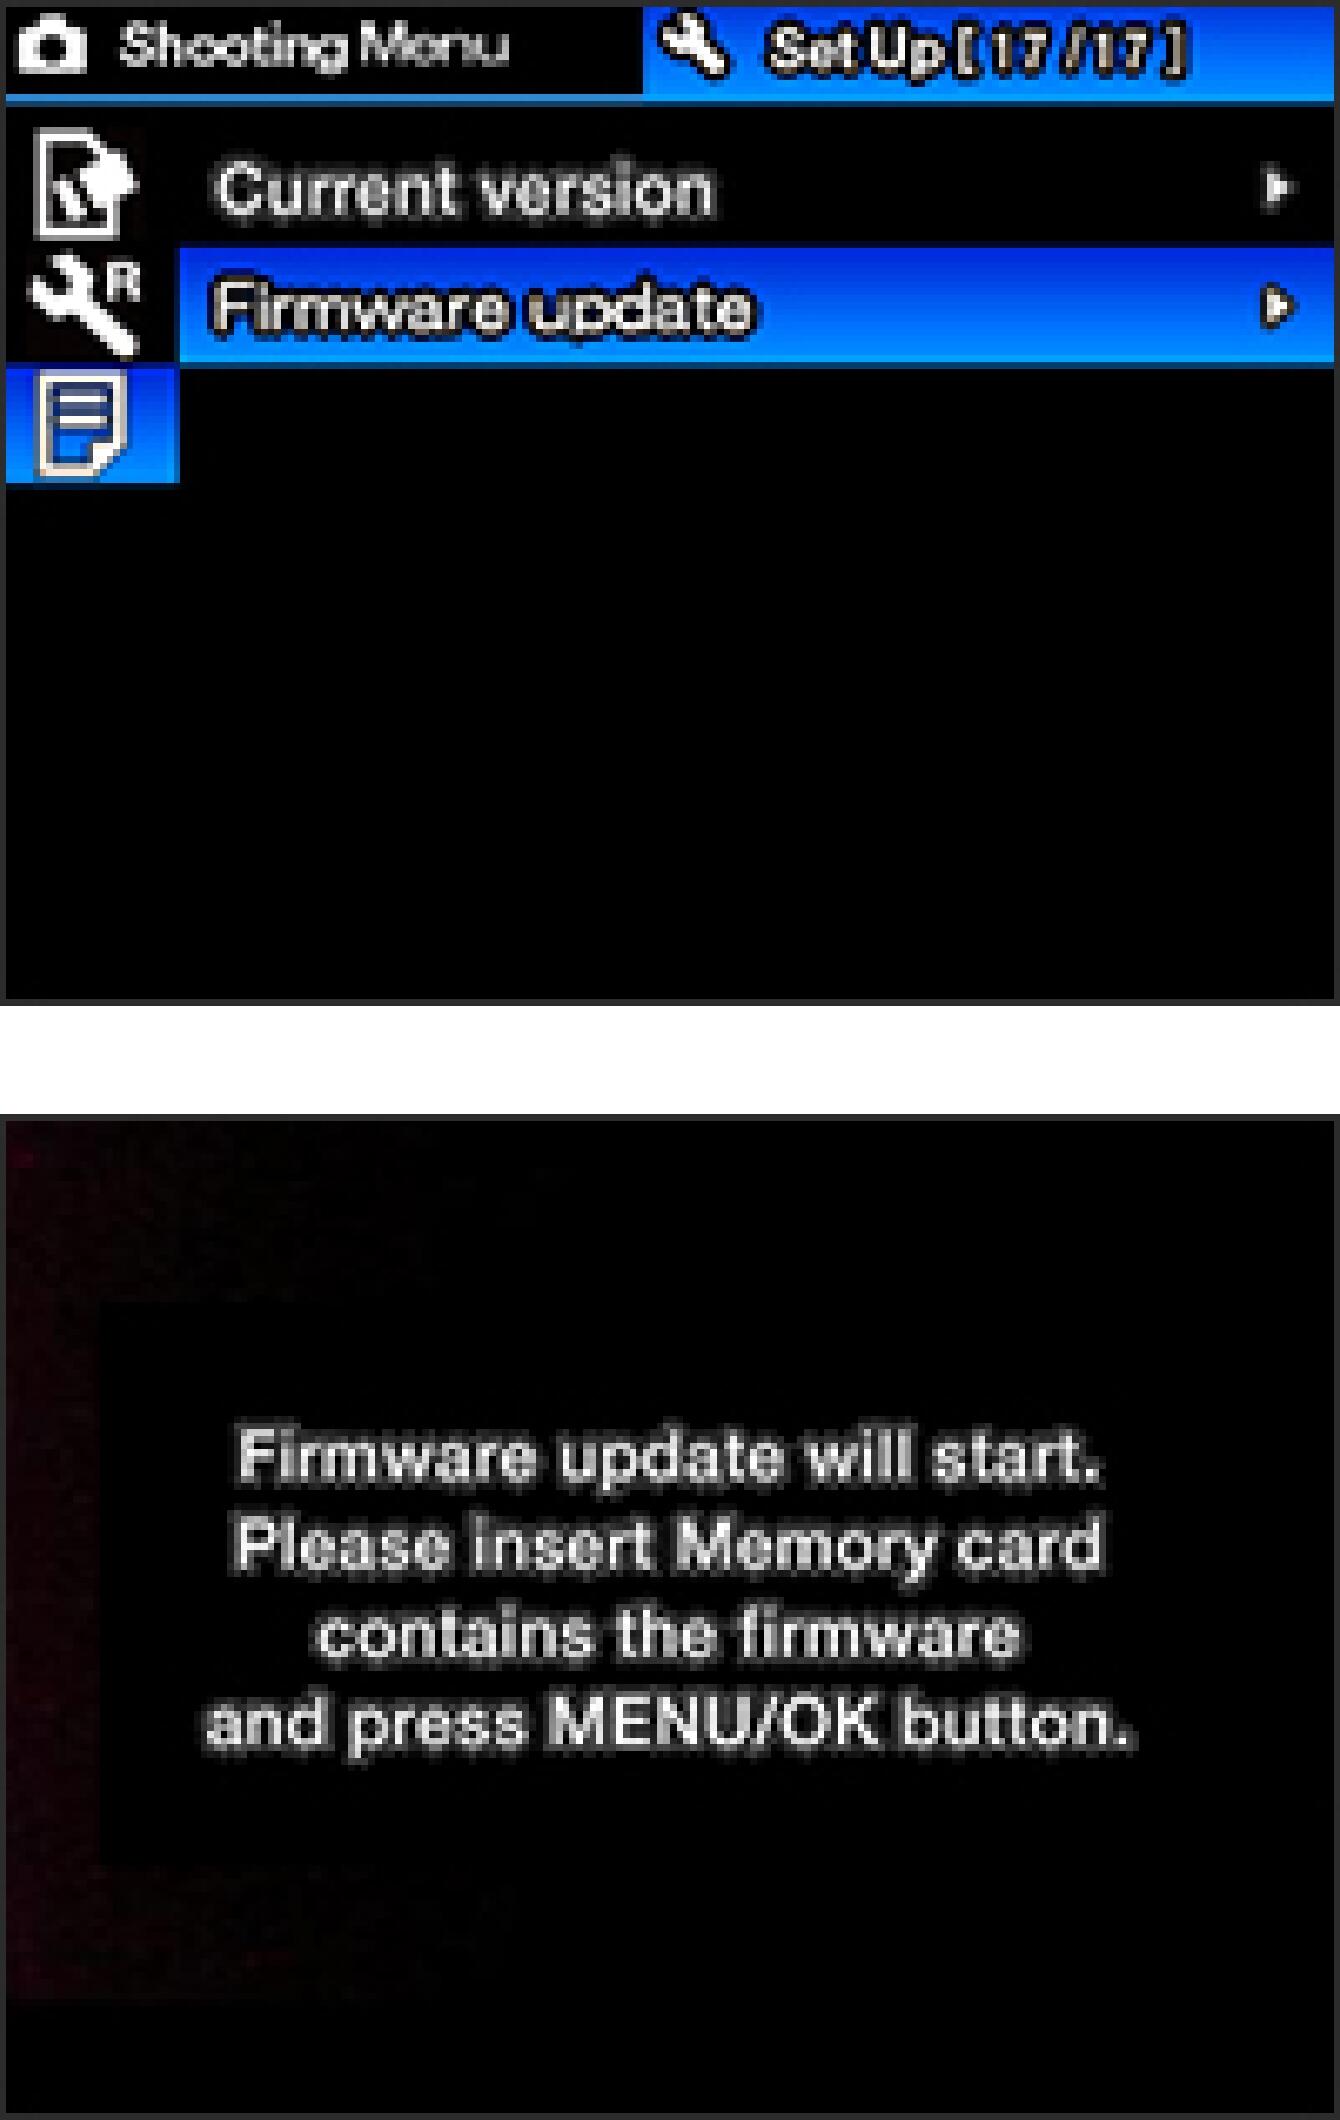
- STEP15
Press the MENU/OK button again to start the firmware update. (It takes about two minutes to update.)

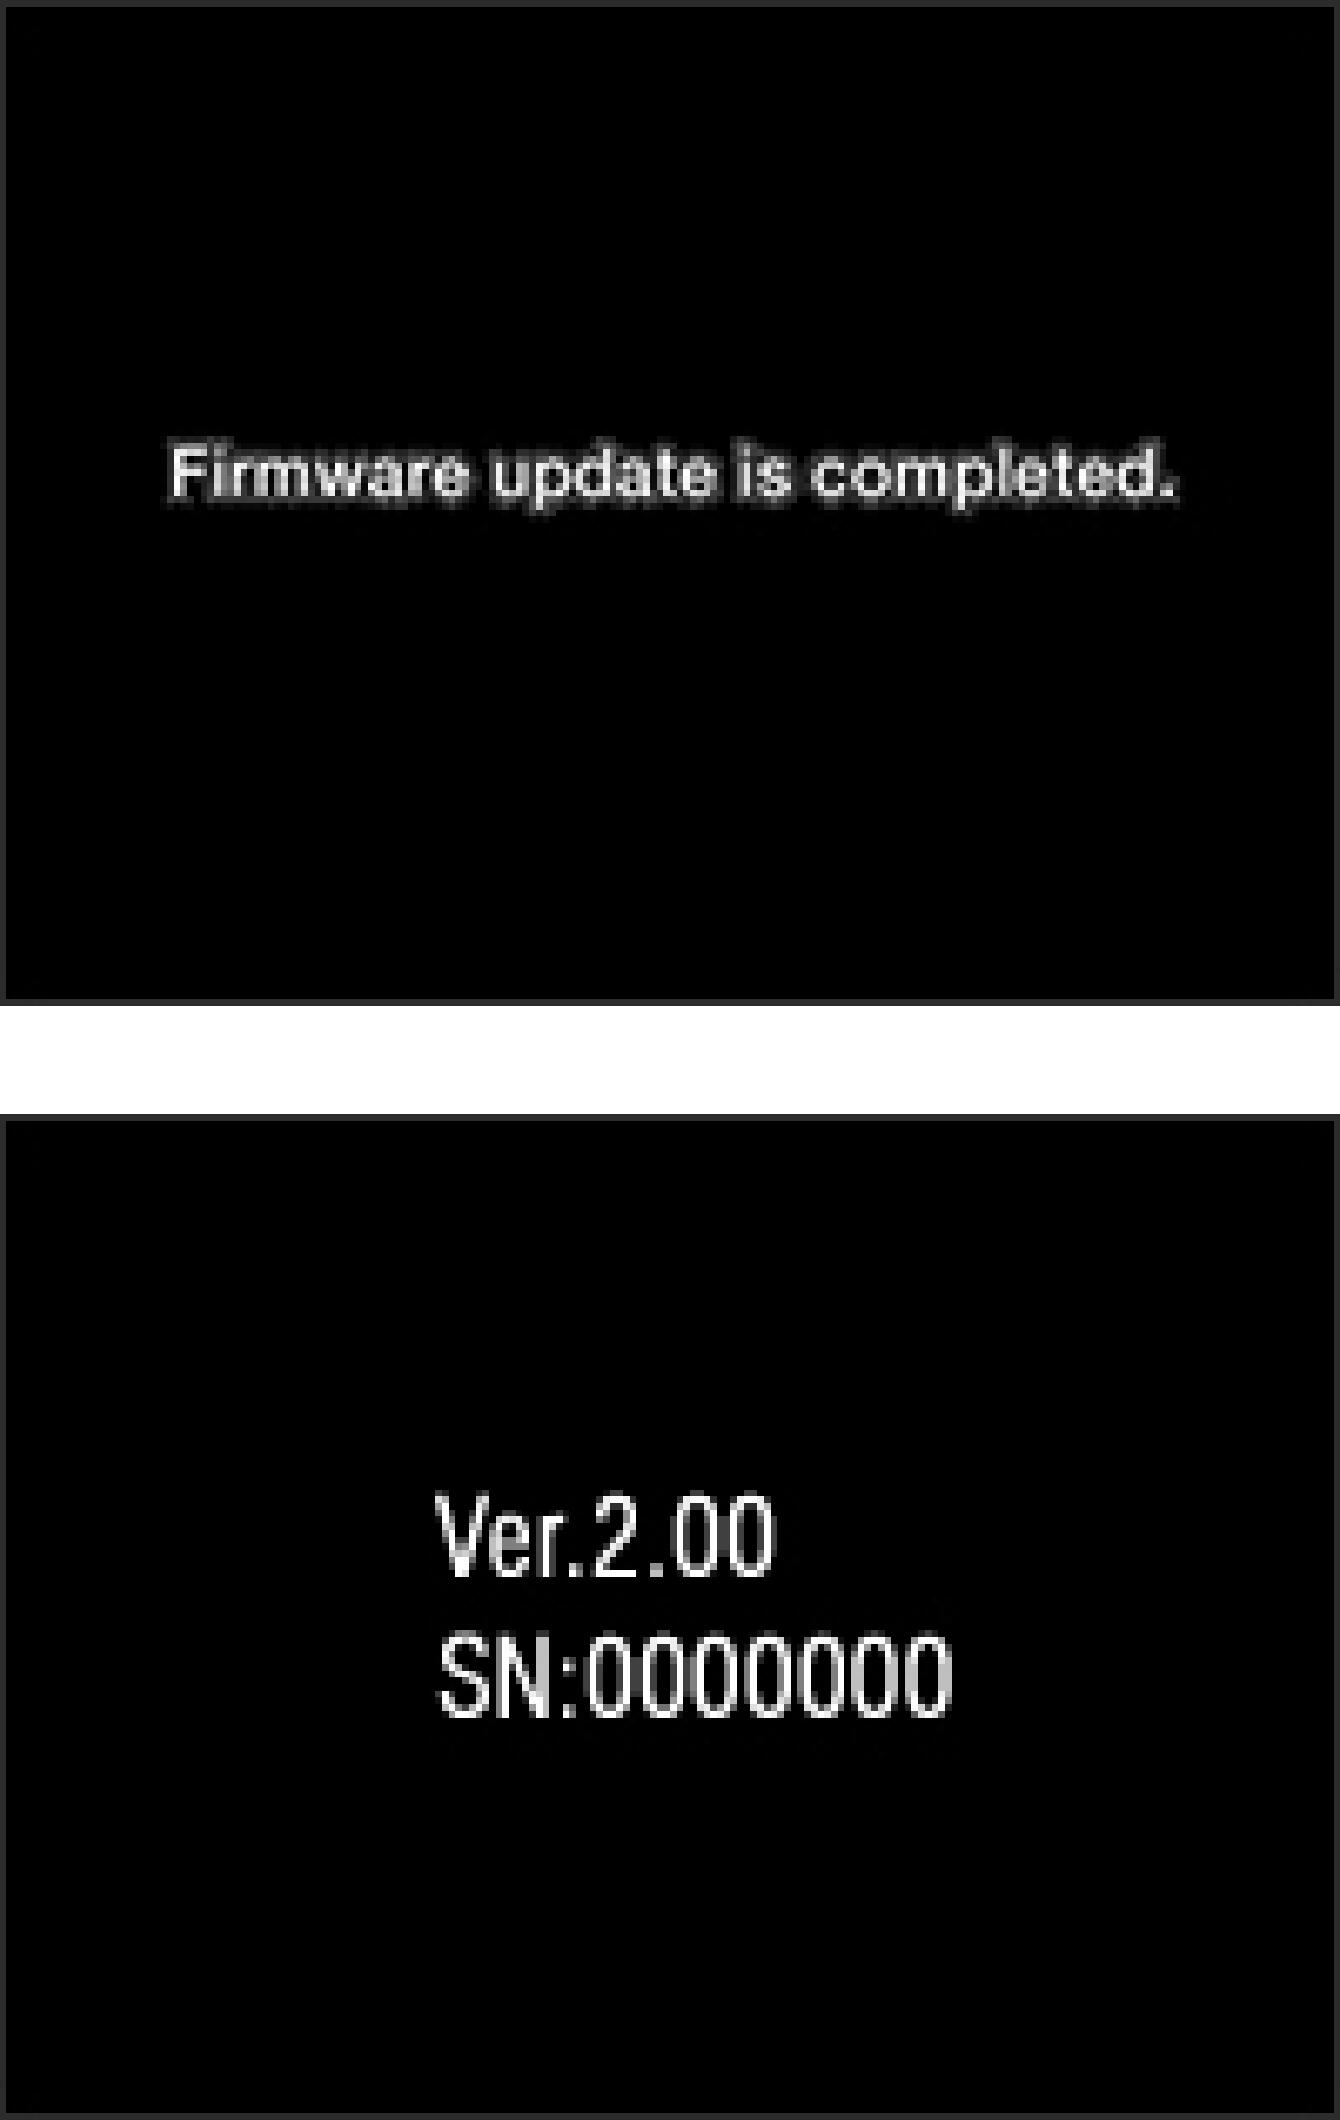
- STEP16
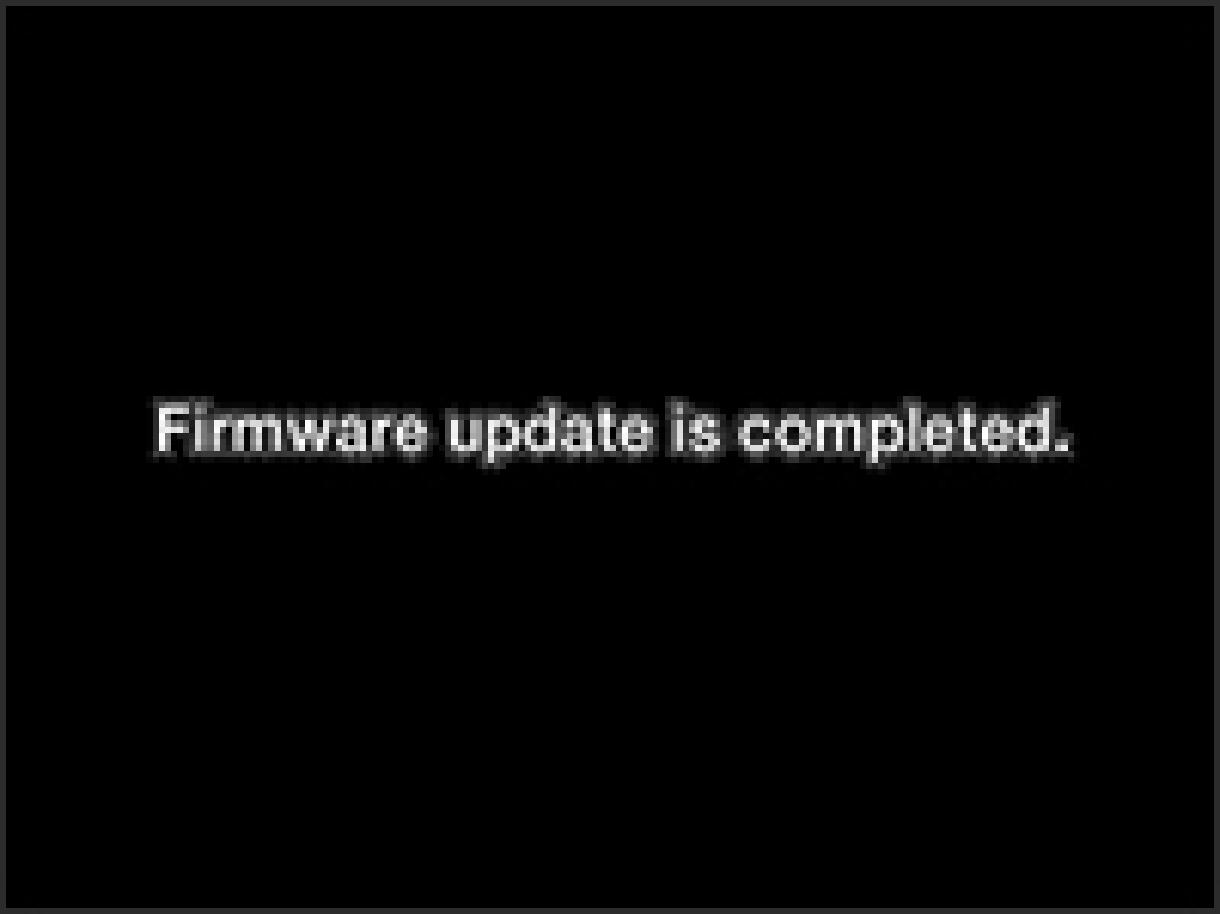
When the “Firmware update is completed” message is displayed, the update has finished.
* Please do not operate the camera until the “Firmware update is completed” message is displayed.
Select “Firmware” from the Set Up menu and confirm the firmware is updated to “Ver.2.00” with “Current version”. If “Ver.2.00” is displayed, the update is complete.
- ERROR
If “Firmware update has failed!” is displayed during firmware update, please repeat above installation from STEP 1. If the update continues to fail, please visit the following technical support page for our World Network contact details.
