sd Quattro Impression Vol.02
In the last impression, I examined the performance of the Foveon sensor particularly in light of resolution, color reproduction, and tonal depth. I also introduced the new function of the dedicated developing software "SIGMA Photo Pro.” In this second impression, I’d like to go a step further and focus on producing "pieces of work.”
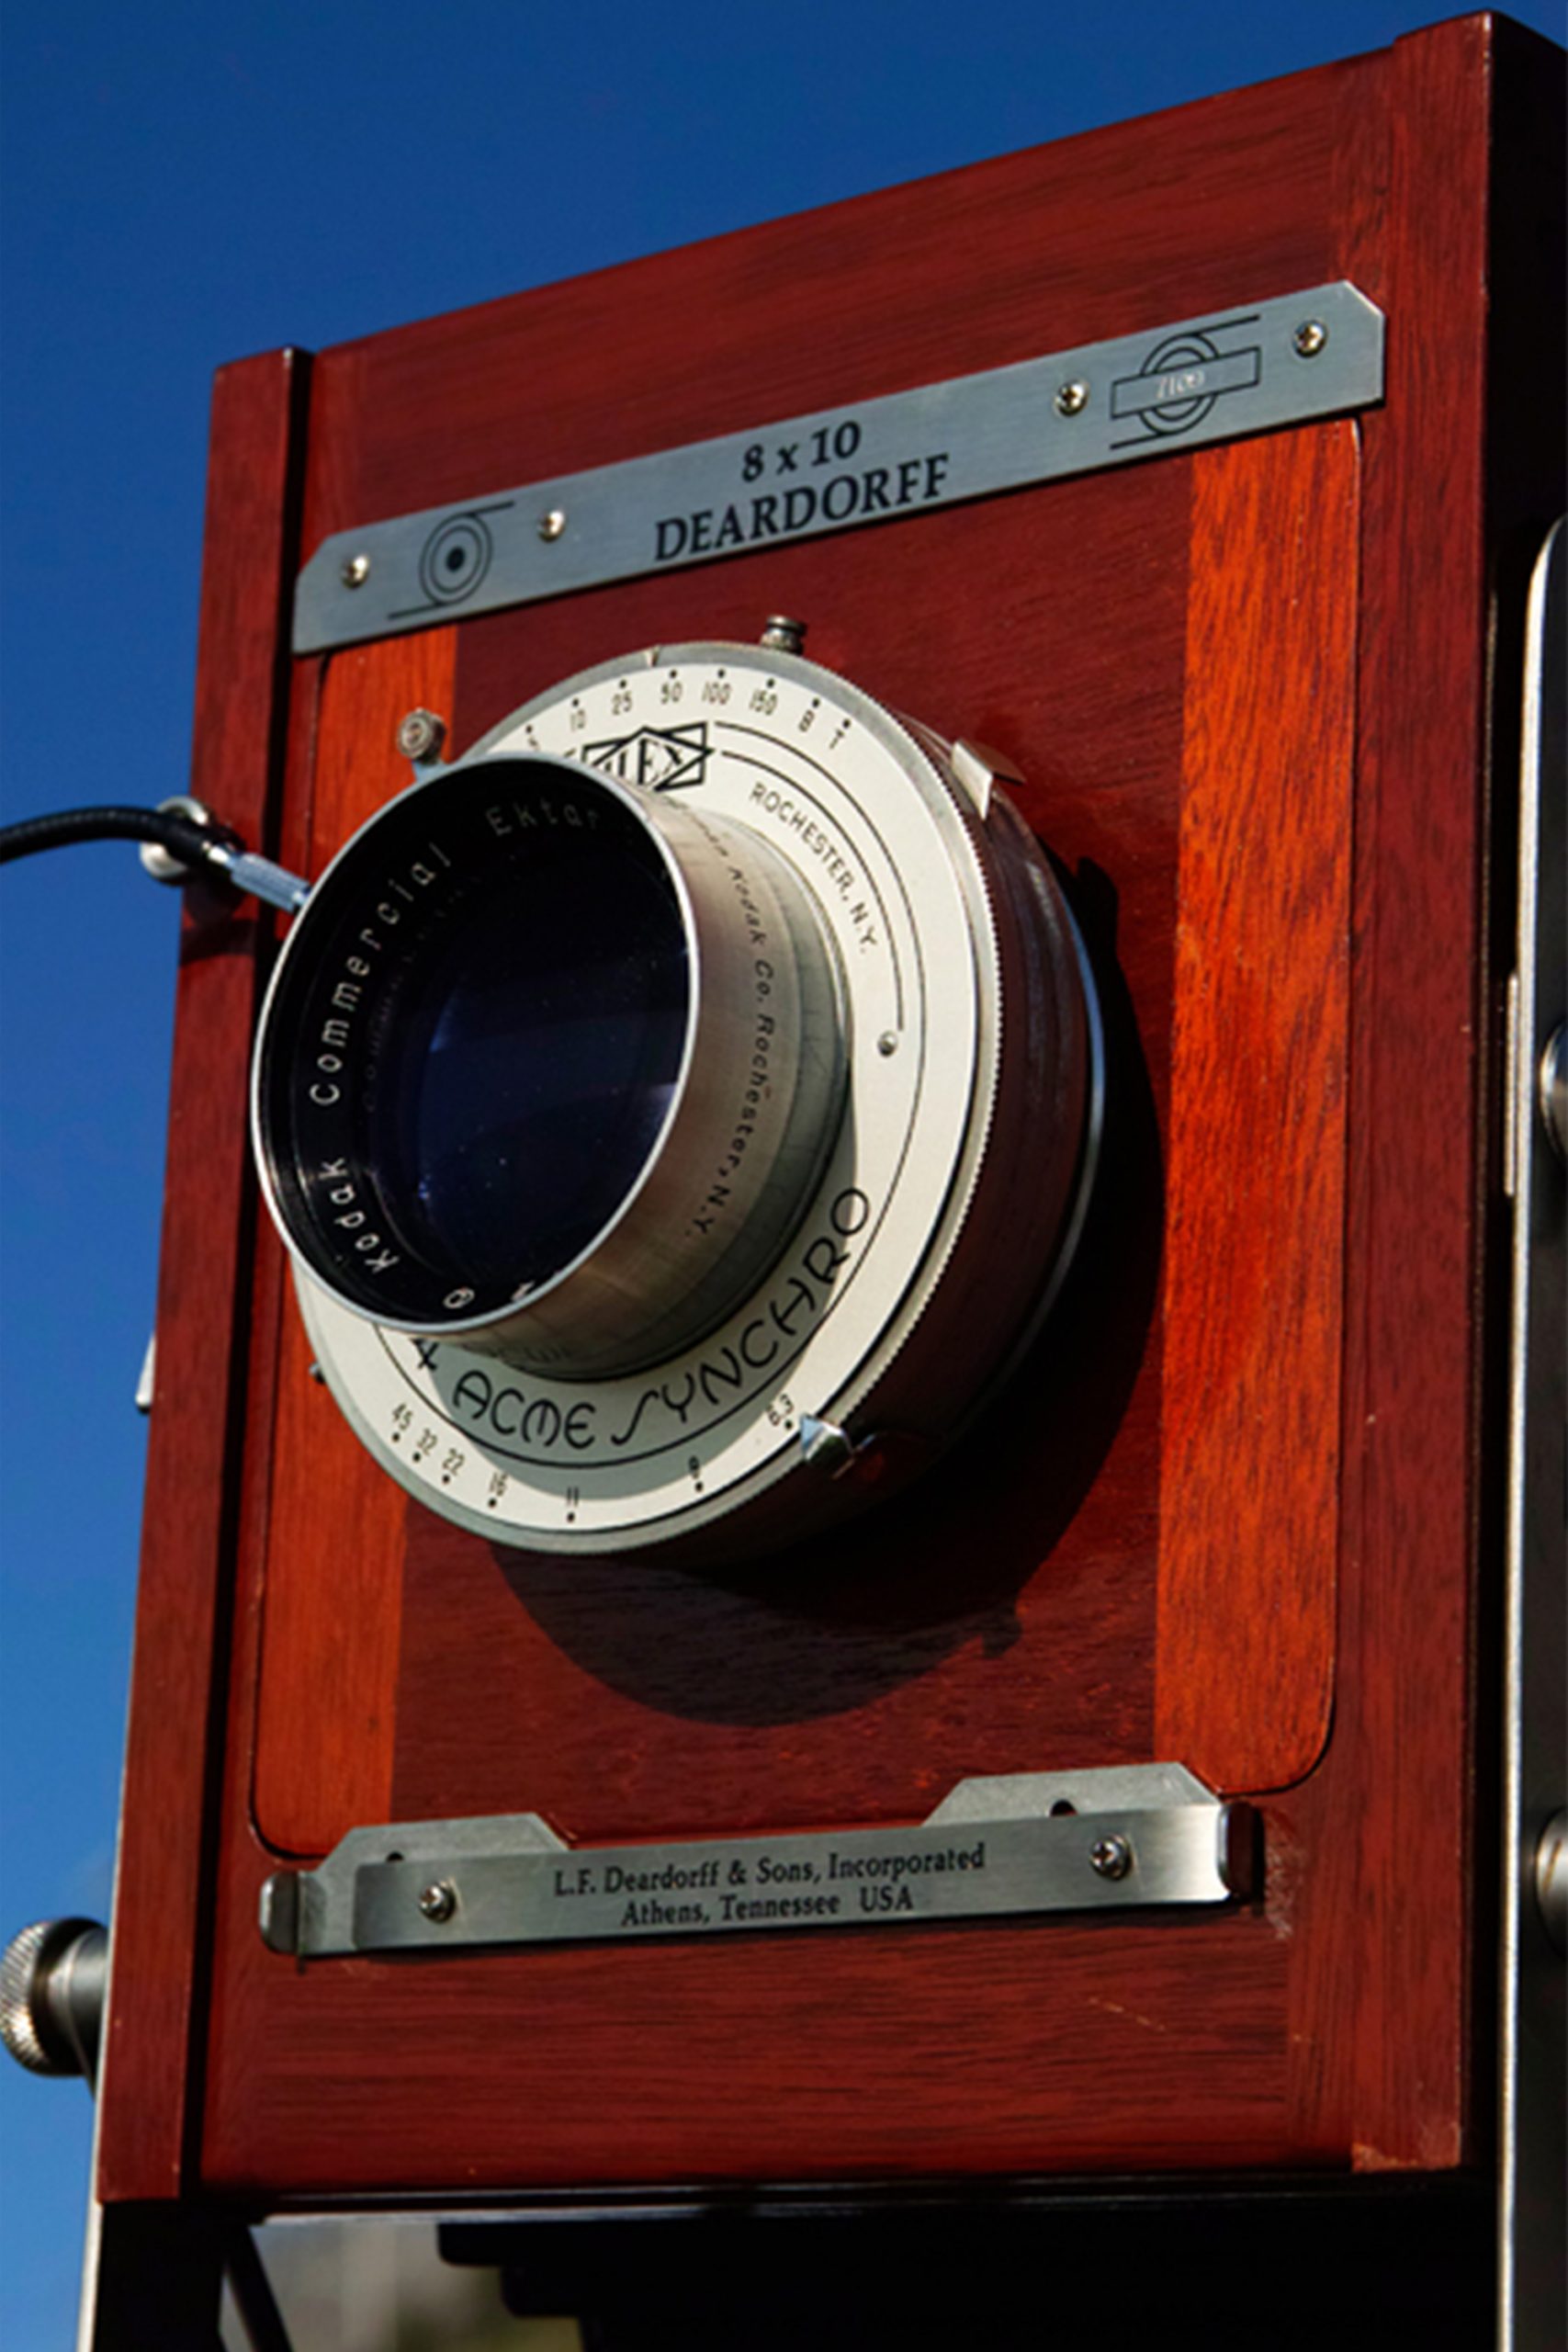
When I use SIGMA cameras, I often recall an epithet "just like a large format camera.” Maybe I need to explain in more detail. The large format camera is a simple old-fashioned camera that uses large sheets of film. The largest film size we can get today fairly easily is "8×10” format. It can contain so much information that realizes extremely precise and high quality image production. On the other hand, it’s extremely hard to handle. You can never shoot it quickly and must forget about moving subjects. You assemble the camera, fix it on a large tripod, check composition and focus over and over again, wait for the sun and clouds to be in the ideal position, and finally release the shutter. That’s how you shoot a large format camera. People of a certain age group would ask if it is a kind of camera with a black cloth over covering the head of photographers taking group shots back in the old days, and my answer is "bingo!”
Side-by-side comparison with 8x10
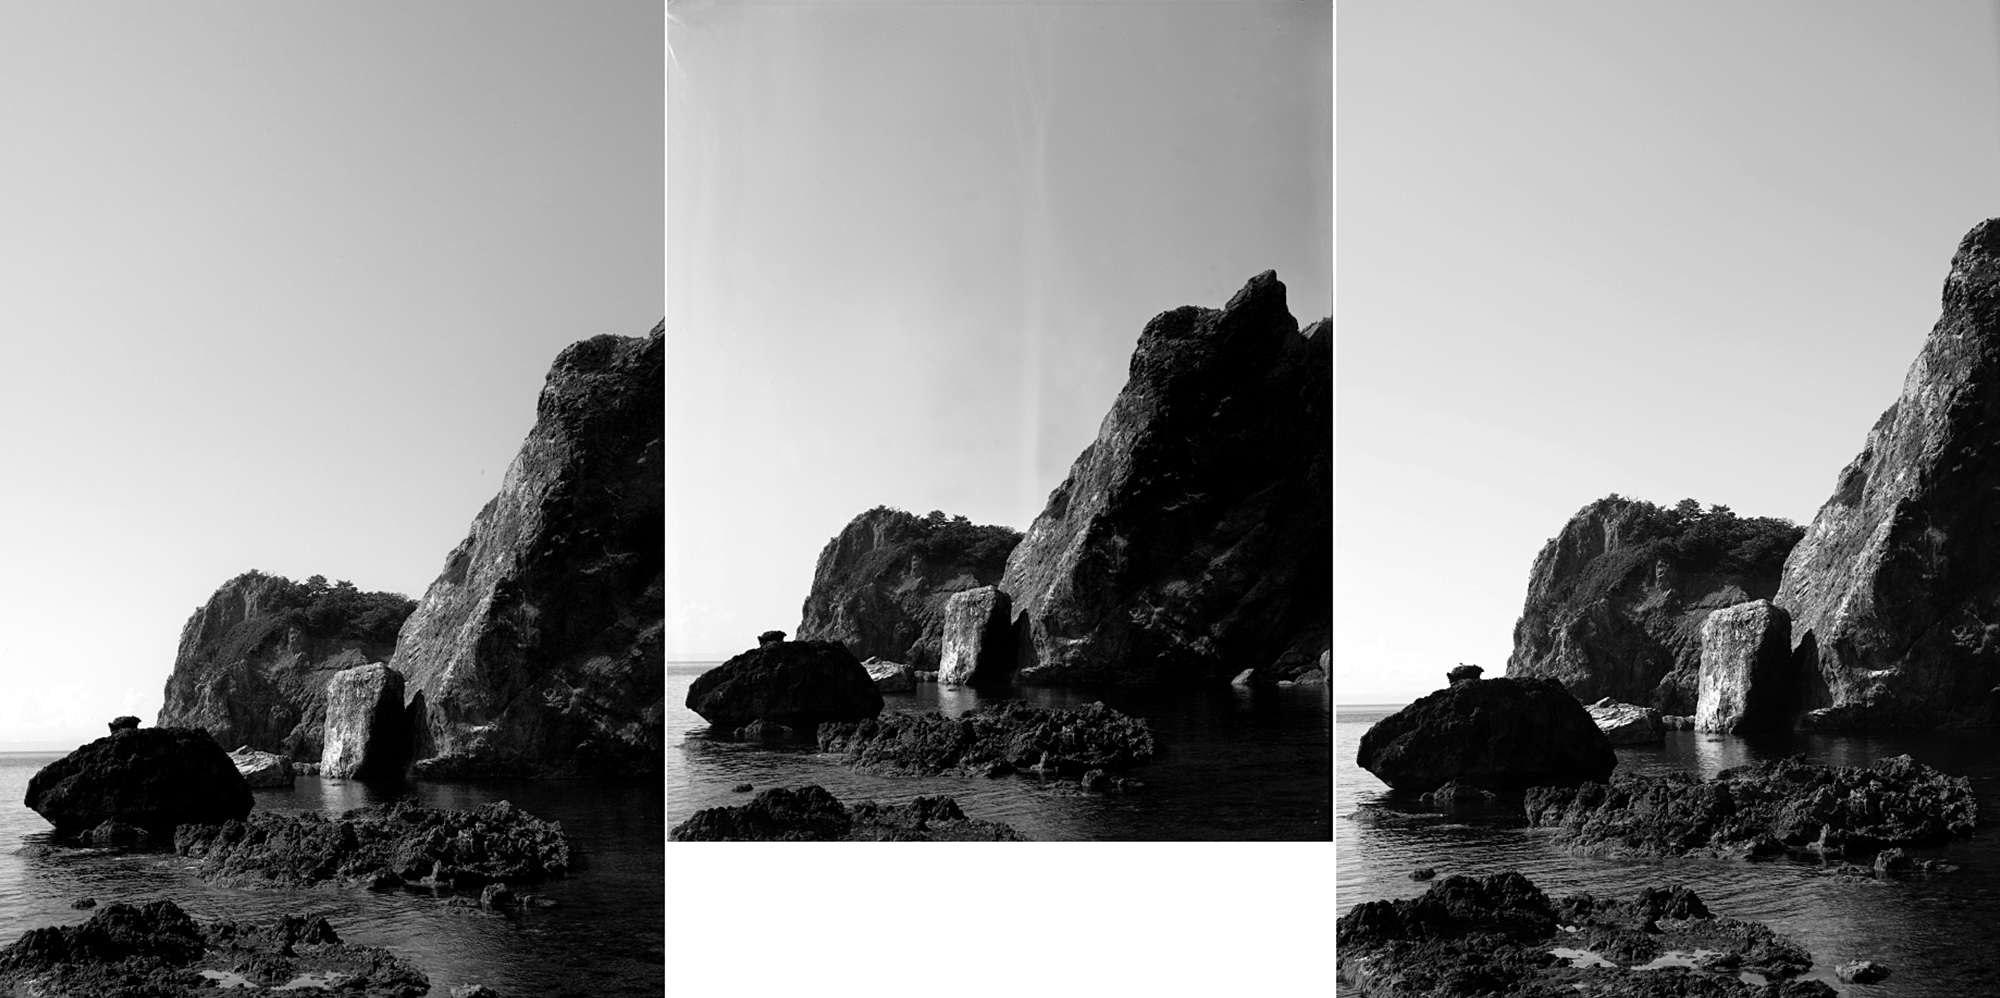
Let’s go back to the topic. In order to test my hypothesis that SIGMA’s cameras take large-format quality images handheld easily, I think it’s legitimate to compare the shots of the same subject taken with the sd Quattro and a large format camera. Actually, I shot the same subject with three different cameras. Starting from the left, taken with the sd Quattro, a 8×10 large format camera, and a DSLR featuring 50 megapixels. I know they don’t make good comparison because their origins are completely different from each other. But, I do feel the images taken with the Foveon sensor rival the convincing images taken with 8×10 and I simply wanted to know if it was true or not. Also, I wanted to know about the difference it makes among mainstream digital cameras using the same system. What you see below are images reduced to be 920px in width. I chose to use monochrome images just to focus on resolution and tonal gradation because they are often influenced by color information (of course, there’s an essential difference between color information of digital and the one of film).
Let’s check the image shot with the sd Quattro. It’s just wonderful to be able to get this image quality handheld with such a compact system. And, I take my hat off to the monochrome images taken with Foveon cameras in all generations. The image quality is so high that I feel ridiculous to stay in a dark room…
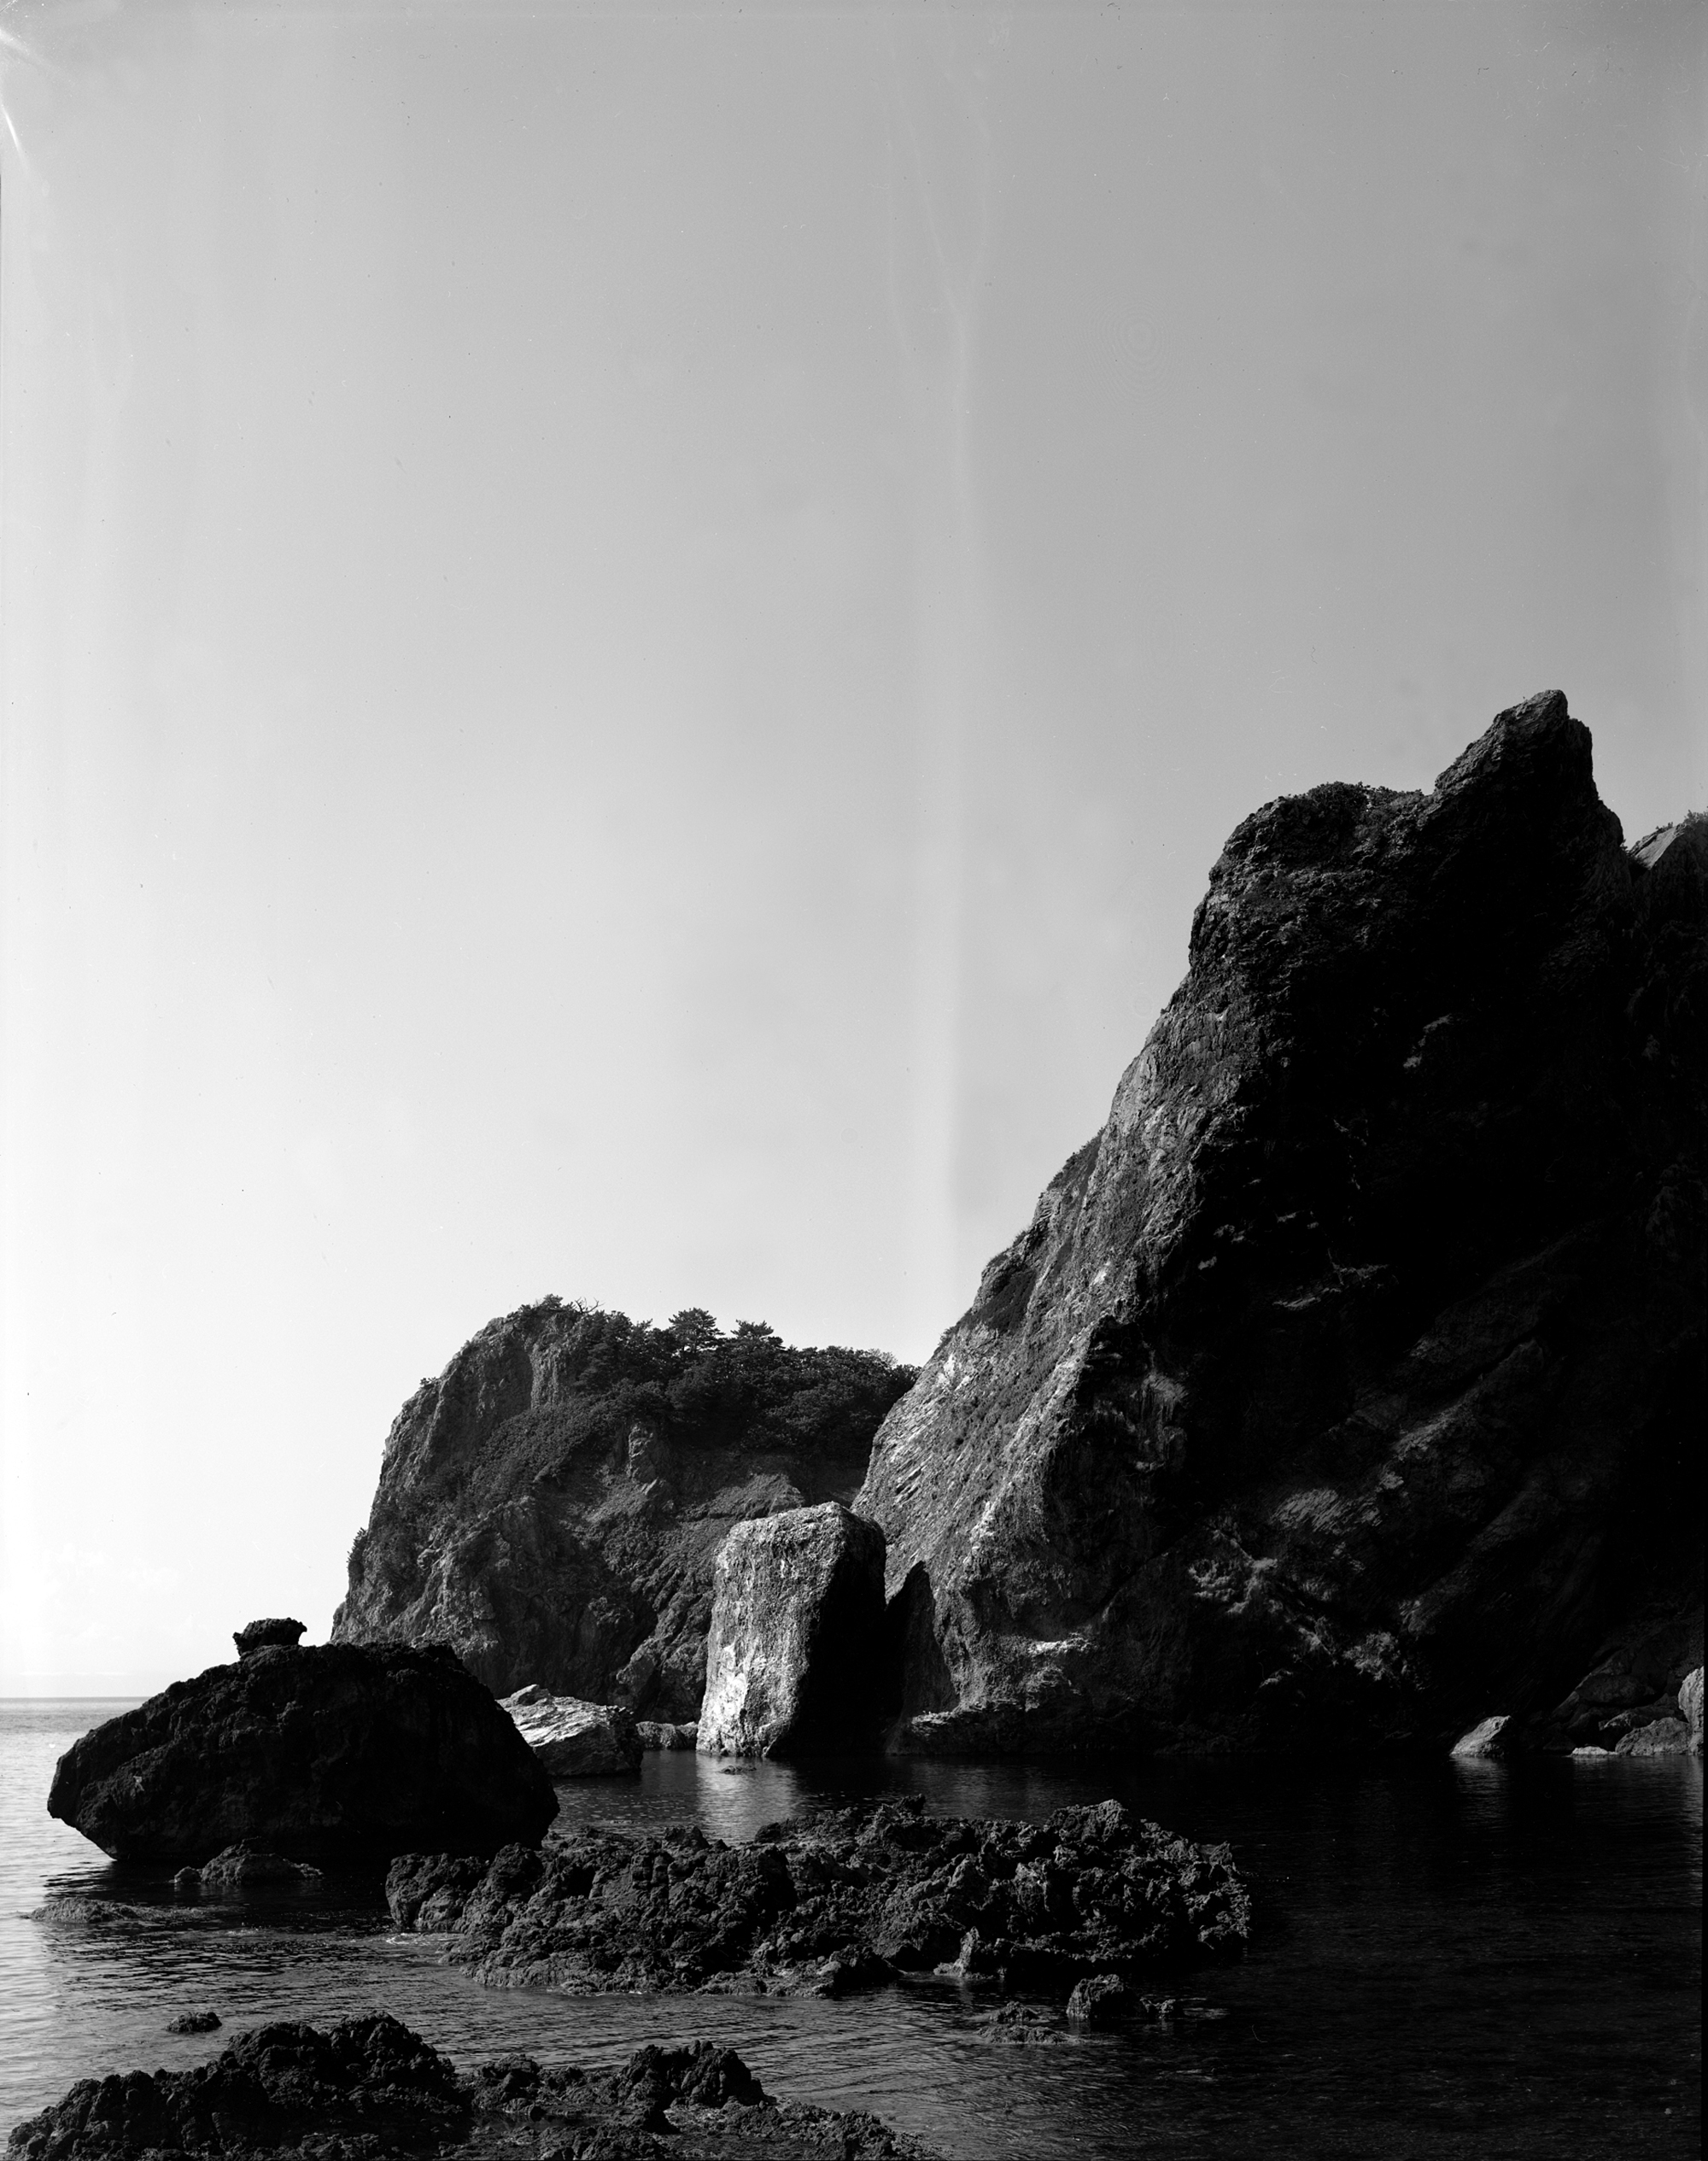
Next one, 8×10. Actually, right before I left for testing the sd Quattro, I scanned the film (which was still wet!) that I developed with a D76 which I made 6 months ago. I wanted to have it developed by a pro lab, but they said it would take about 2 weeks which was too long. Forgive the grand irregularity of development. It’s just my weakening skill… Anyway, I think I could show the resolution of the sd Quattro can rival 8×10. Either image looks impressively precise.
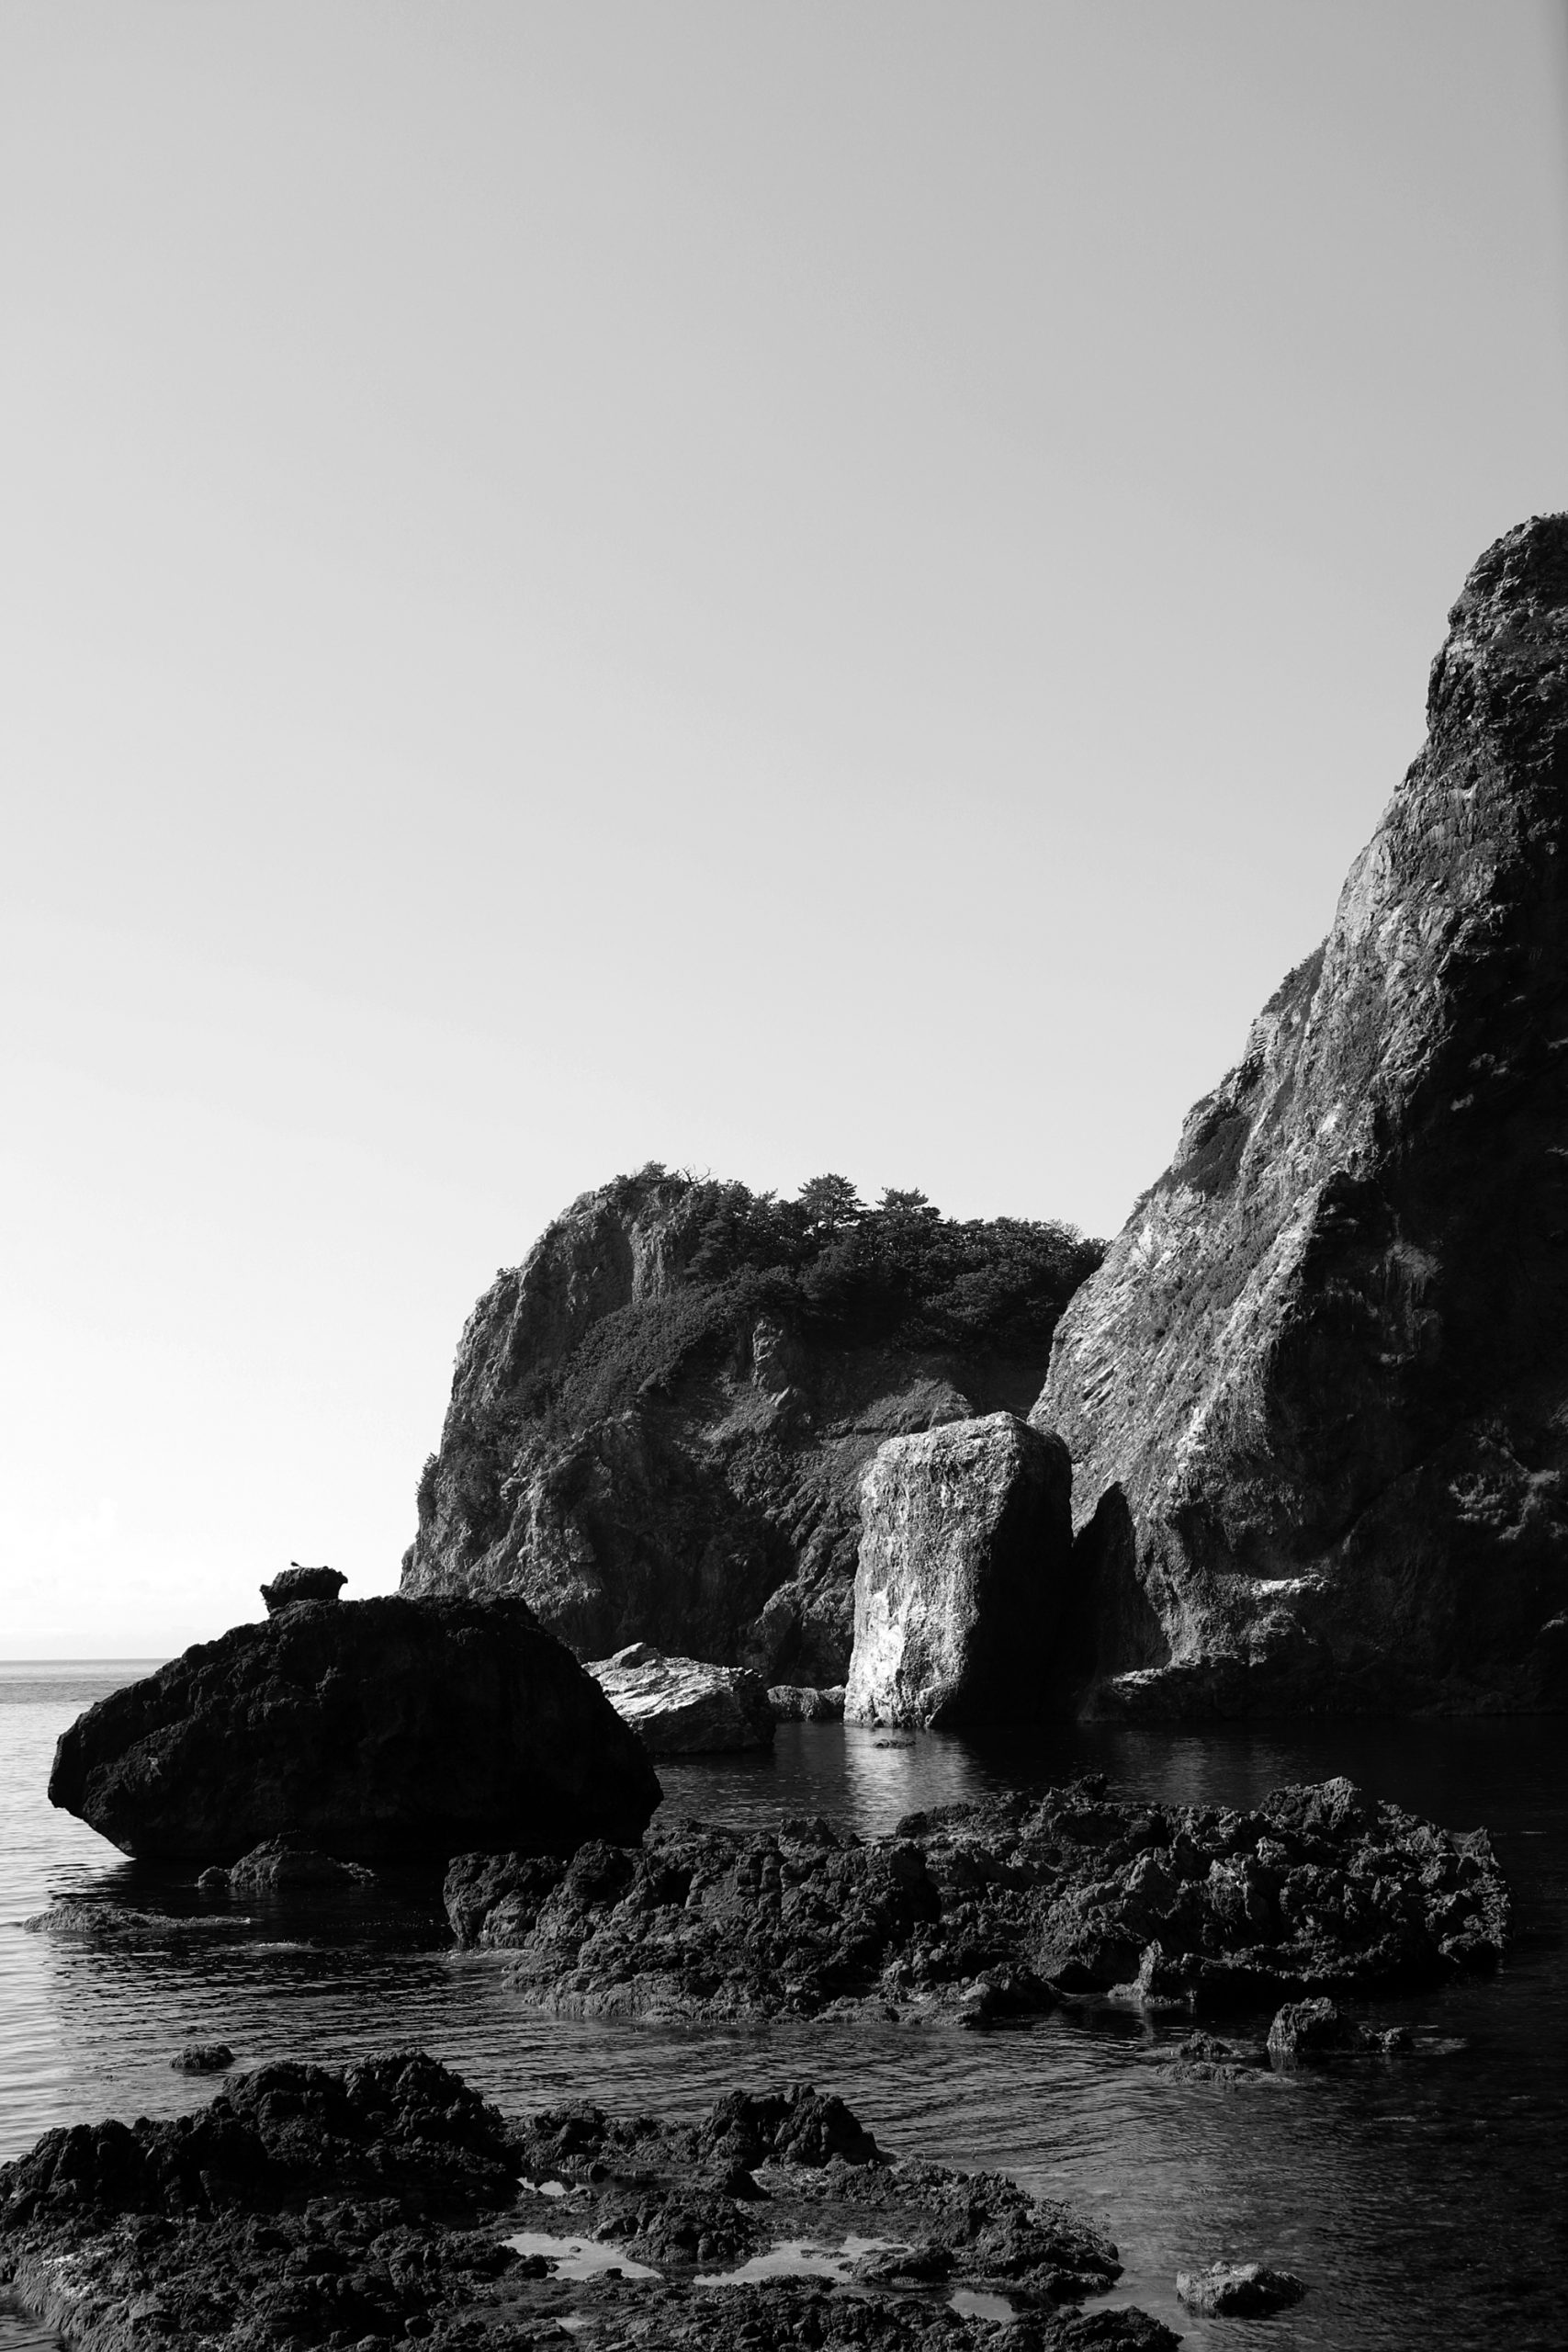
The last one was shot with the DSLR camera. The resolution is quite high, but the drawing lines seem to be thicker than the other two.
To process the images shot with the sd Quattro and the DSLR camera, I developed the RAW files, got outputs at their original sizes, and reduced them to be 920px in width. As for the image shot with a 8×10 film, I scanned it at 1200dpi and reduced it to be 920px in width. So, it’s nonsense to make a comparison using 100% crop images. Here’s my overall impression. 8×10 film still overperforms the other two in terms of the image linearity, resolution, precision, and most importantly, depth. The drawing lines of the sd Quattro is natural like films and I believe it’s because of the sensor structure. And, the image quality including resolution can rival 8×10 films and it’s somehow "film-like.” Let me add that the rendition of the DSLR camera with 50 megapixels is compelling, too. Anyway, by this test I think I could clarify the position of the sd Quattro. And, the combination of image quality and great handling is so tempting. When it comes to cost performance/benefit, nothing beats this camera.
Trying an approach to large
format photography
I think I could demonstrate that we can even take an approach to large format photography with the sd Quattro even though it’s an easy-to-shoot compact camera. So, I went out to shoot it like a large format camera to check its capability to produce "pieces of work.”
I’d like to discuss what I mean by "pieces of work.” Simply put, images can be "pieces of work” if they were shot with an intention to be shown to others. On that basis, each photographer has his or her own definitions that are all different. Still, one glance is enough to tell a good picture. We feel something unusual just by looking at it quickly. Then we observe small details until the vague initial impression is depicted with clear edgelines. Finally, we conclude that we like the picture. In this sense, I can also say that "pieces of work” are something that let viewers take such process. If this is true, it goes without saying that the phenomenal Foveon sensor powerfully assists creating "pieces of work.”
Beauty of SIGMA Photo Pro
Even though the biggest advantage of digital photography is image processing, it’s obviously important to imagine the final output and shoot in the way that best supports the realization of the imagination. I believe that we can never realize it if we shoot hoping to do anything later. In other words, almost everything is decided at the time of shooting. Of course, we still need image processing to finalize image production. In fact, I often get nice results just by adjusting some parameters out of a whim.SIGMA Photo Pro (hereafter "SPP”) is dedicated to X3 file RAW data and it’s very dense. I guess people often use it with conventional software such as Photoshop, but here I tested how much we can do only with the SPP by comparing original and adjusted images.
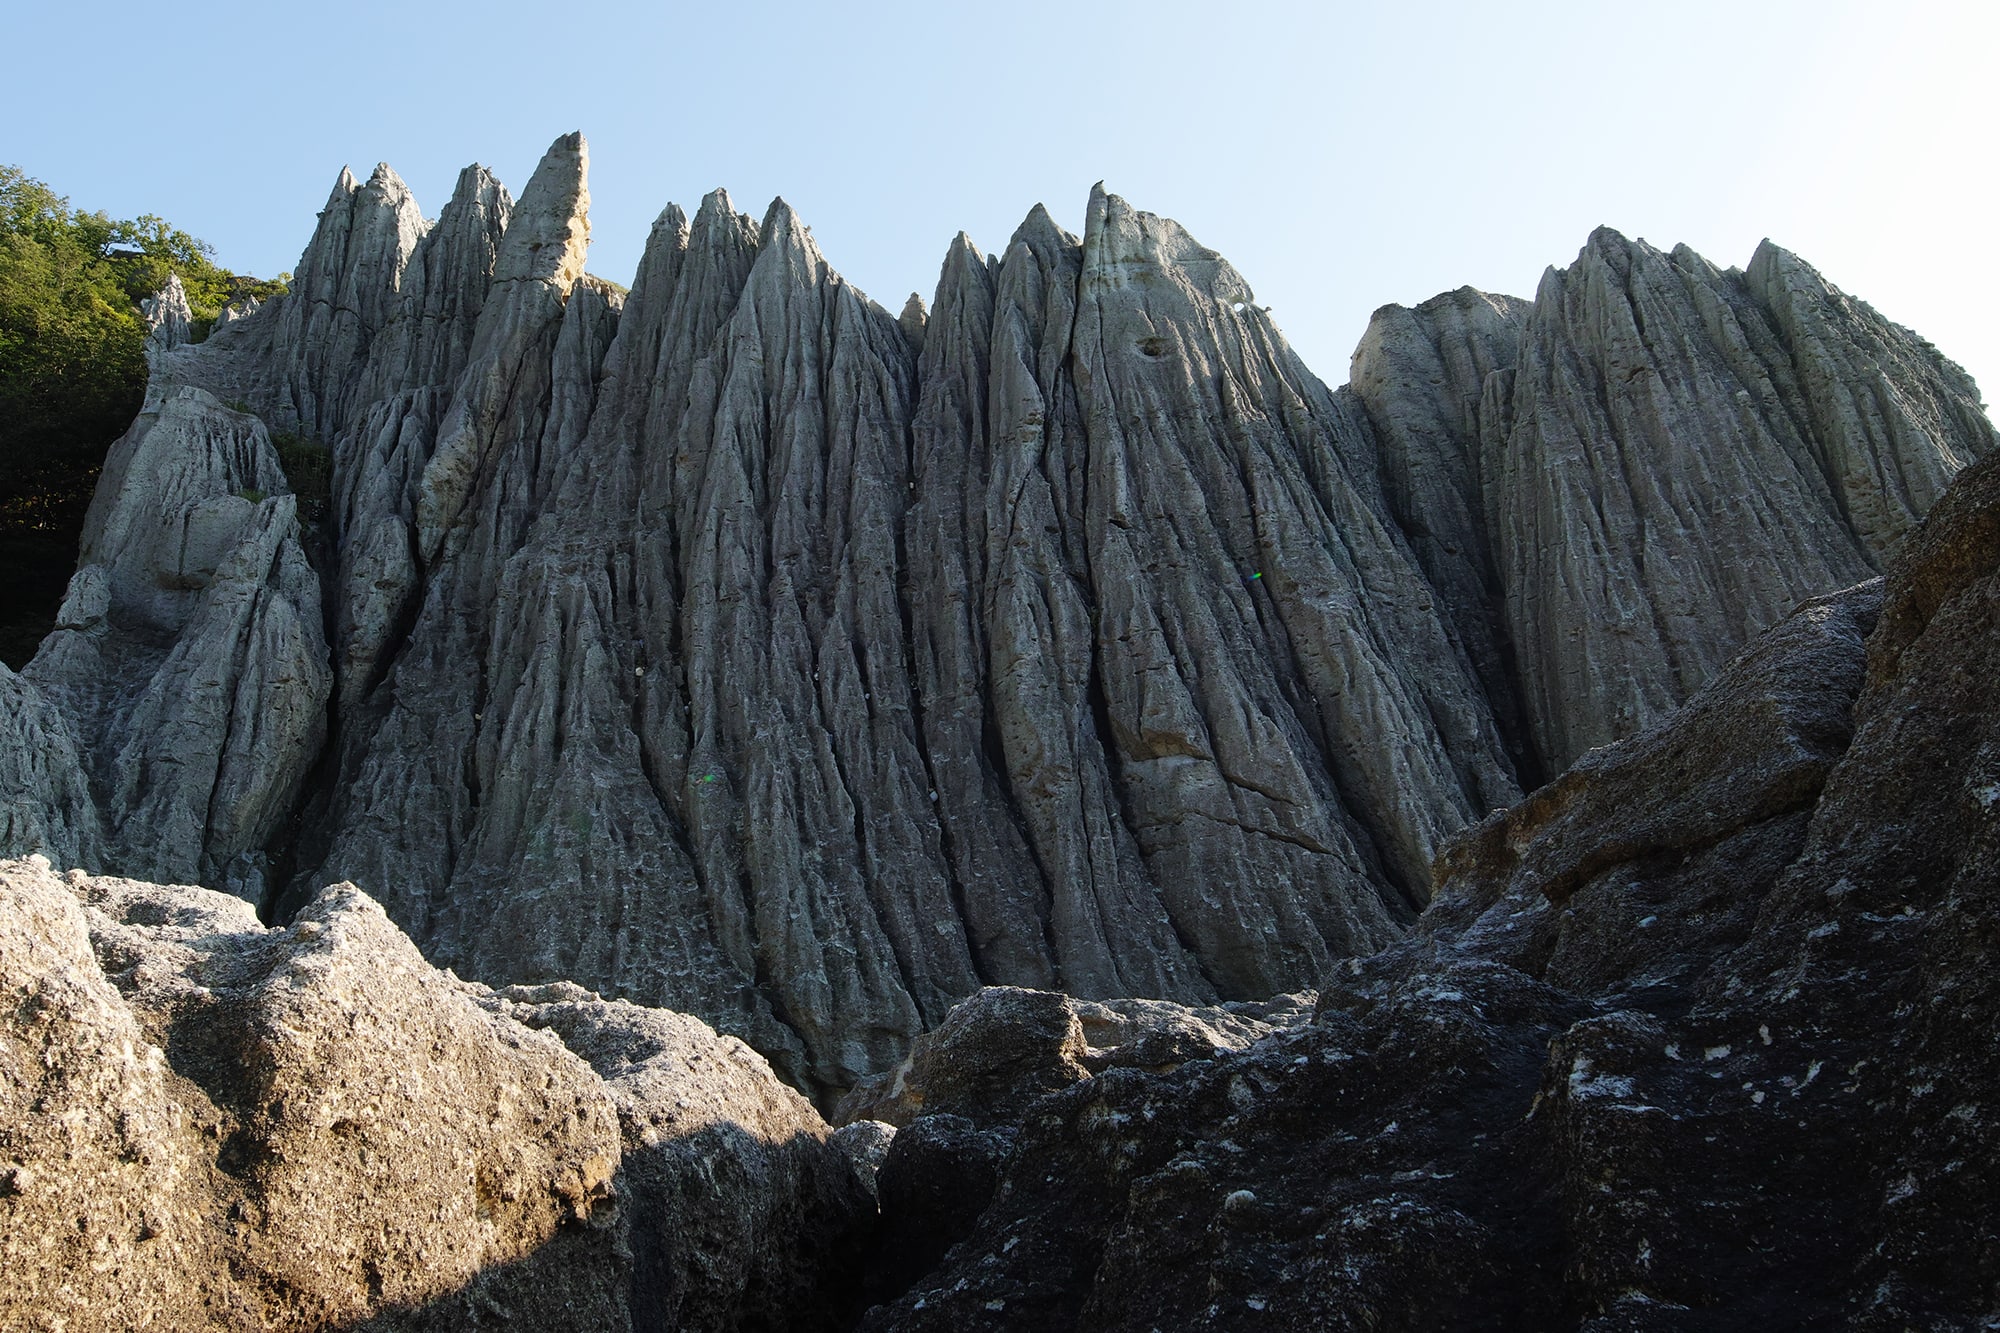
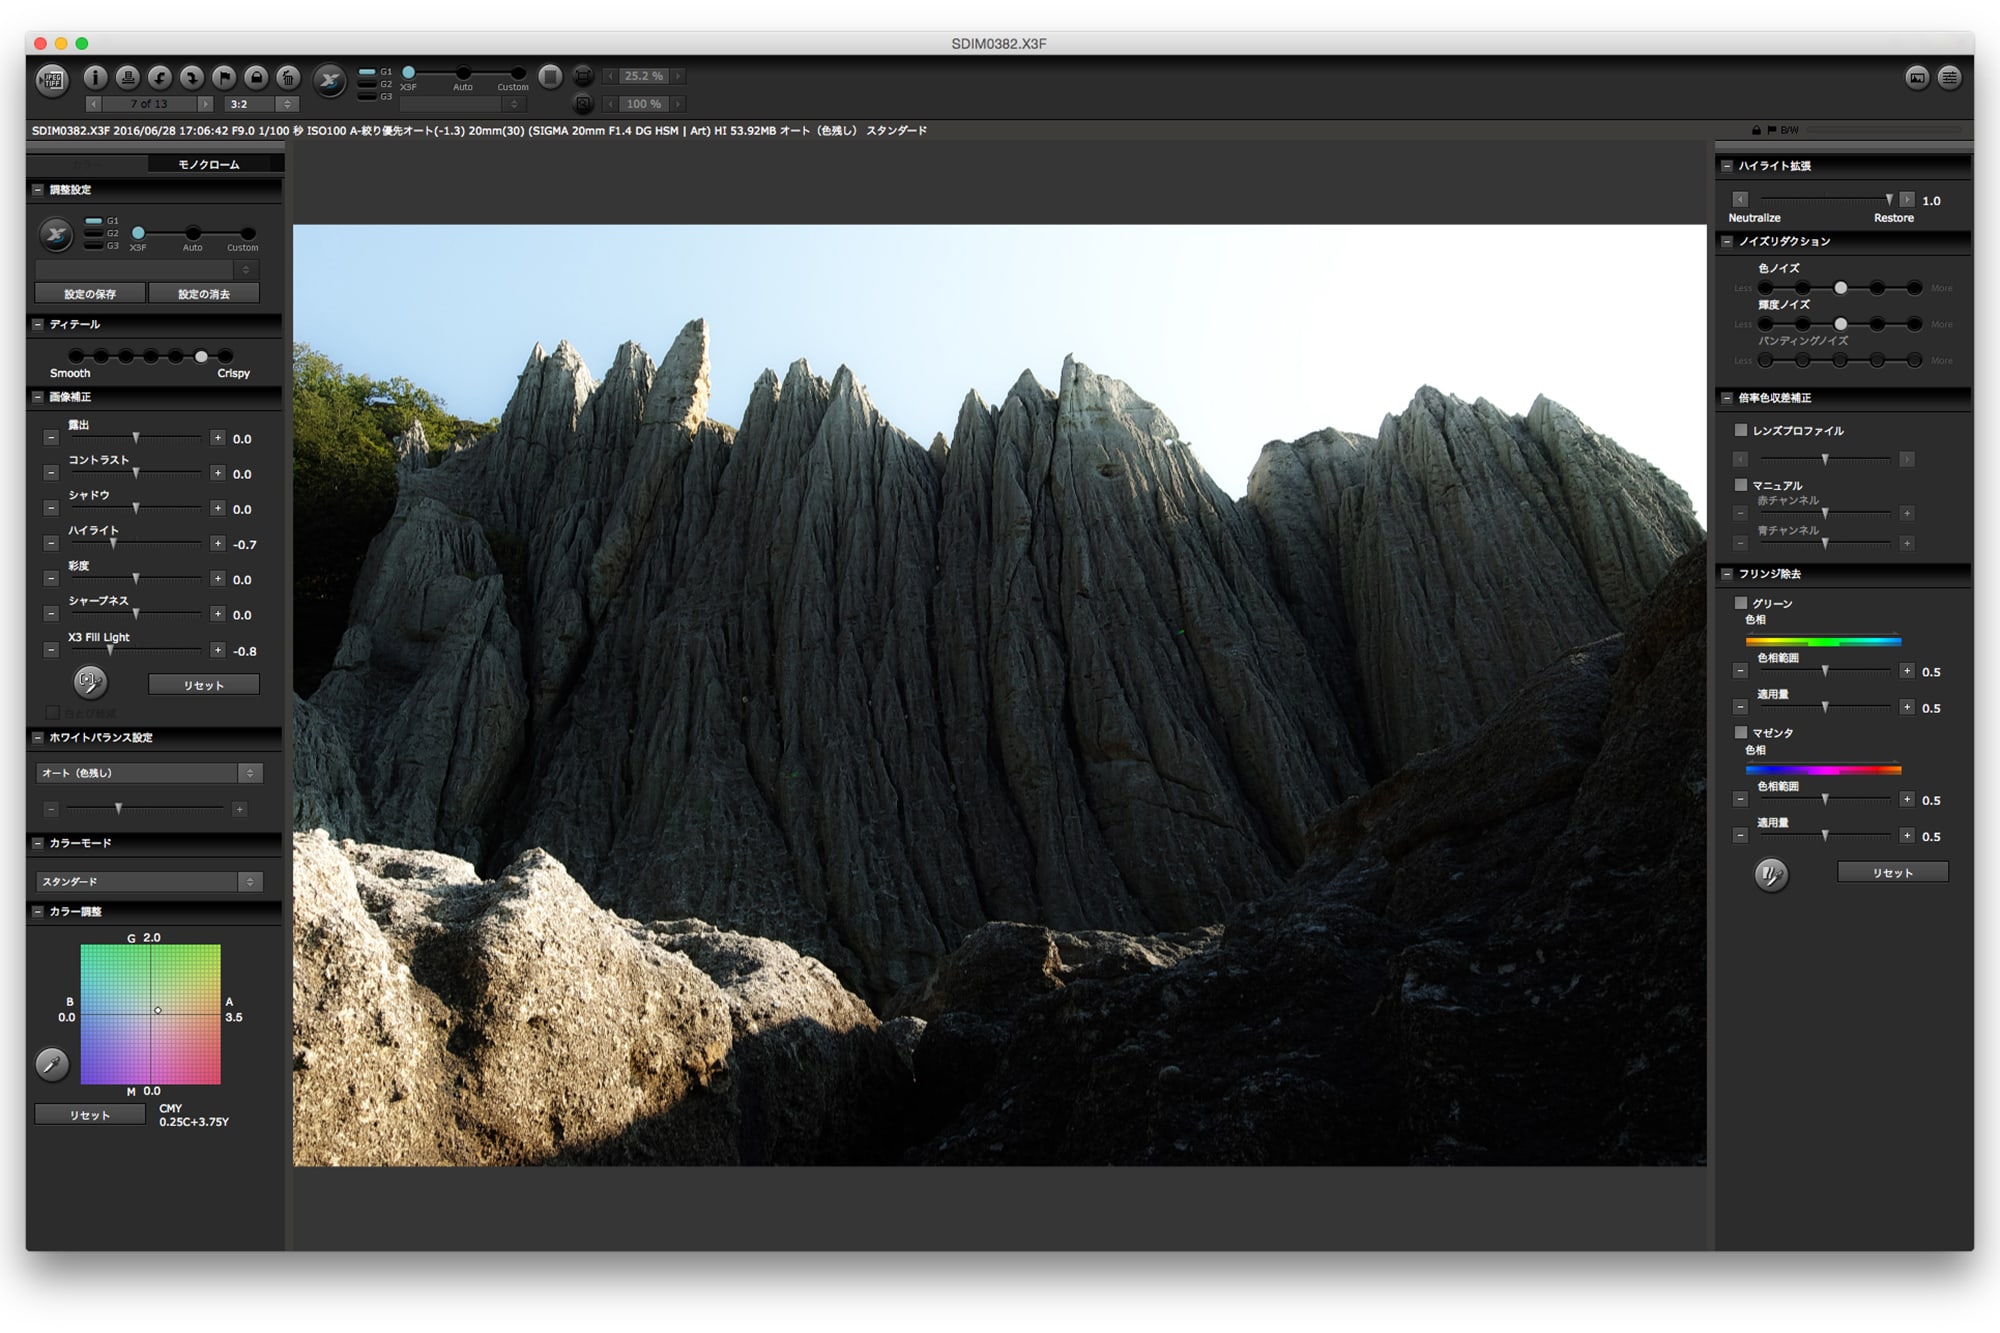
The following four images are examples of adjustments with the SPP. I chose to adjust drastically to make it easier to understand. Below the largest ones as final outputs after adjustments, you see a small image before making adjustments and a captured screen showing parameter settings. You can also see them at their original size by clicking.
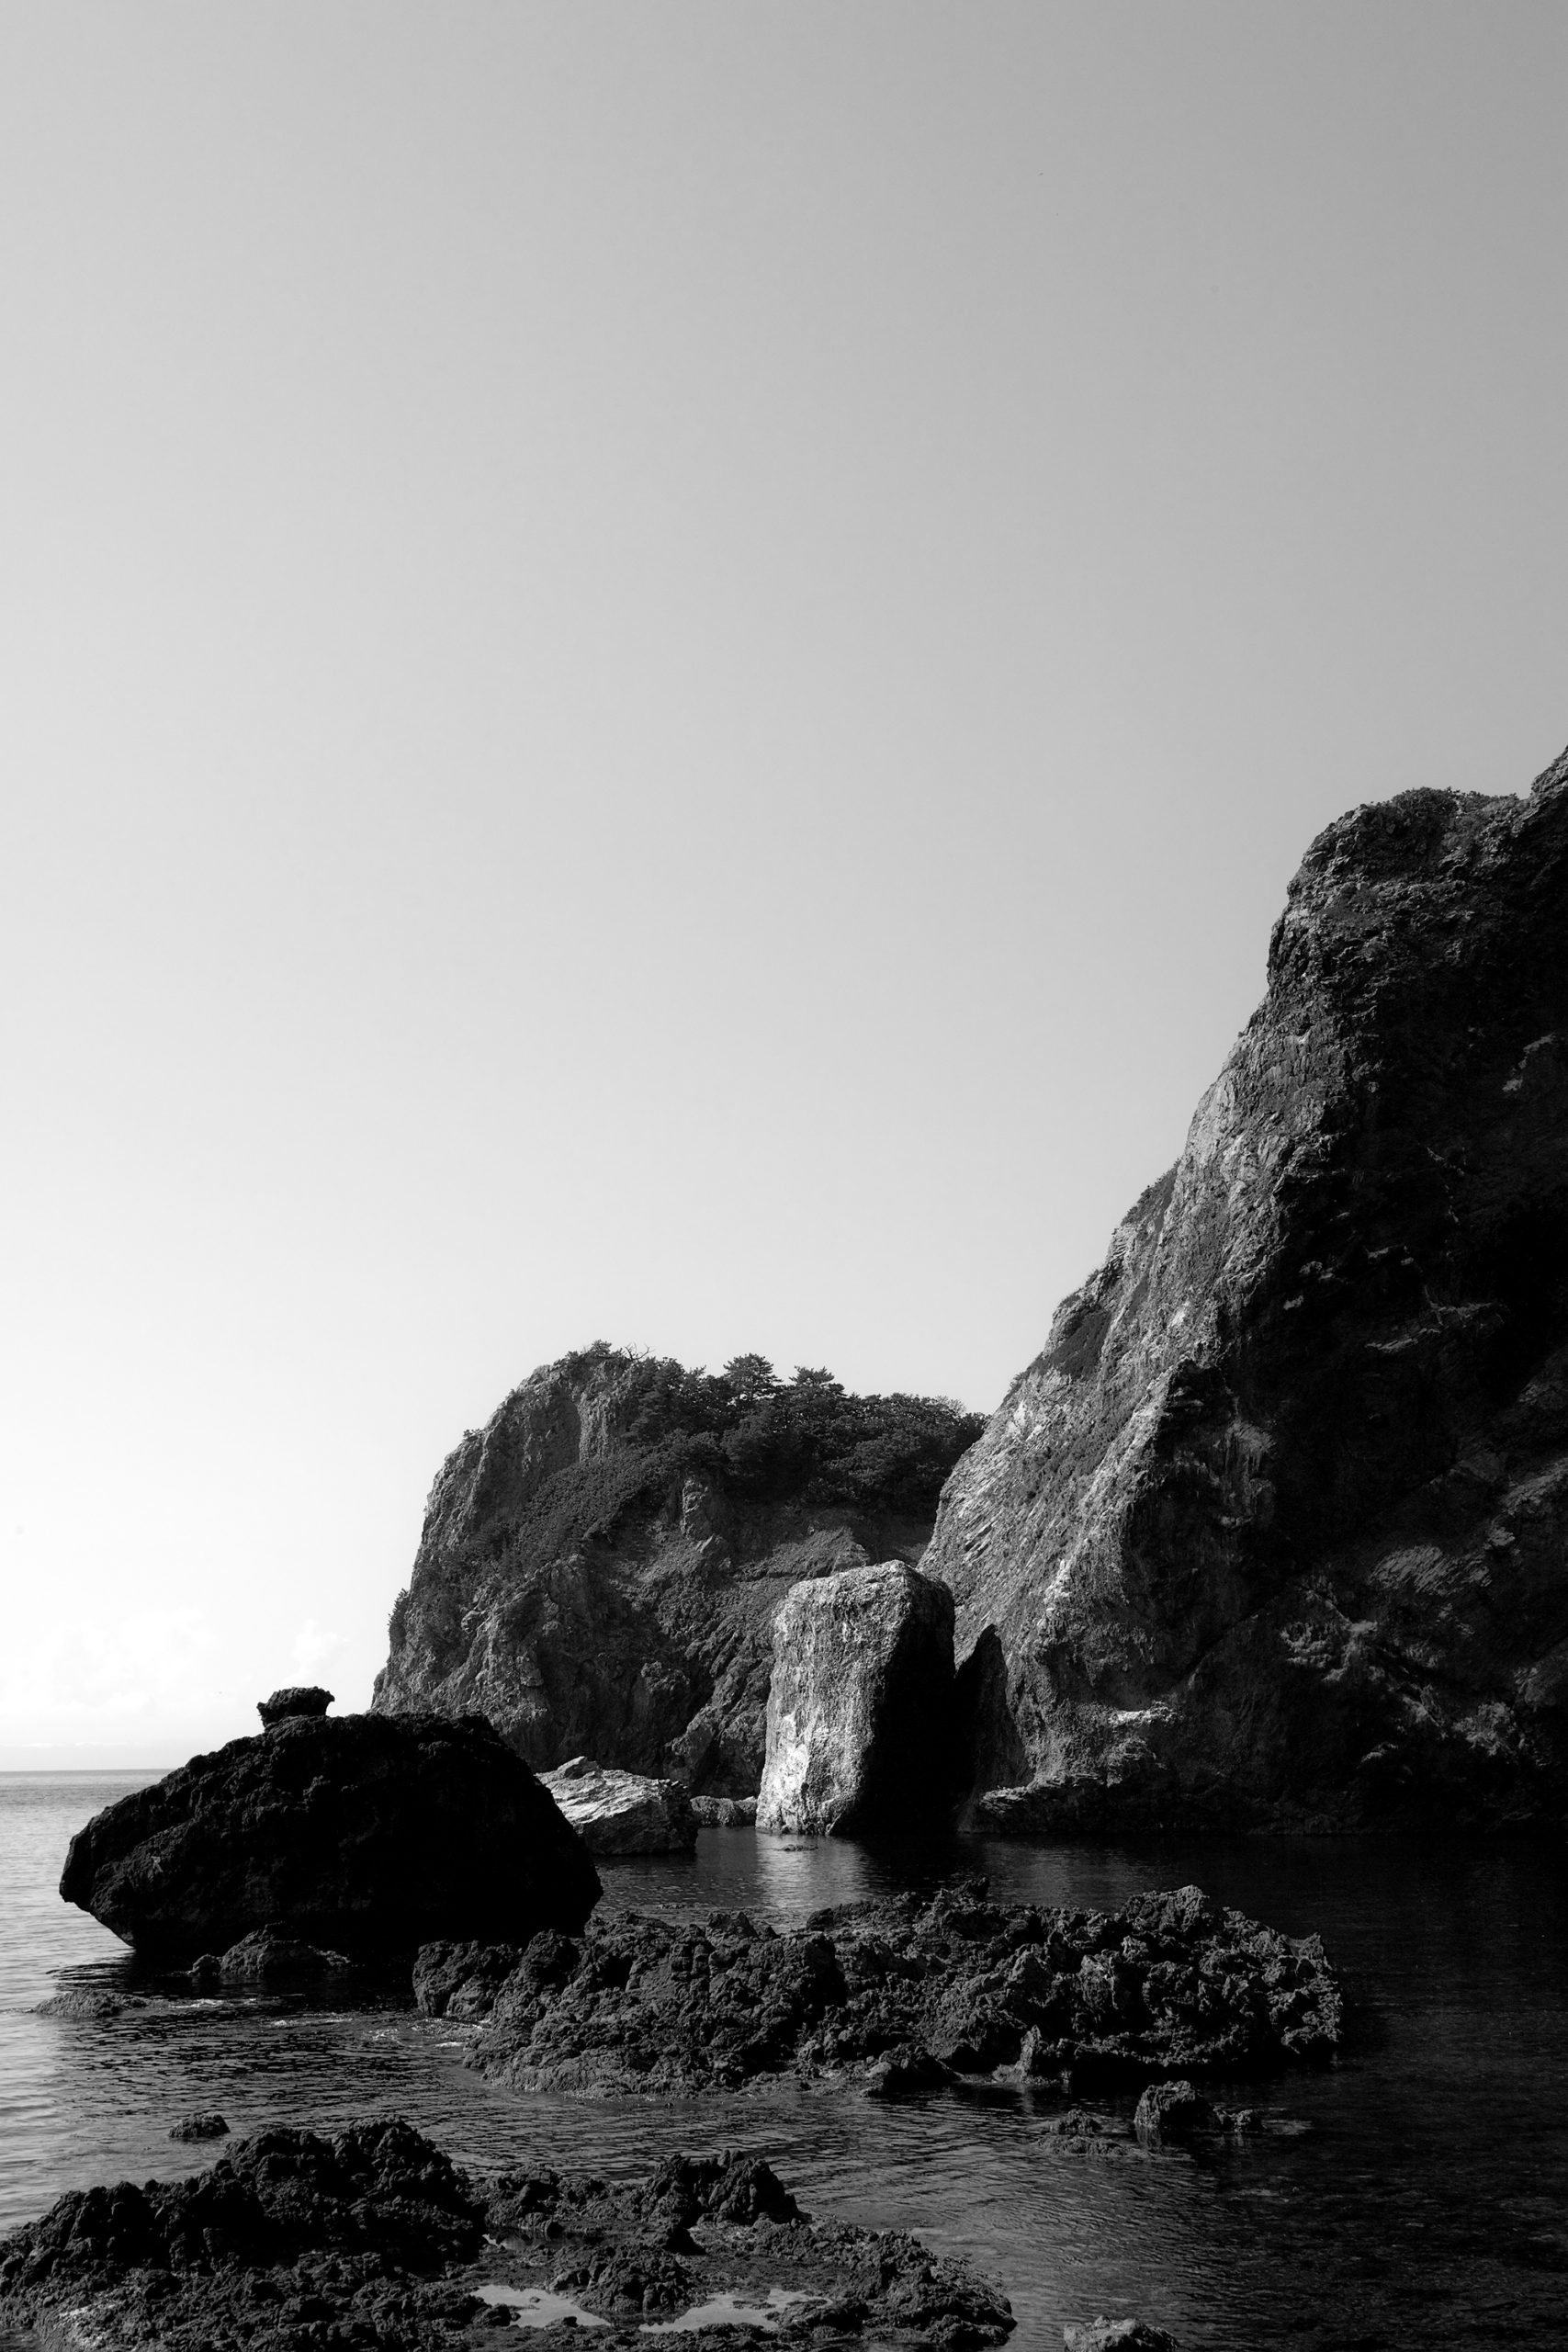
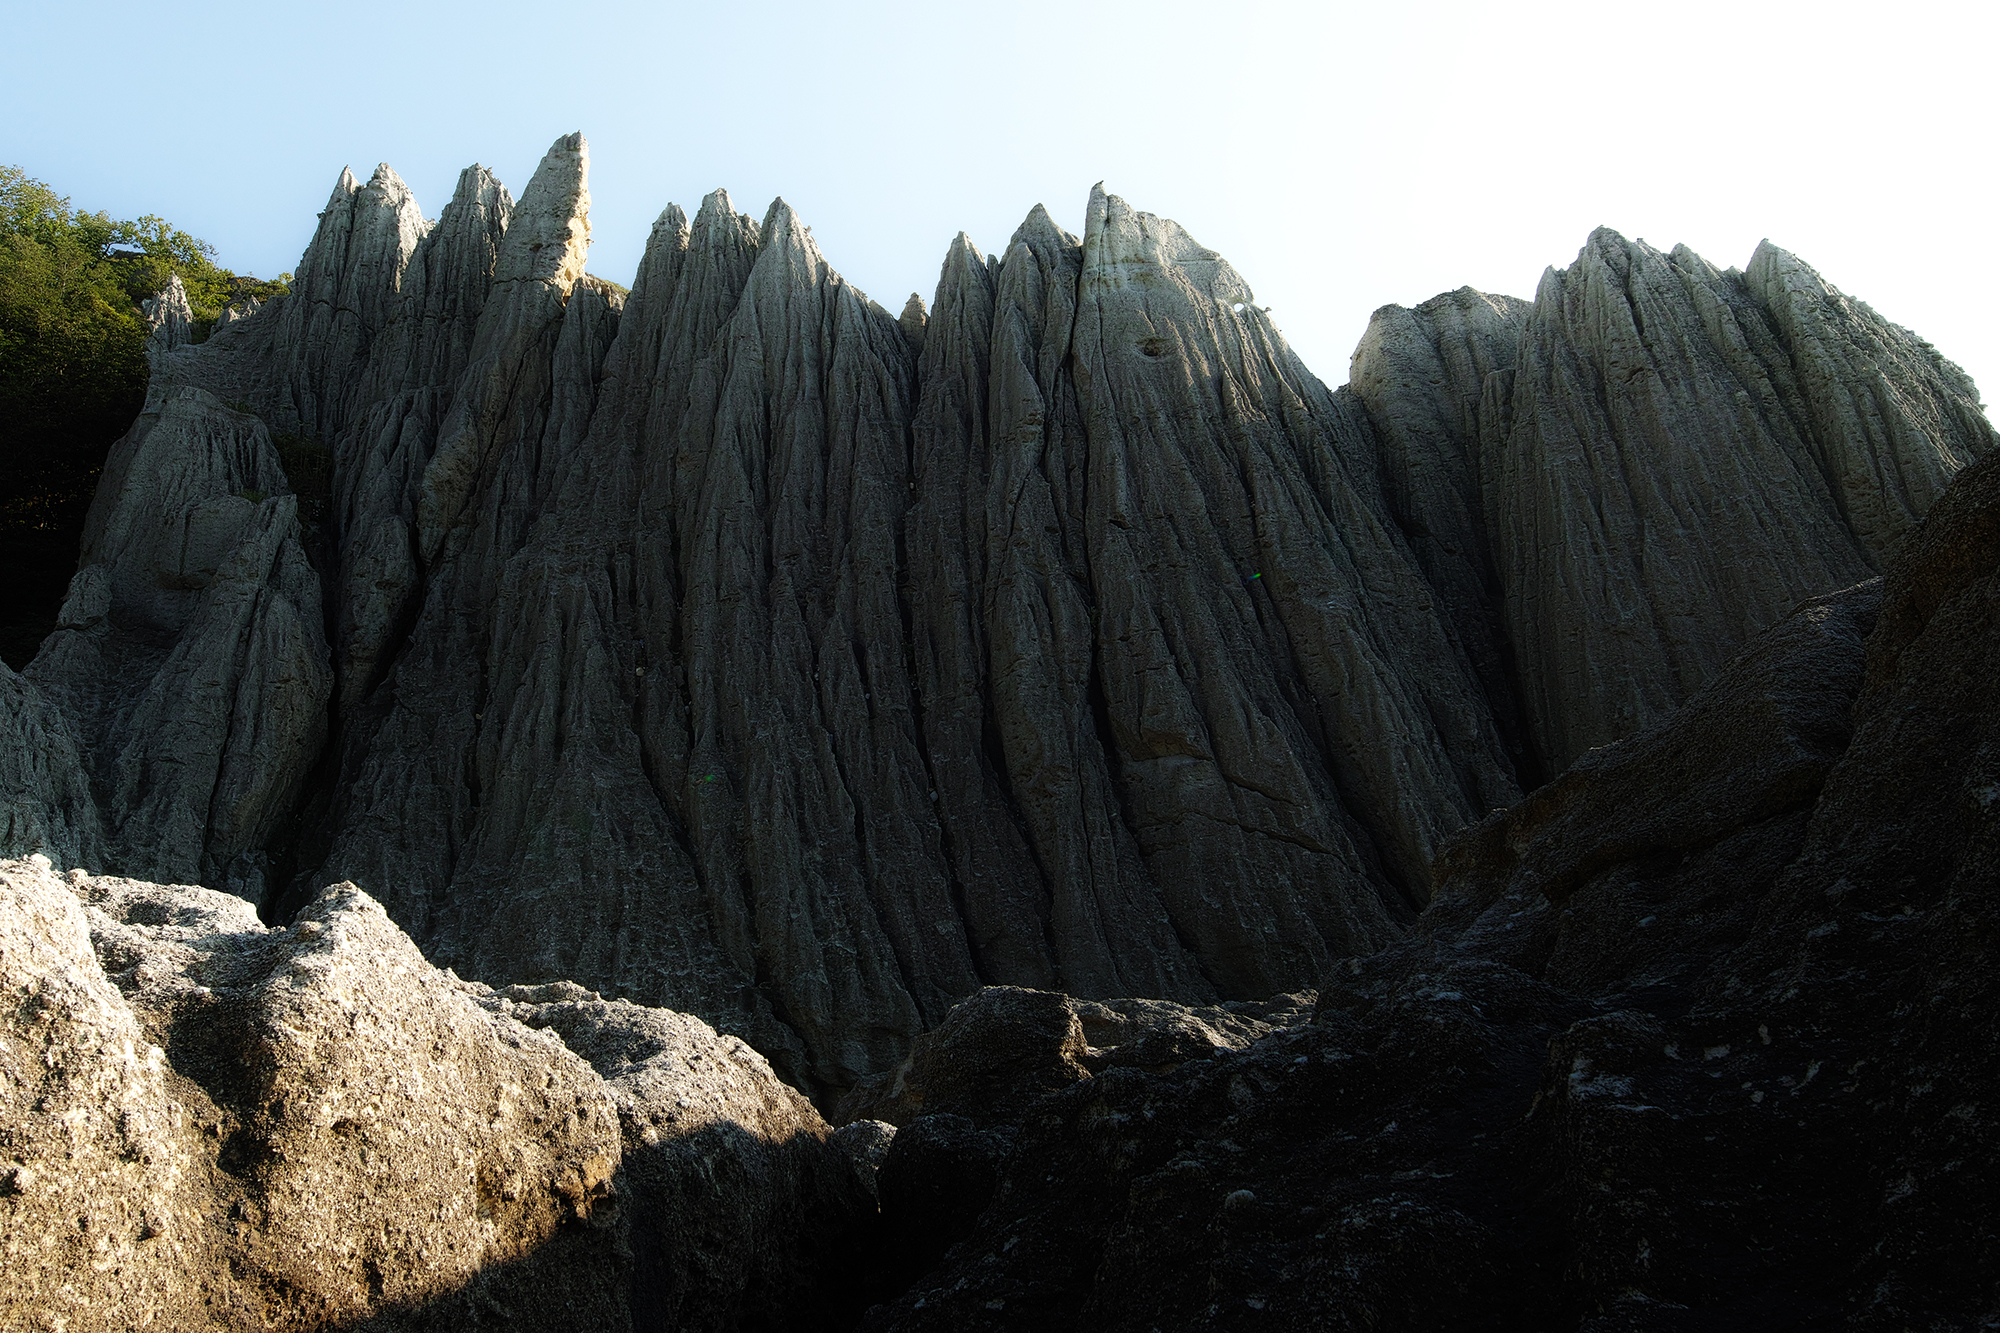
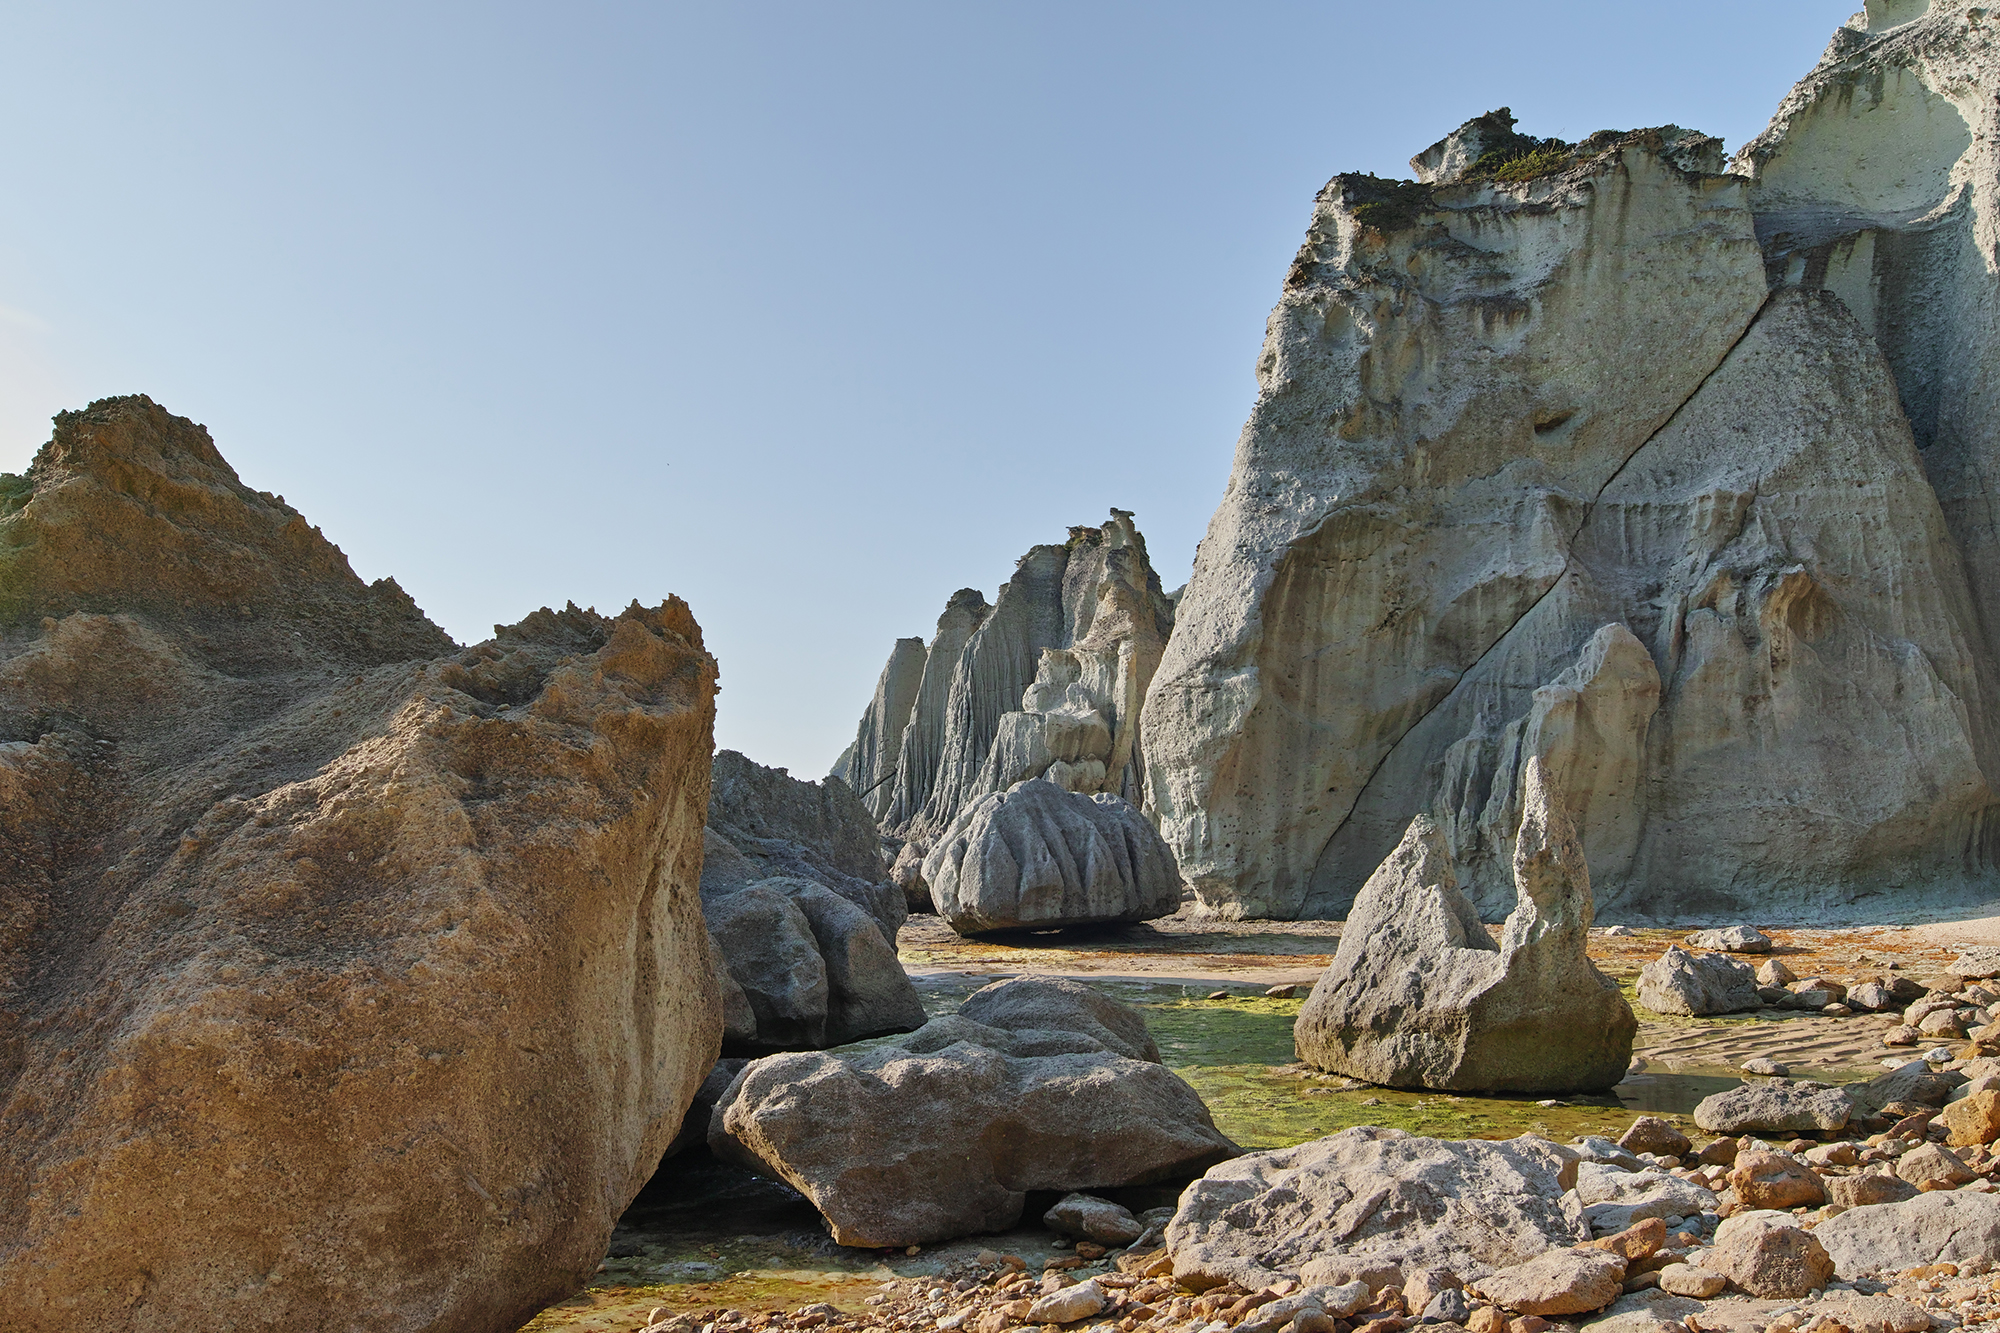
I shot it directly underneath the bizarre looking giant rocks. My impression is a symphonic poem called "Night on Bald Mountain.” First, I lowered the shadow by lowing the X3 Fill Light to the point it preserves the detail of the rock surface (particularly the one on the front right). Of course, you may like to drop it more dramatically and it’s all up to your taste. The X3 Fill Light function is meant to control the brightness of shadows and I find it quite useful. The reason I lowered the highlight slightly is to take care of the highest light around the top right. As for the new "detail” function, I slid it to the smooth side in the most shots except this one with crispy side. I think it’s just my personal preference.
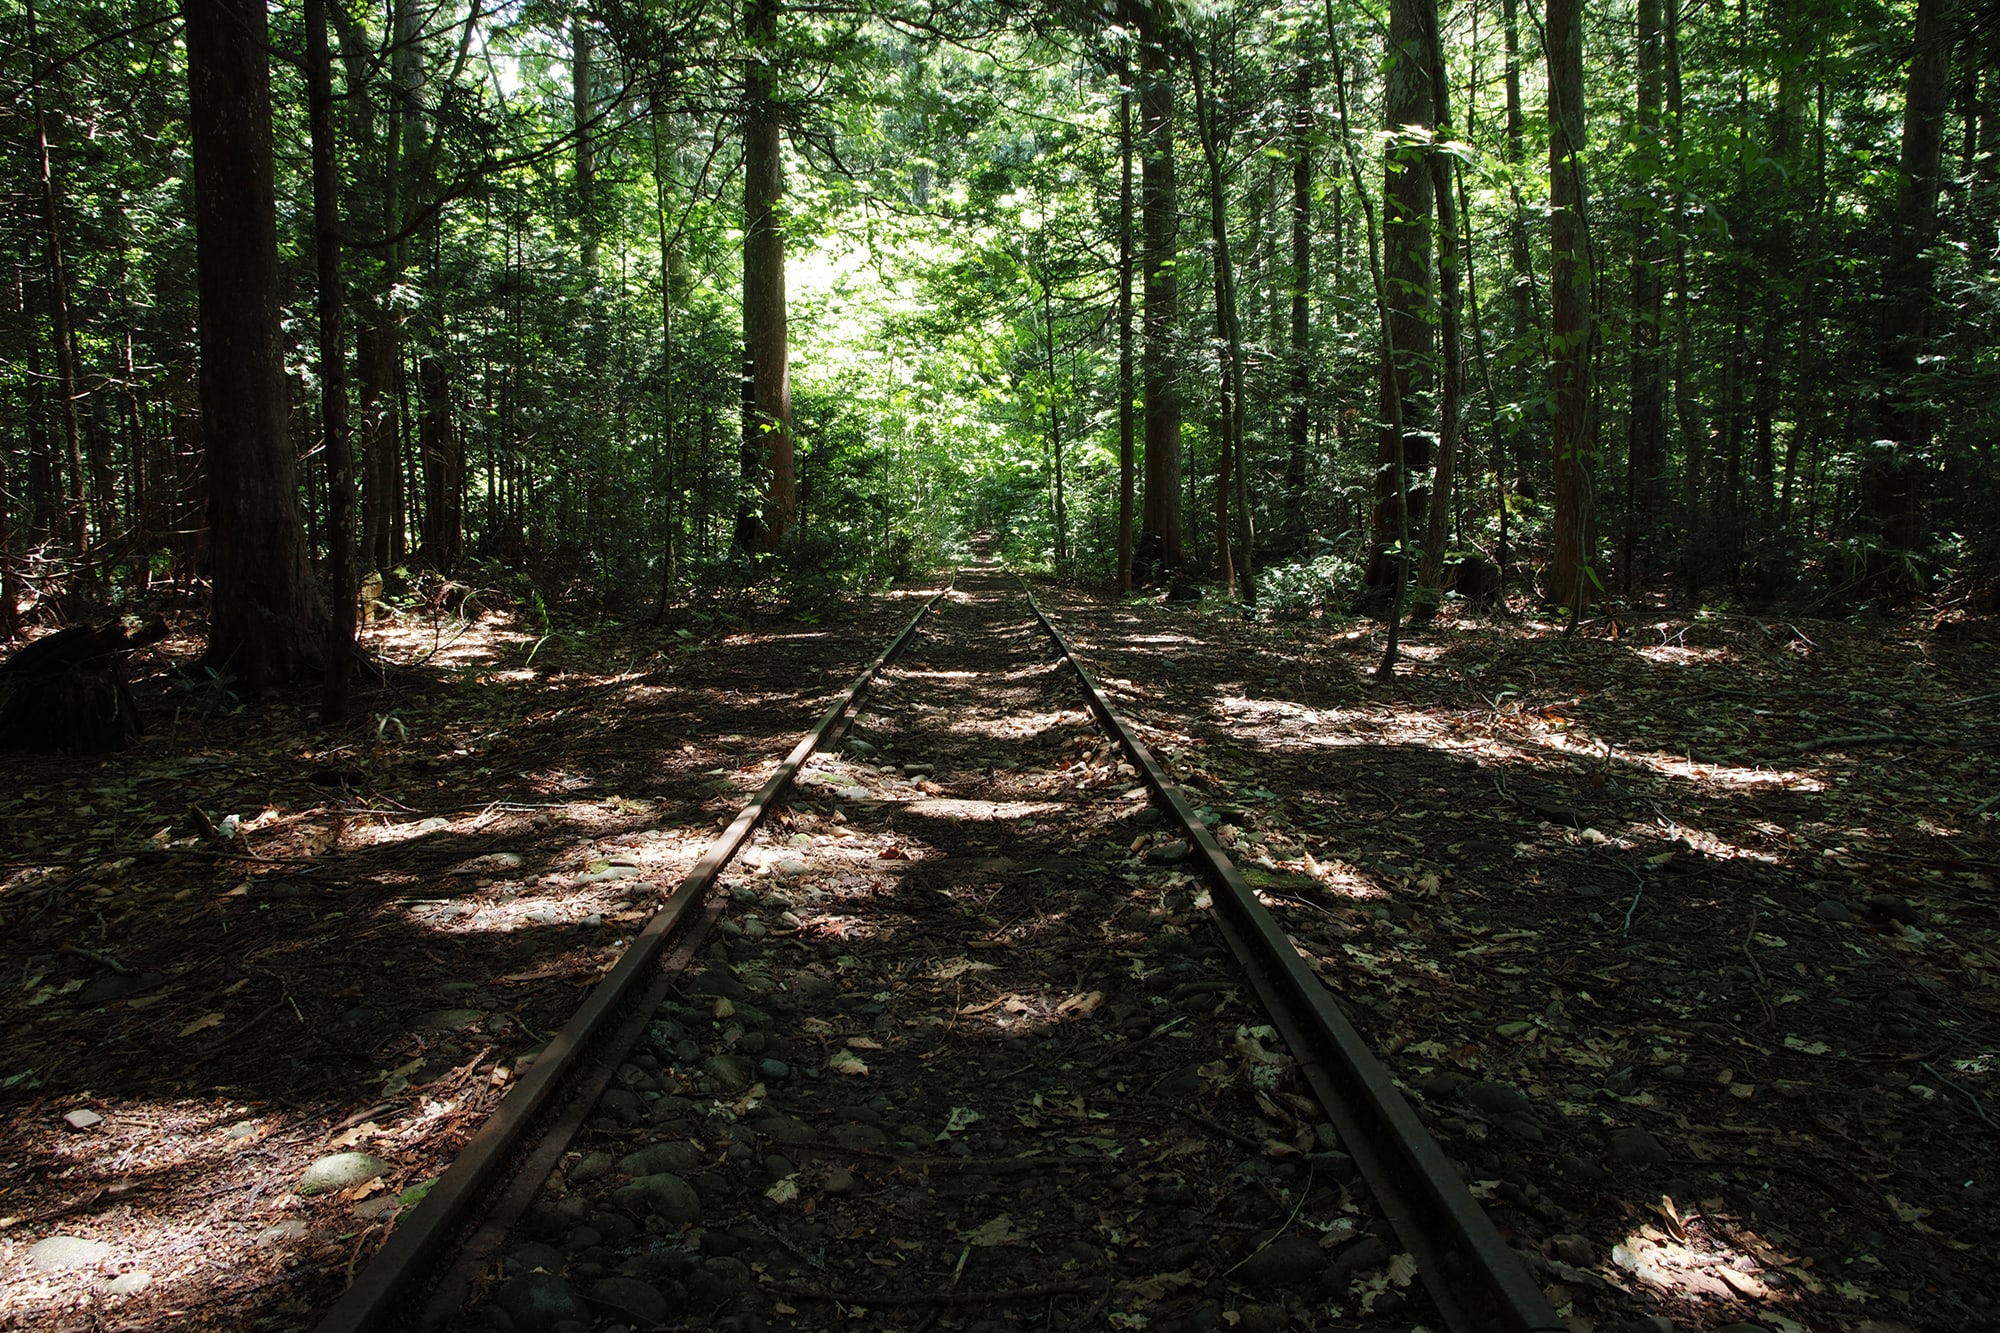
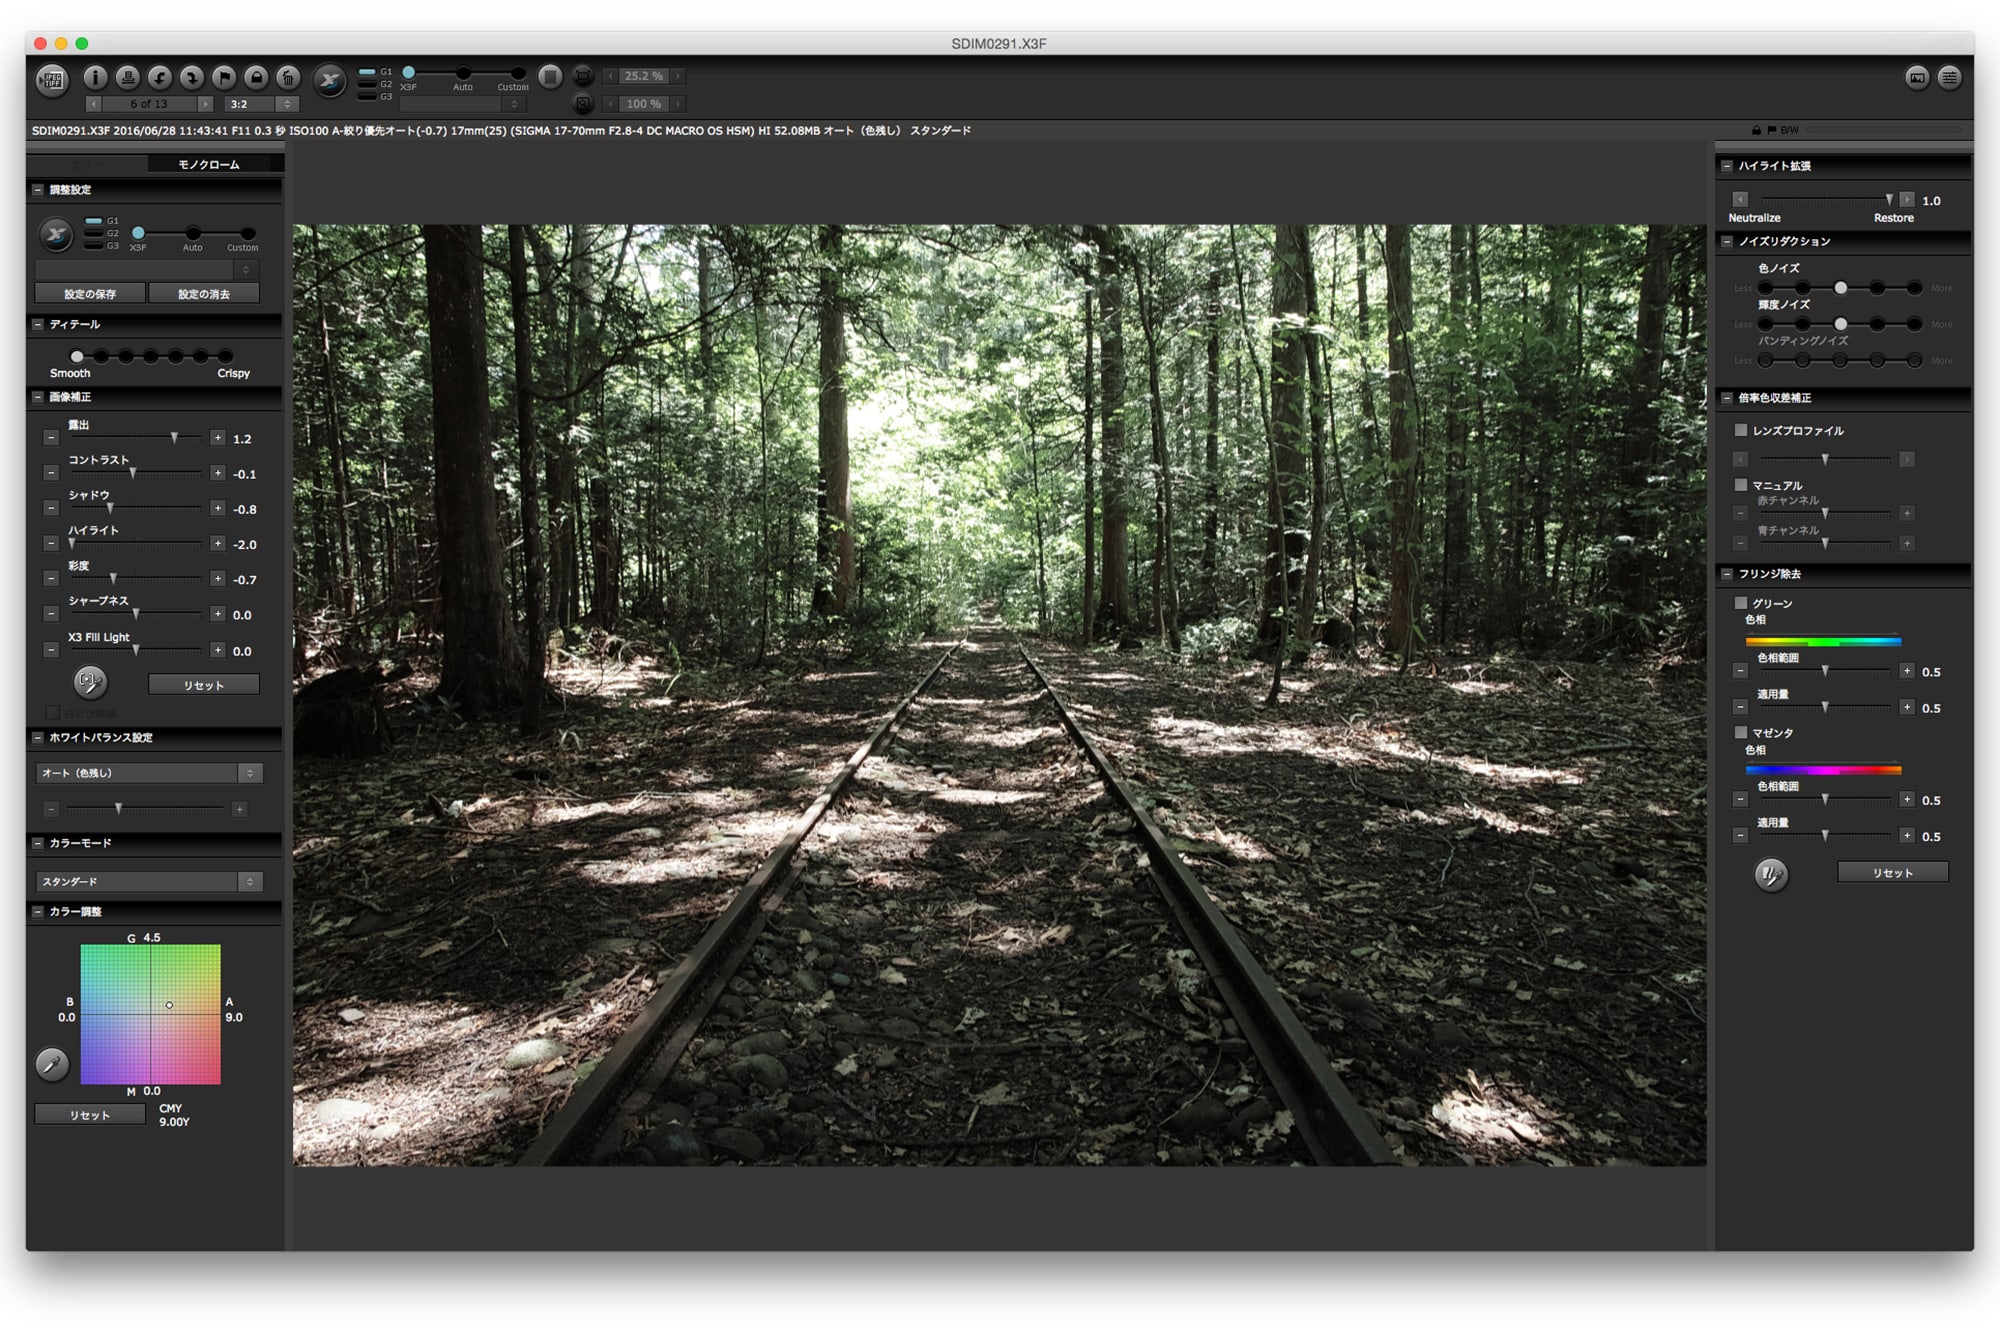
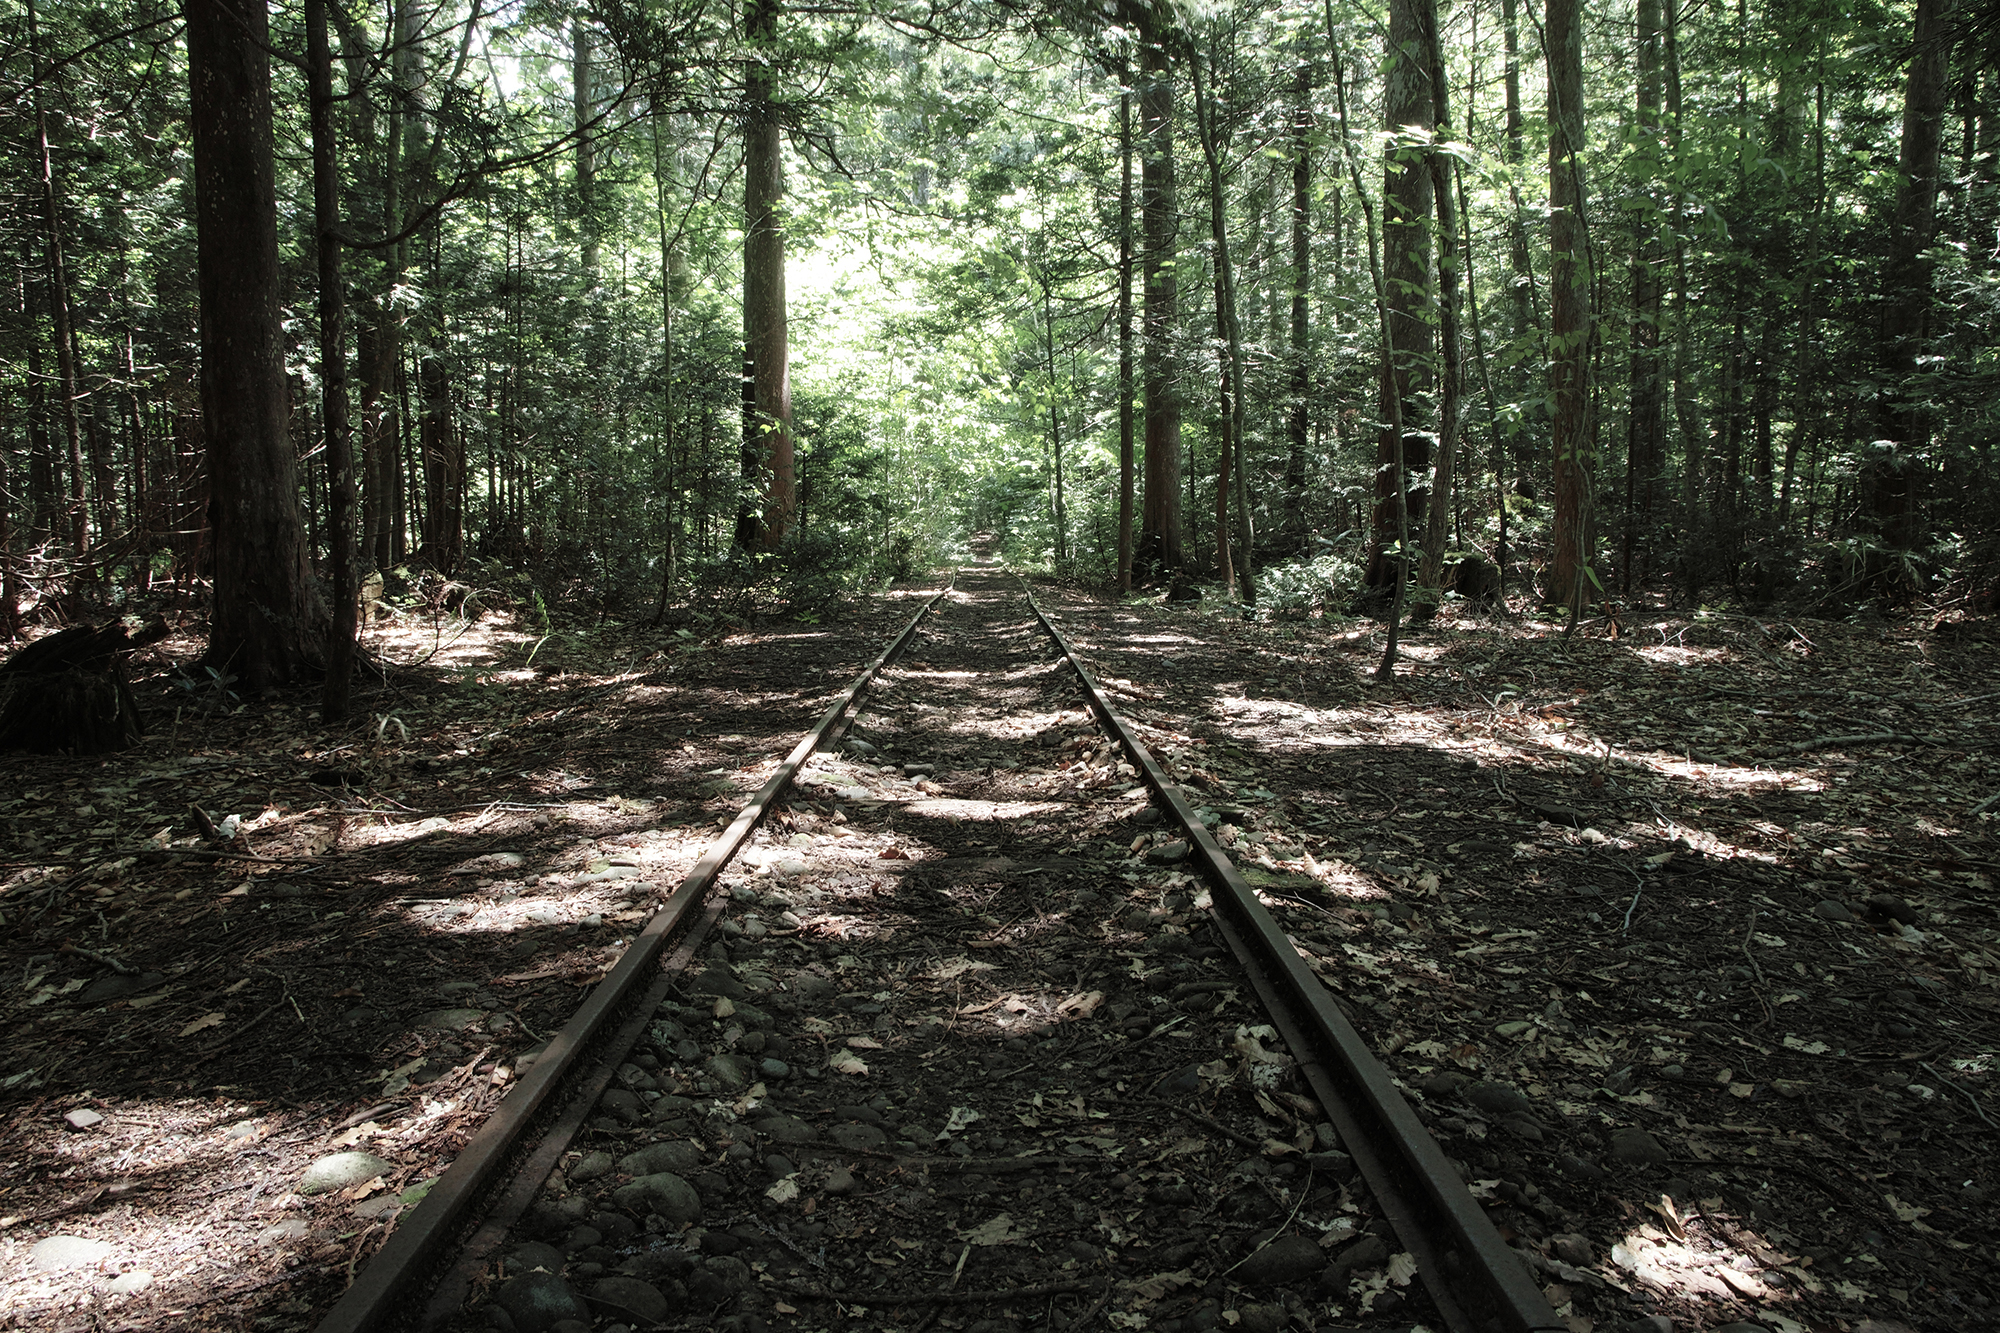
Just like a spotlight, the sun shines through the leaves of the trees on the dark remains of a railway track in the forest. I see another highlight of the sun around the vanishing point. This is a difficult image with big luminance gaps here and there. When I don’t know how to adjust parameters, I often consult with Dr. SPP. I select "AUTO” mode to start with and make further adjustments to approximate to my imagination. While I made no changes in the exposure and highlight, I didn’t like the intense contrast and stagnated mood. So, I lowered the saturation substantially and slid the color to yellow side significantly to subdue the density of green as well as to make it look more picturesque.
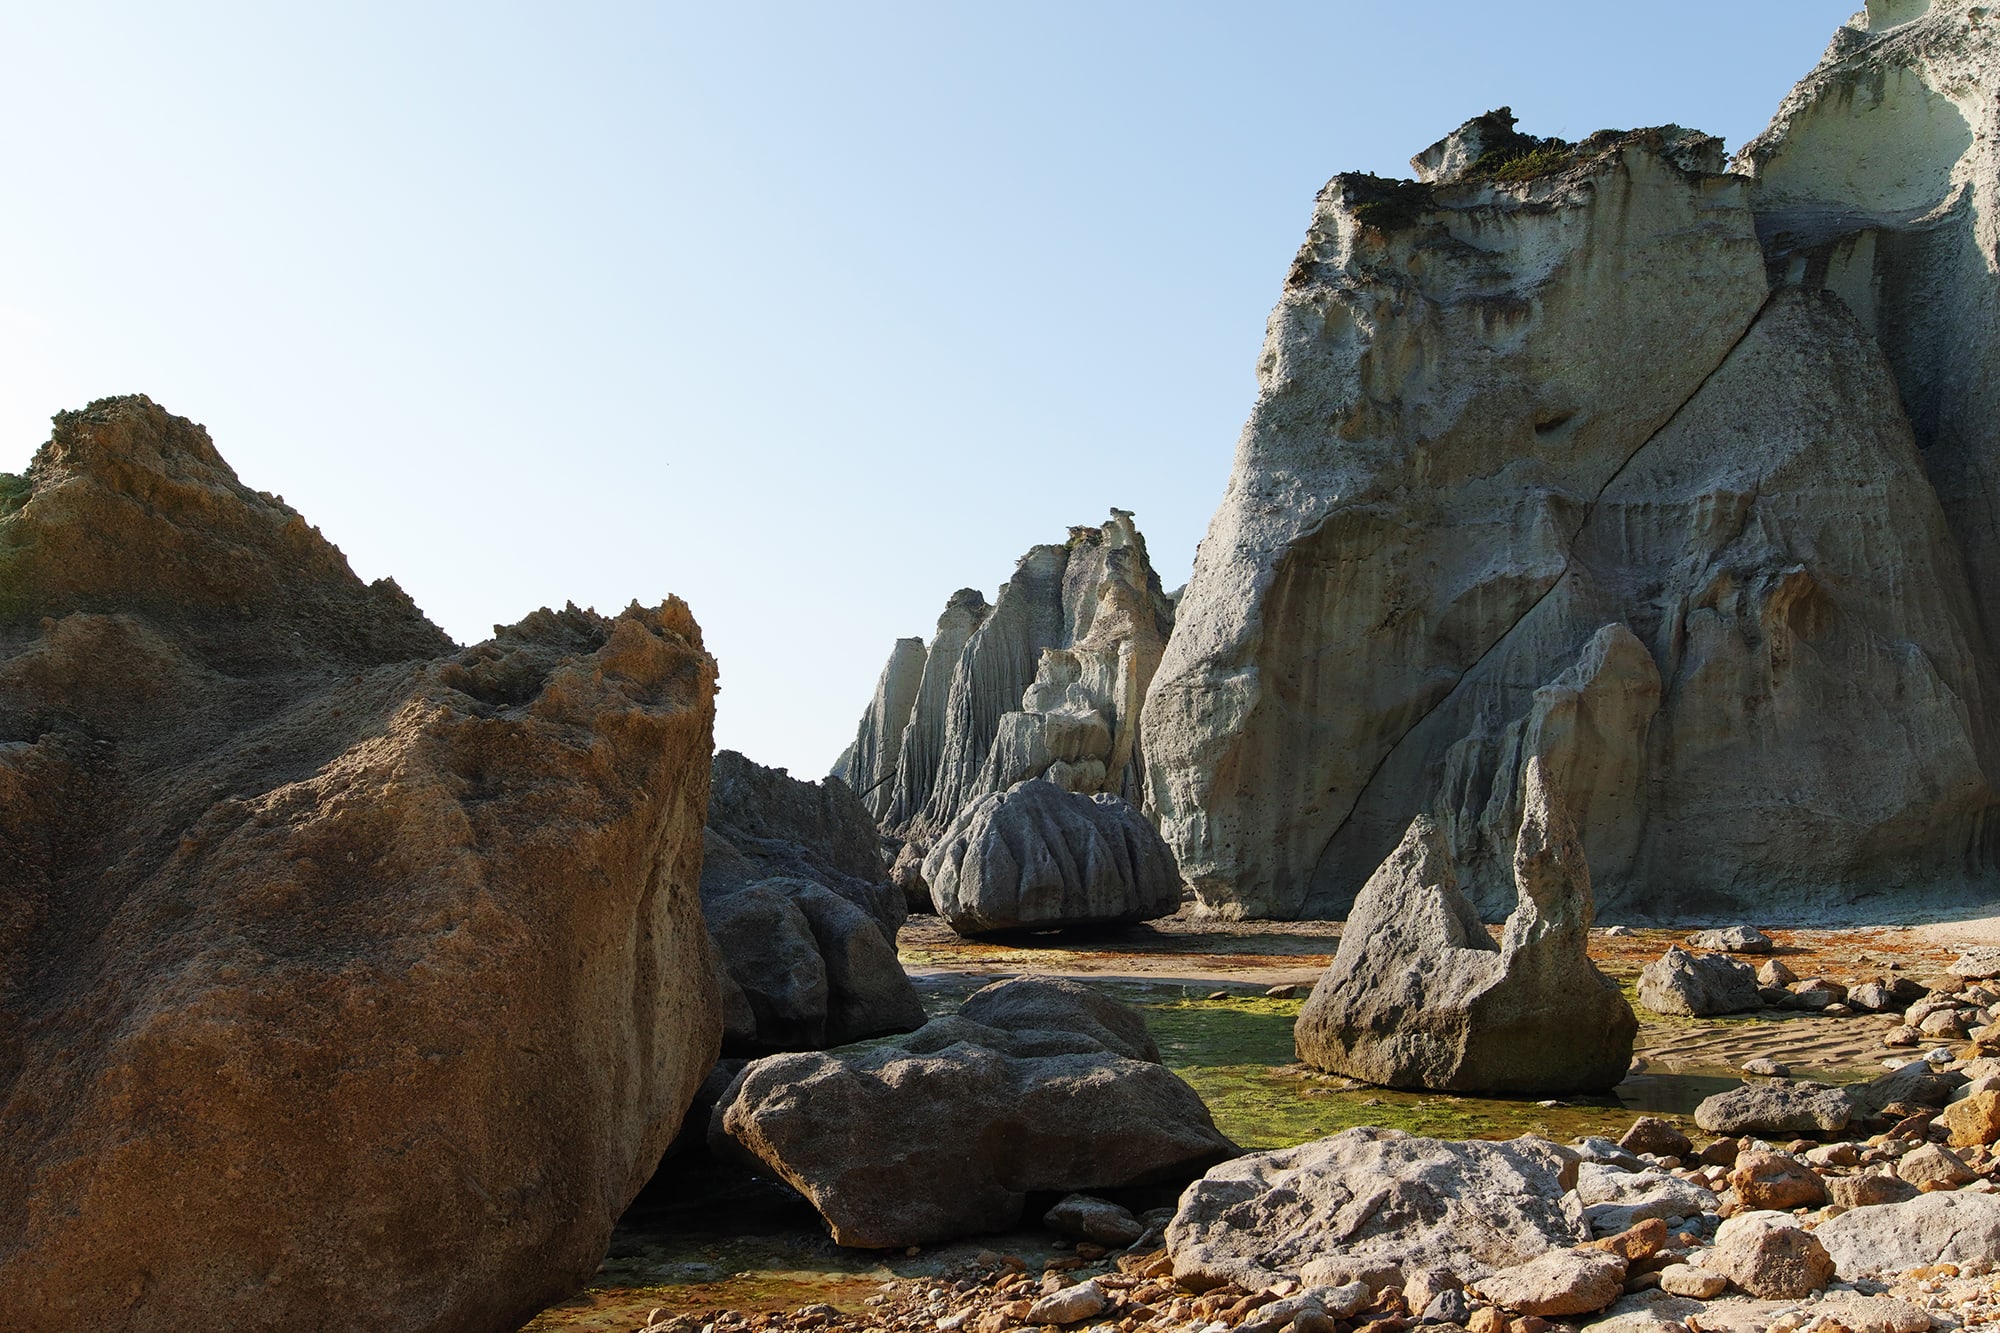
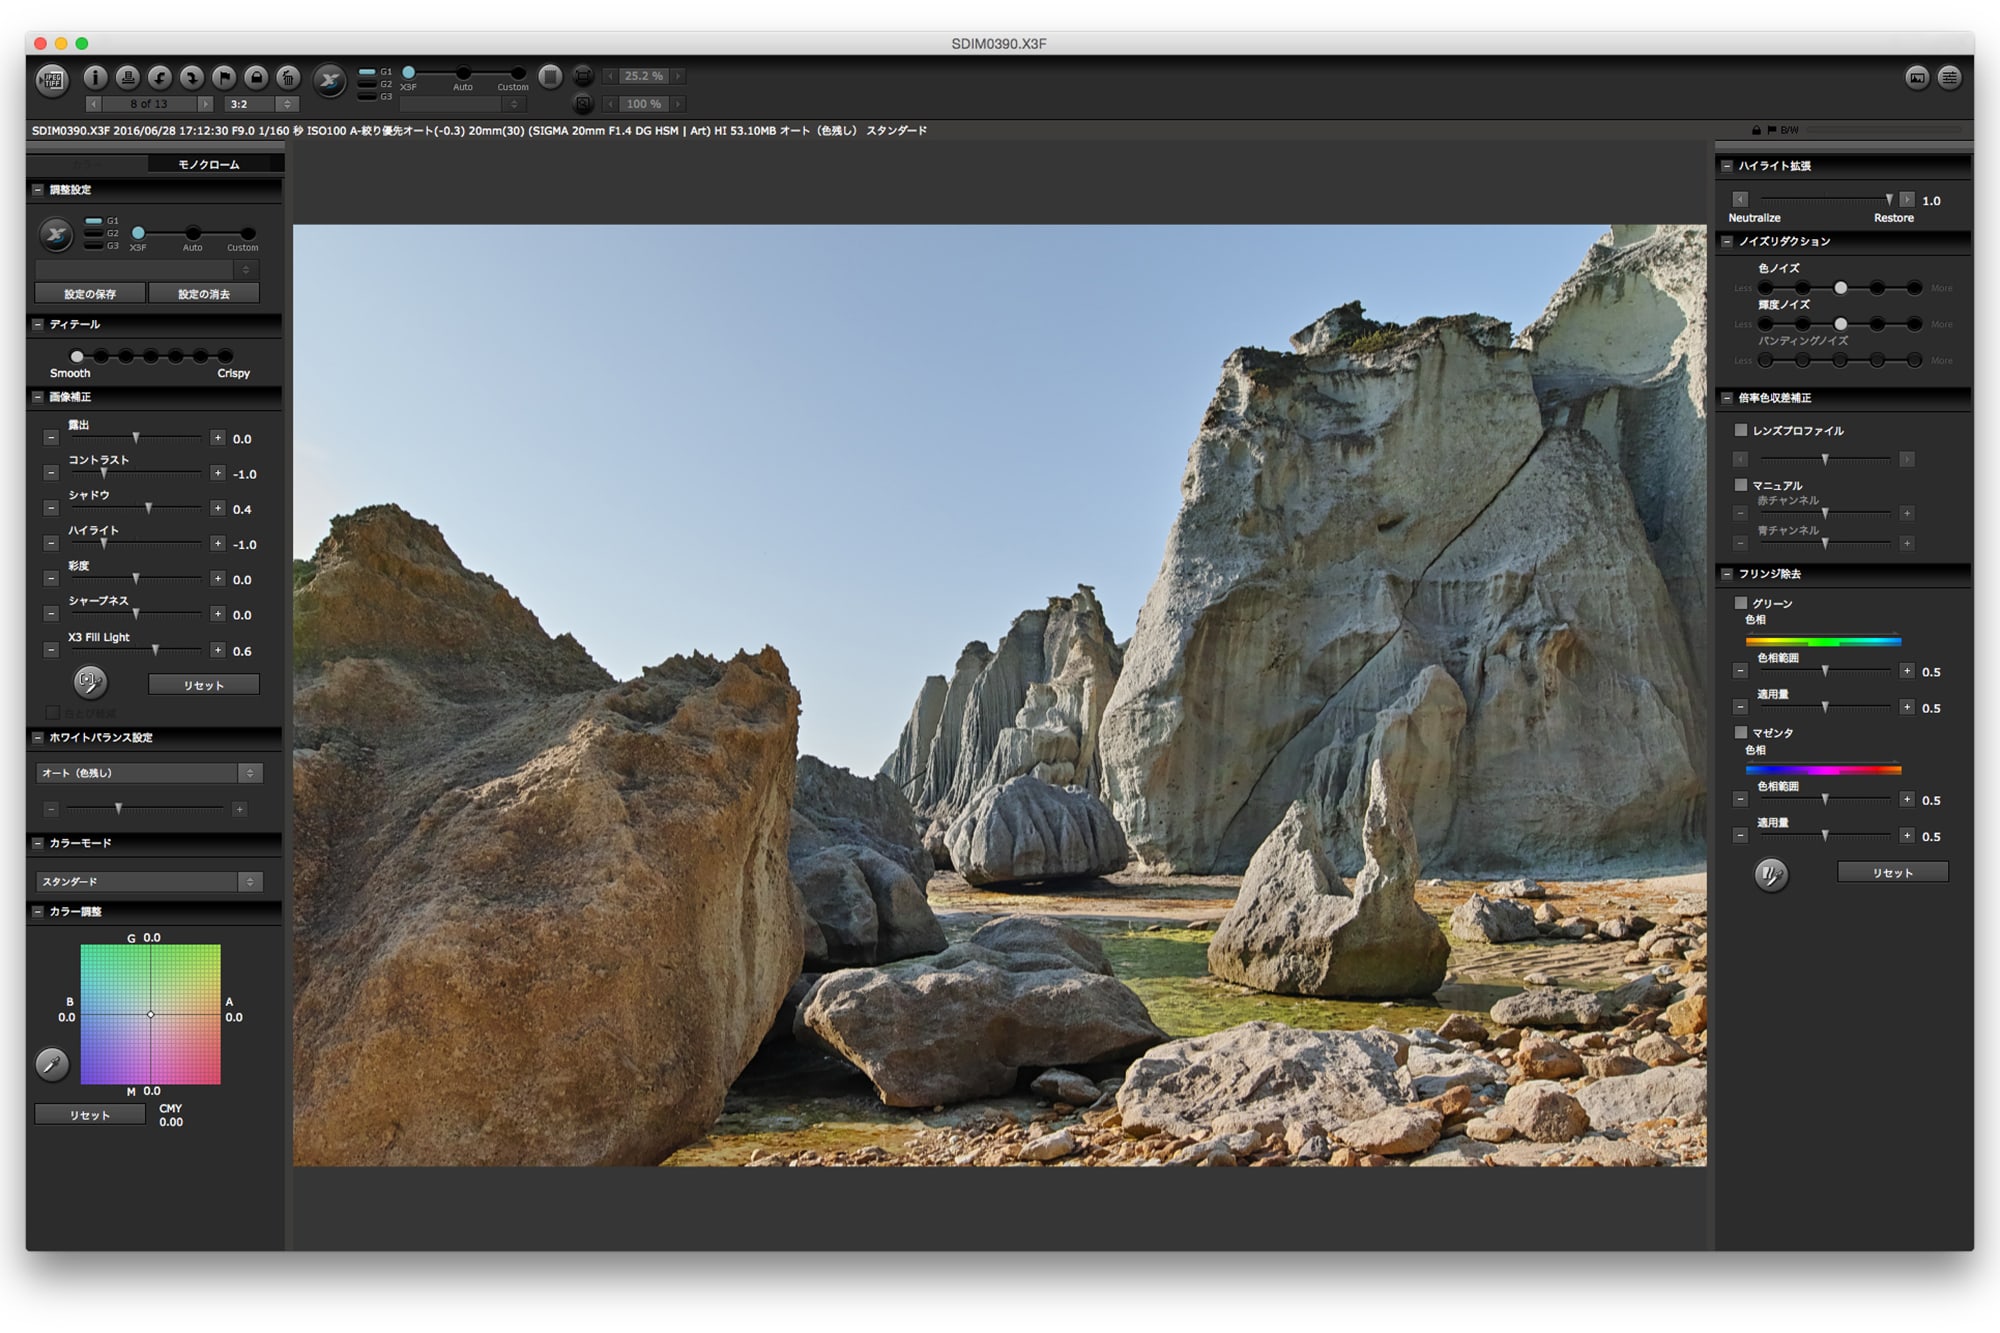
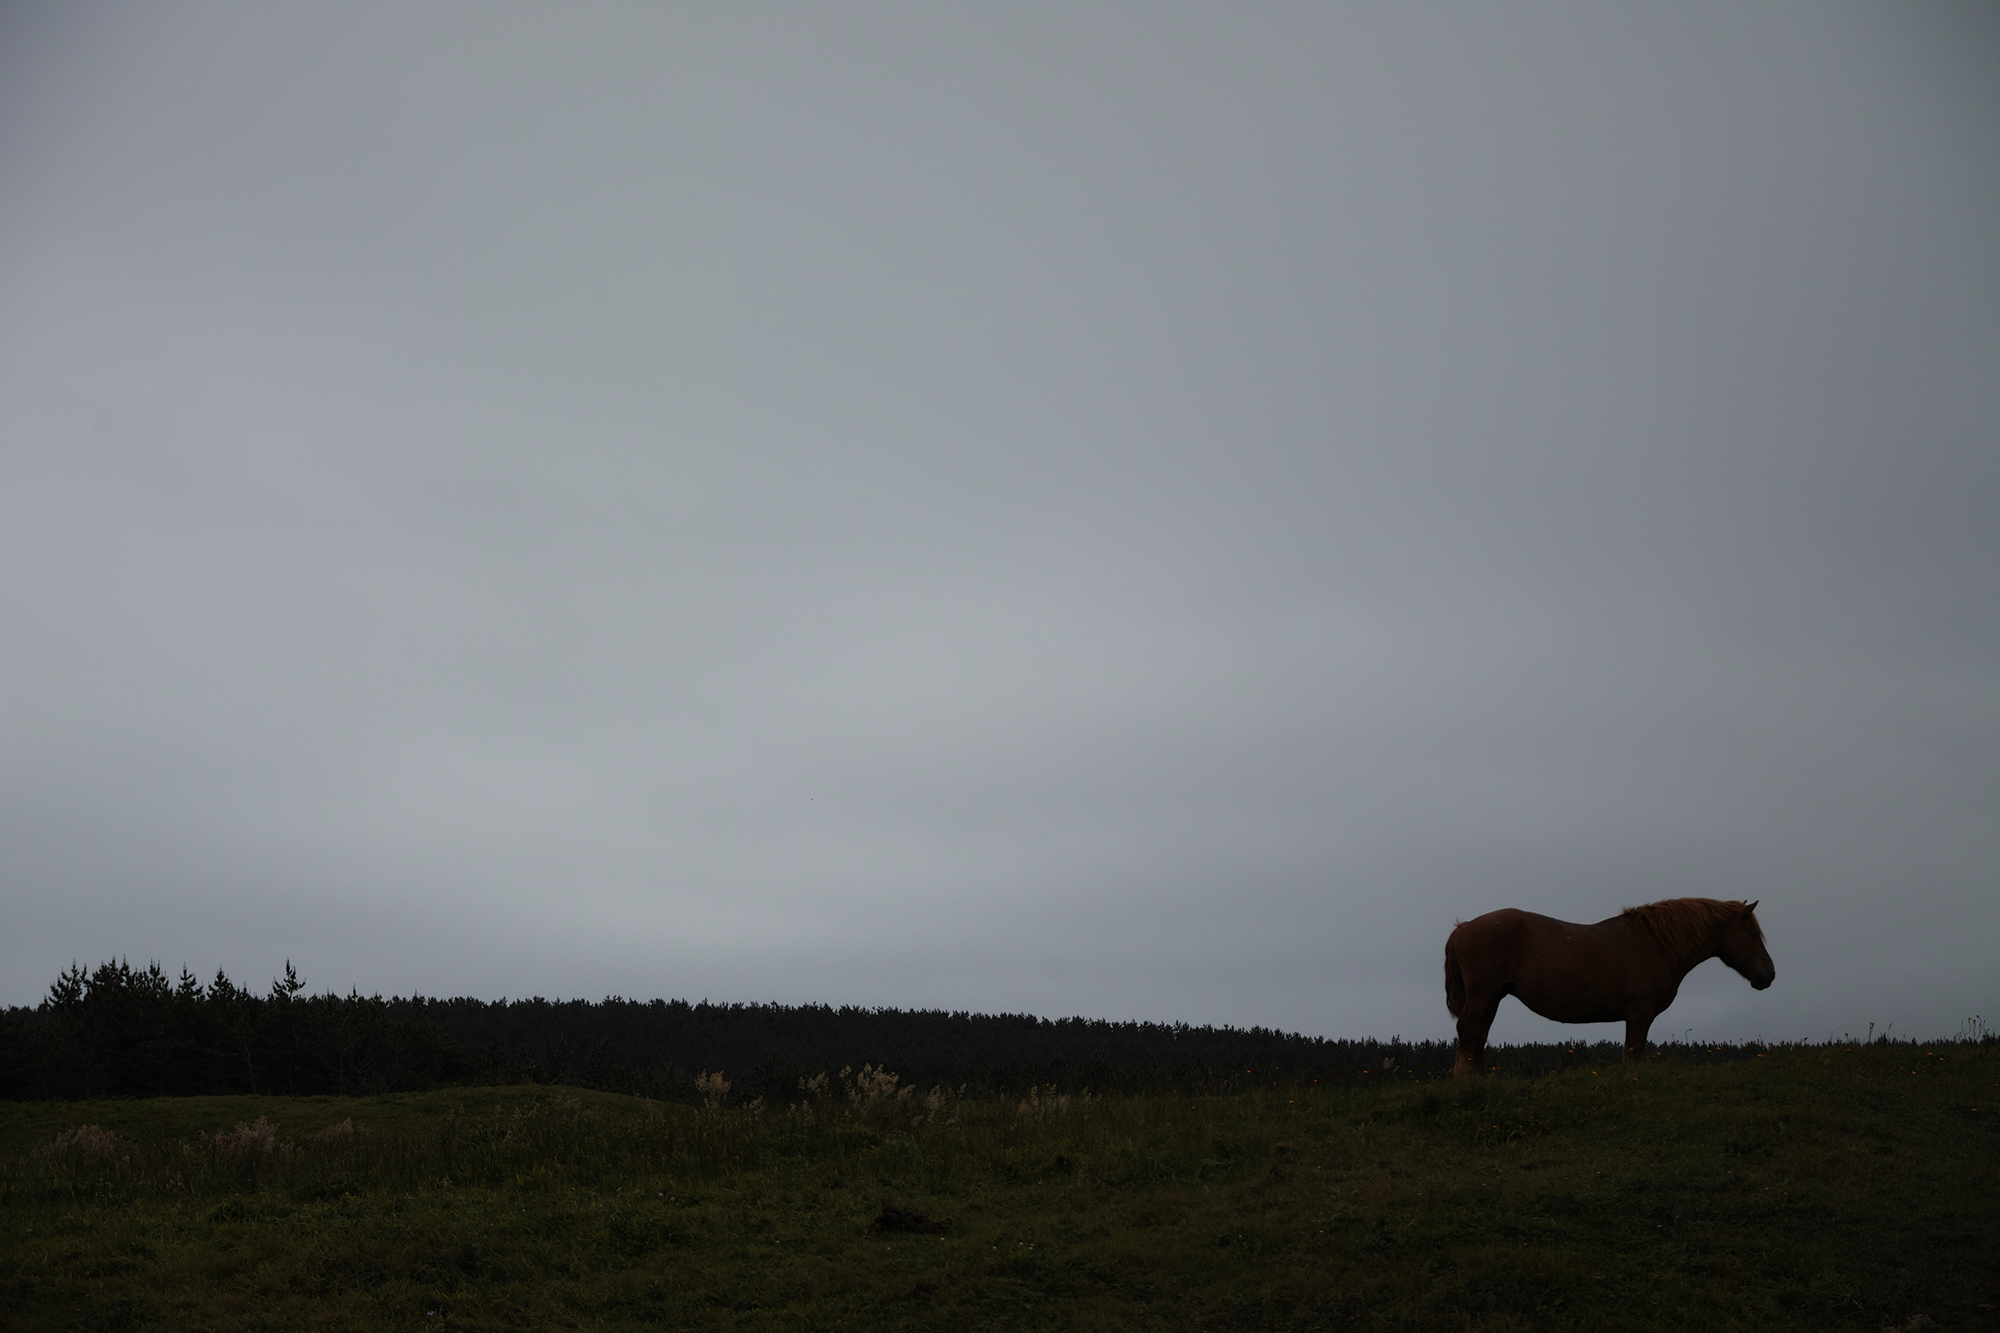
This subject has strong contrast by nature. The original image is good, but it somehow looks boring. I wanted to emphasize the "unreality” of the subject. I elevated the X3 Fill Light dramatically to get shadow detail. In addition, I lowered the contrast significantly. Of course, this works to flatten the image, but the subject’s shape and default contrast realize the balance. While the effects of other parameters are relatively mild, the one of the X3 Fill Light is very powerful and overadjusting influences the rendition of shadow, contrast, and edgelines. To master it, you can start with keeping it to be almost extreme. The reason I lowered the highlight dramatically is to get a balance with the increased X3 Fill Light.
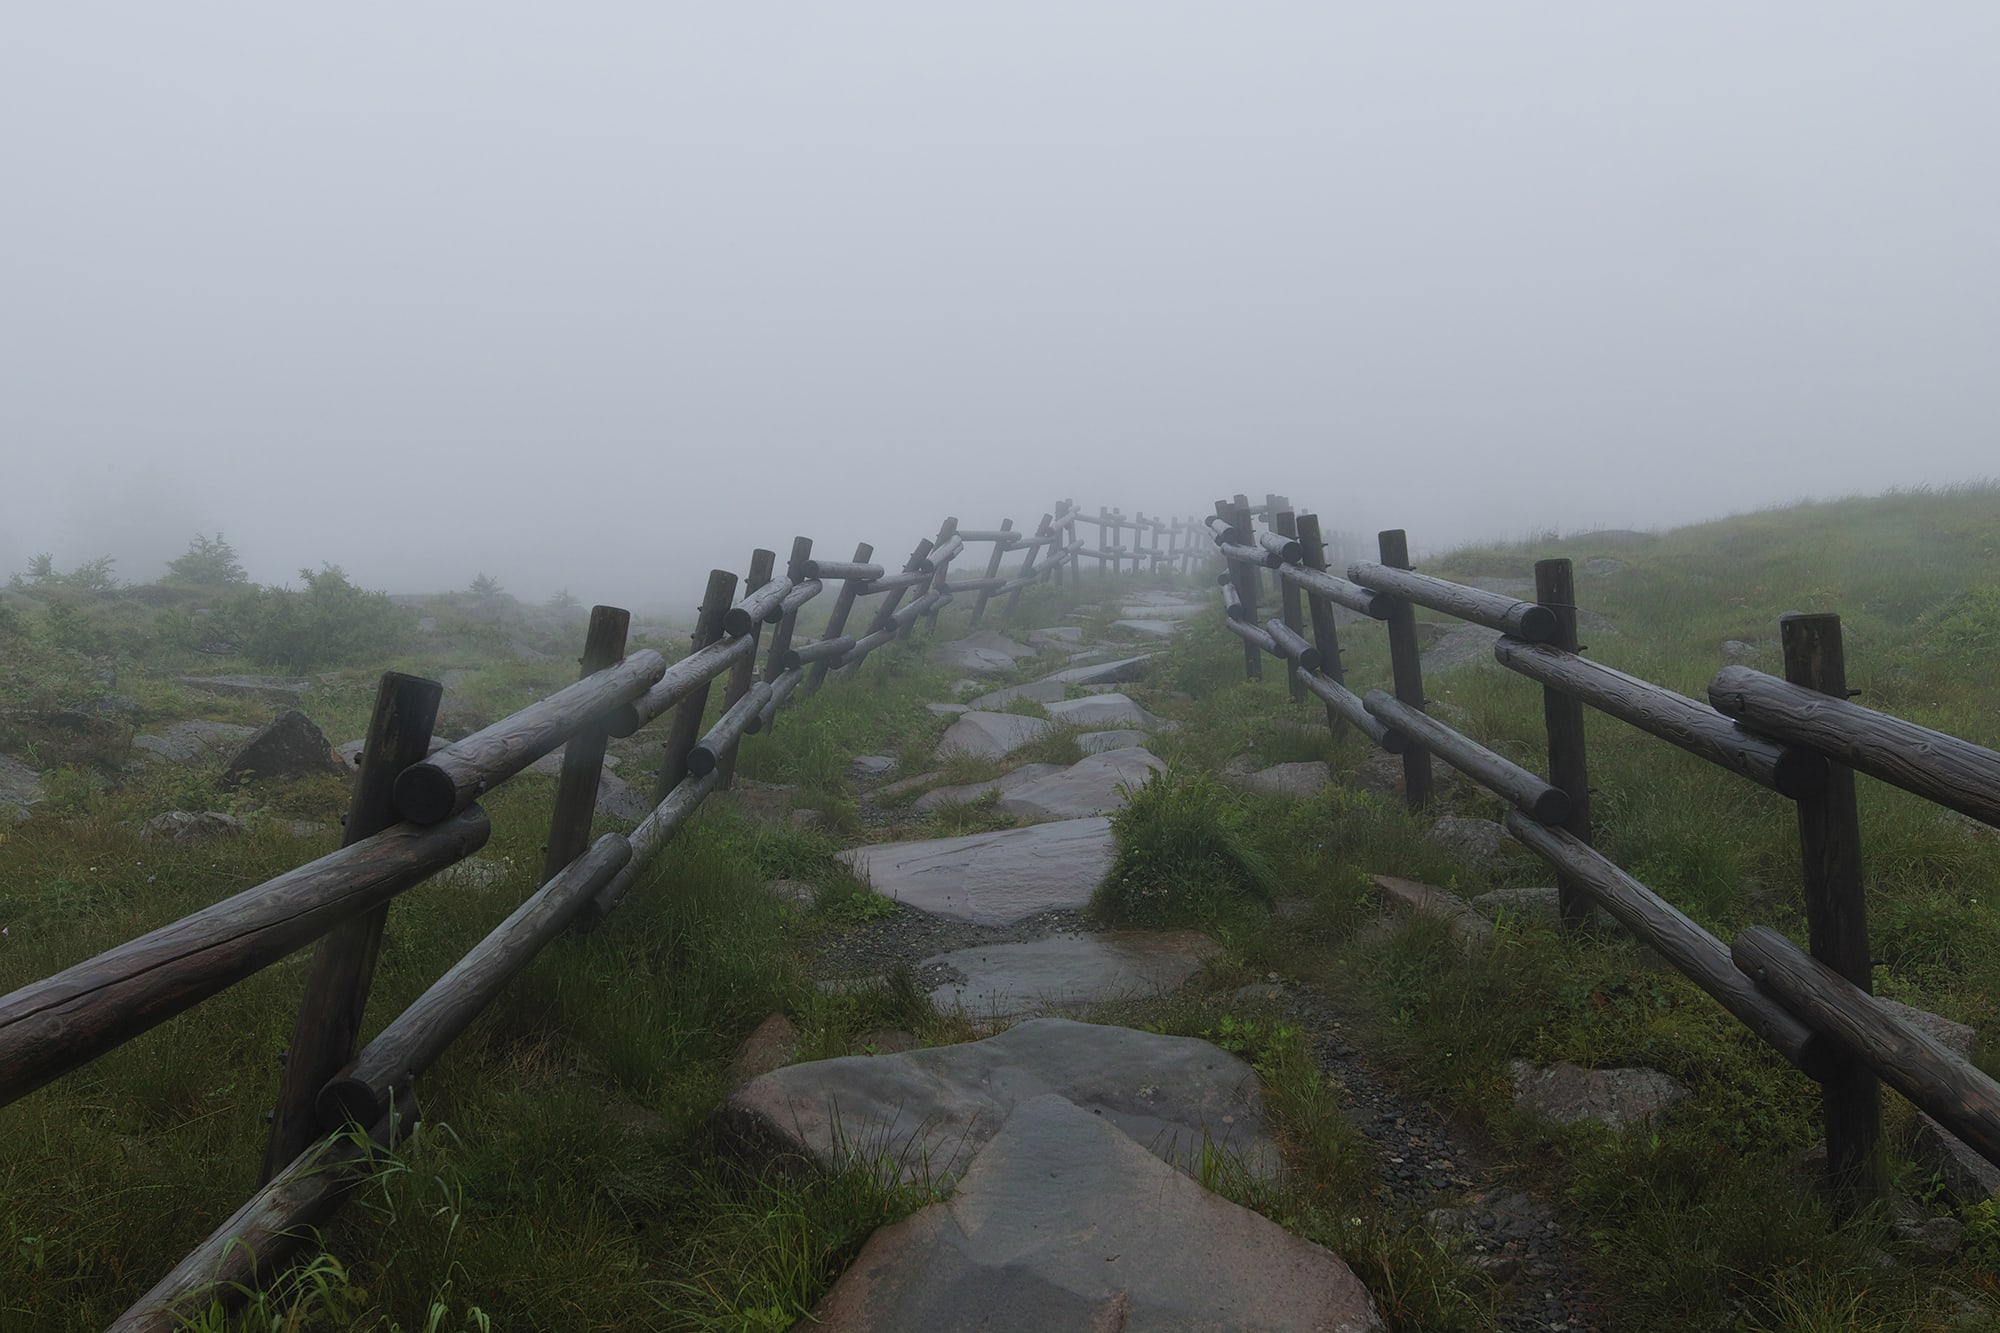
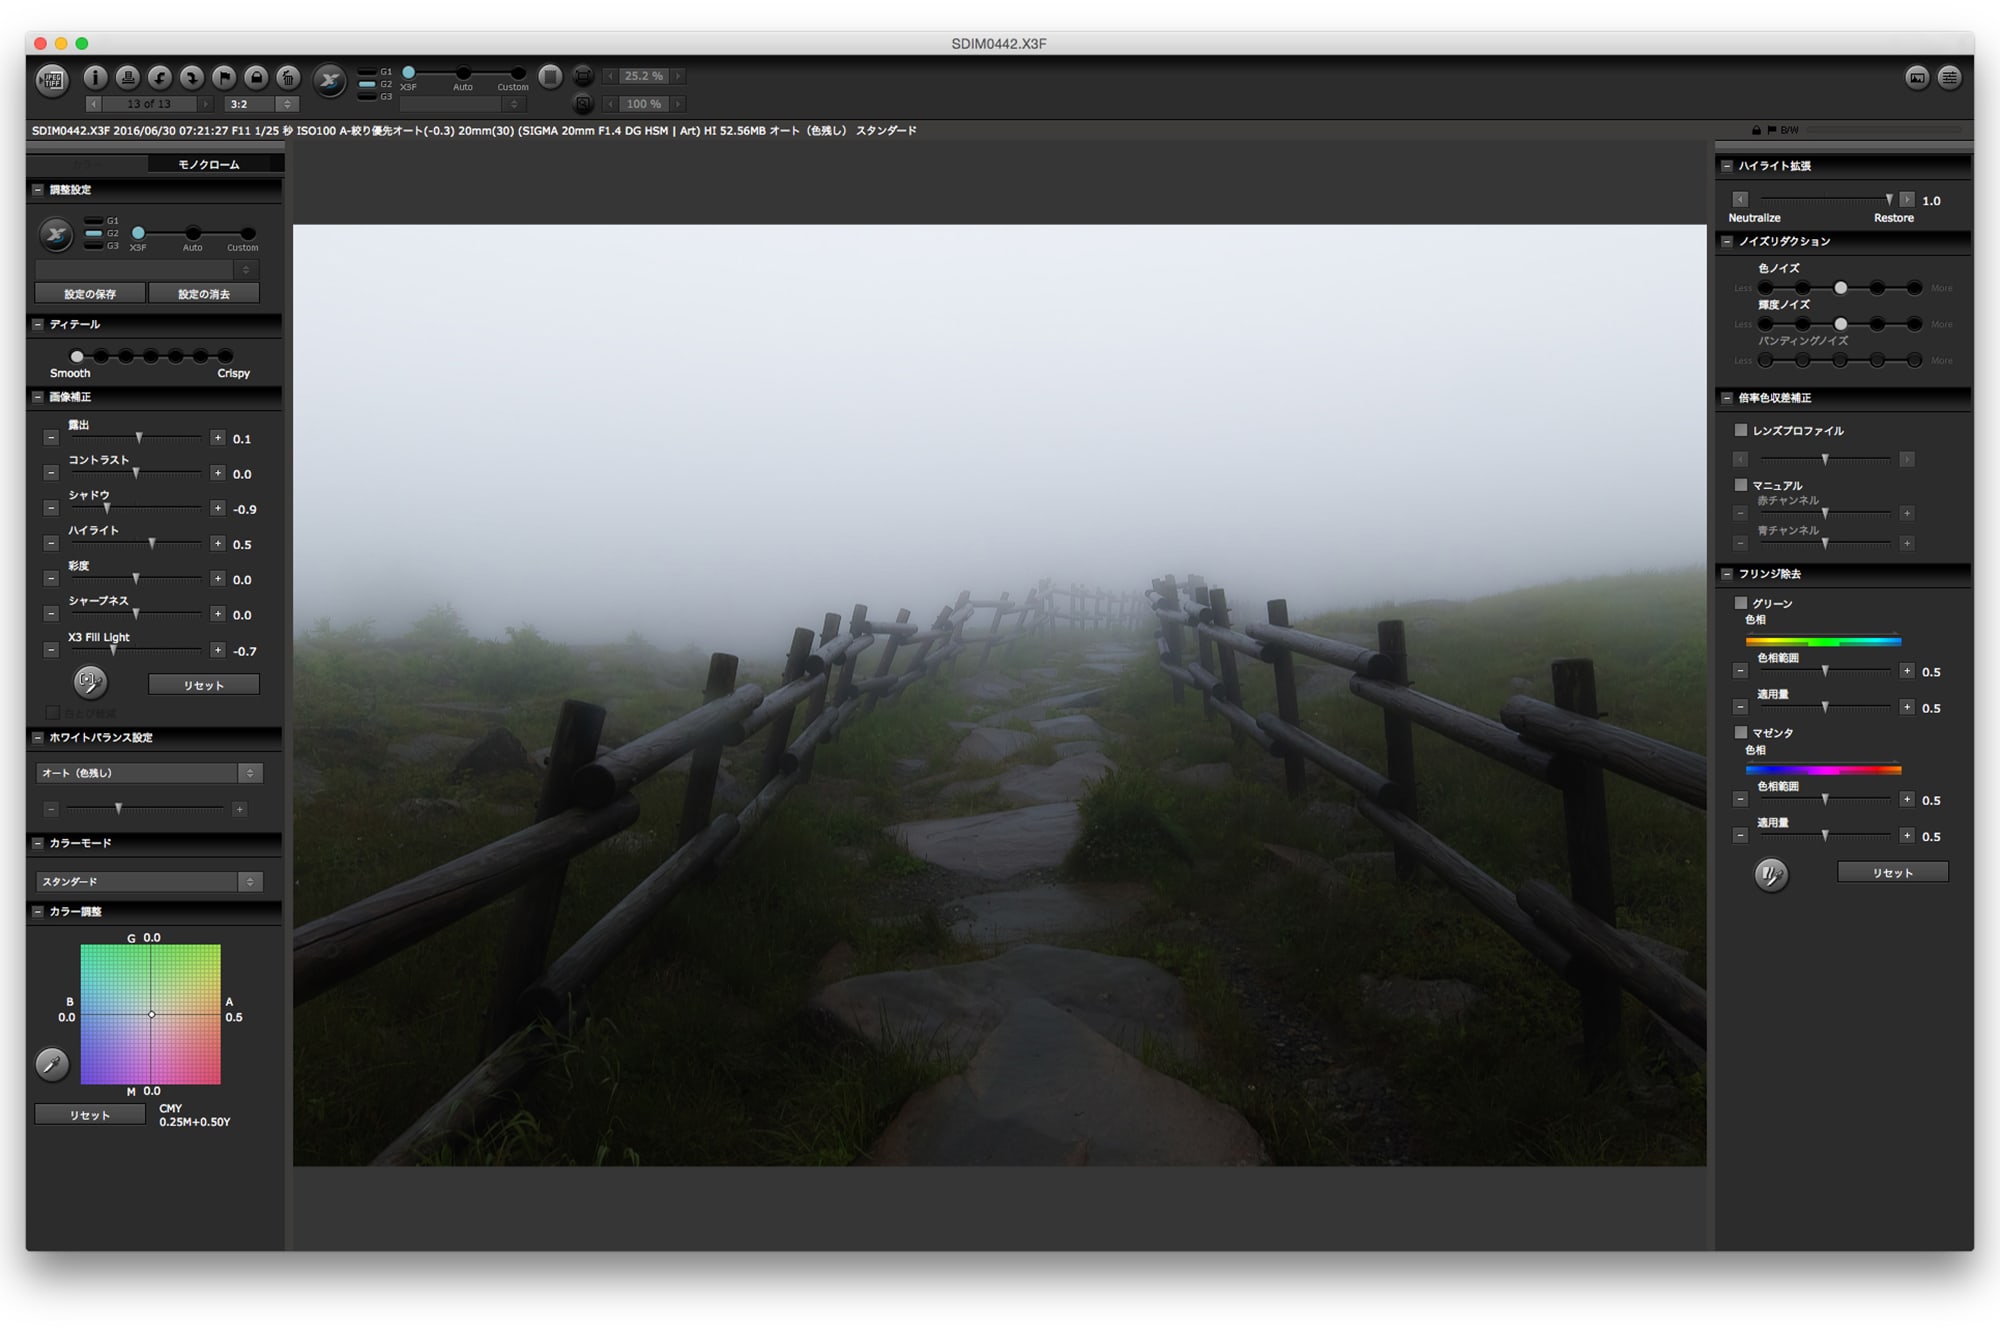
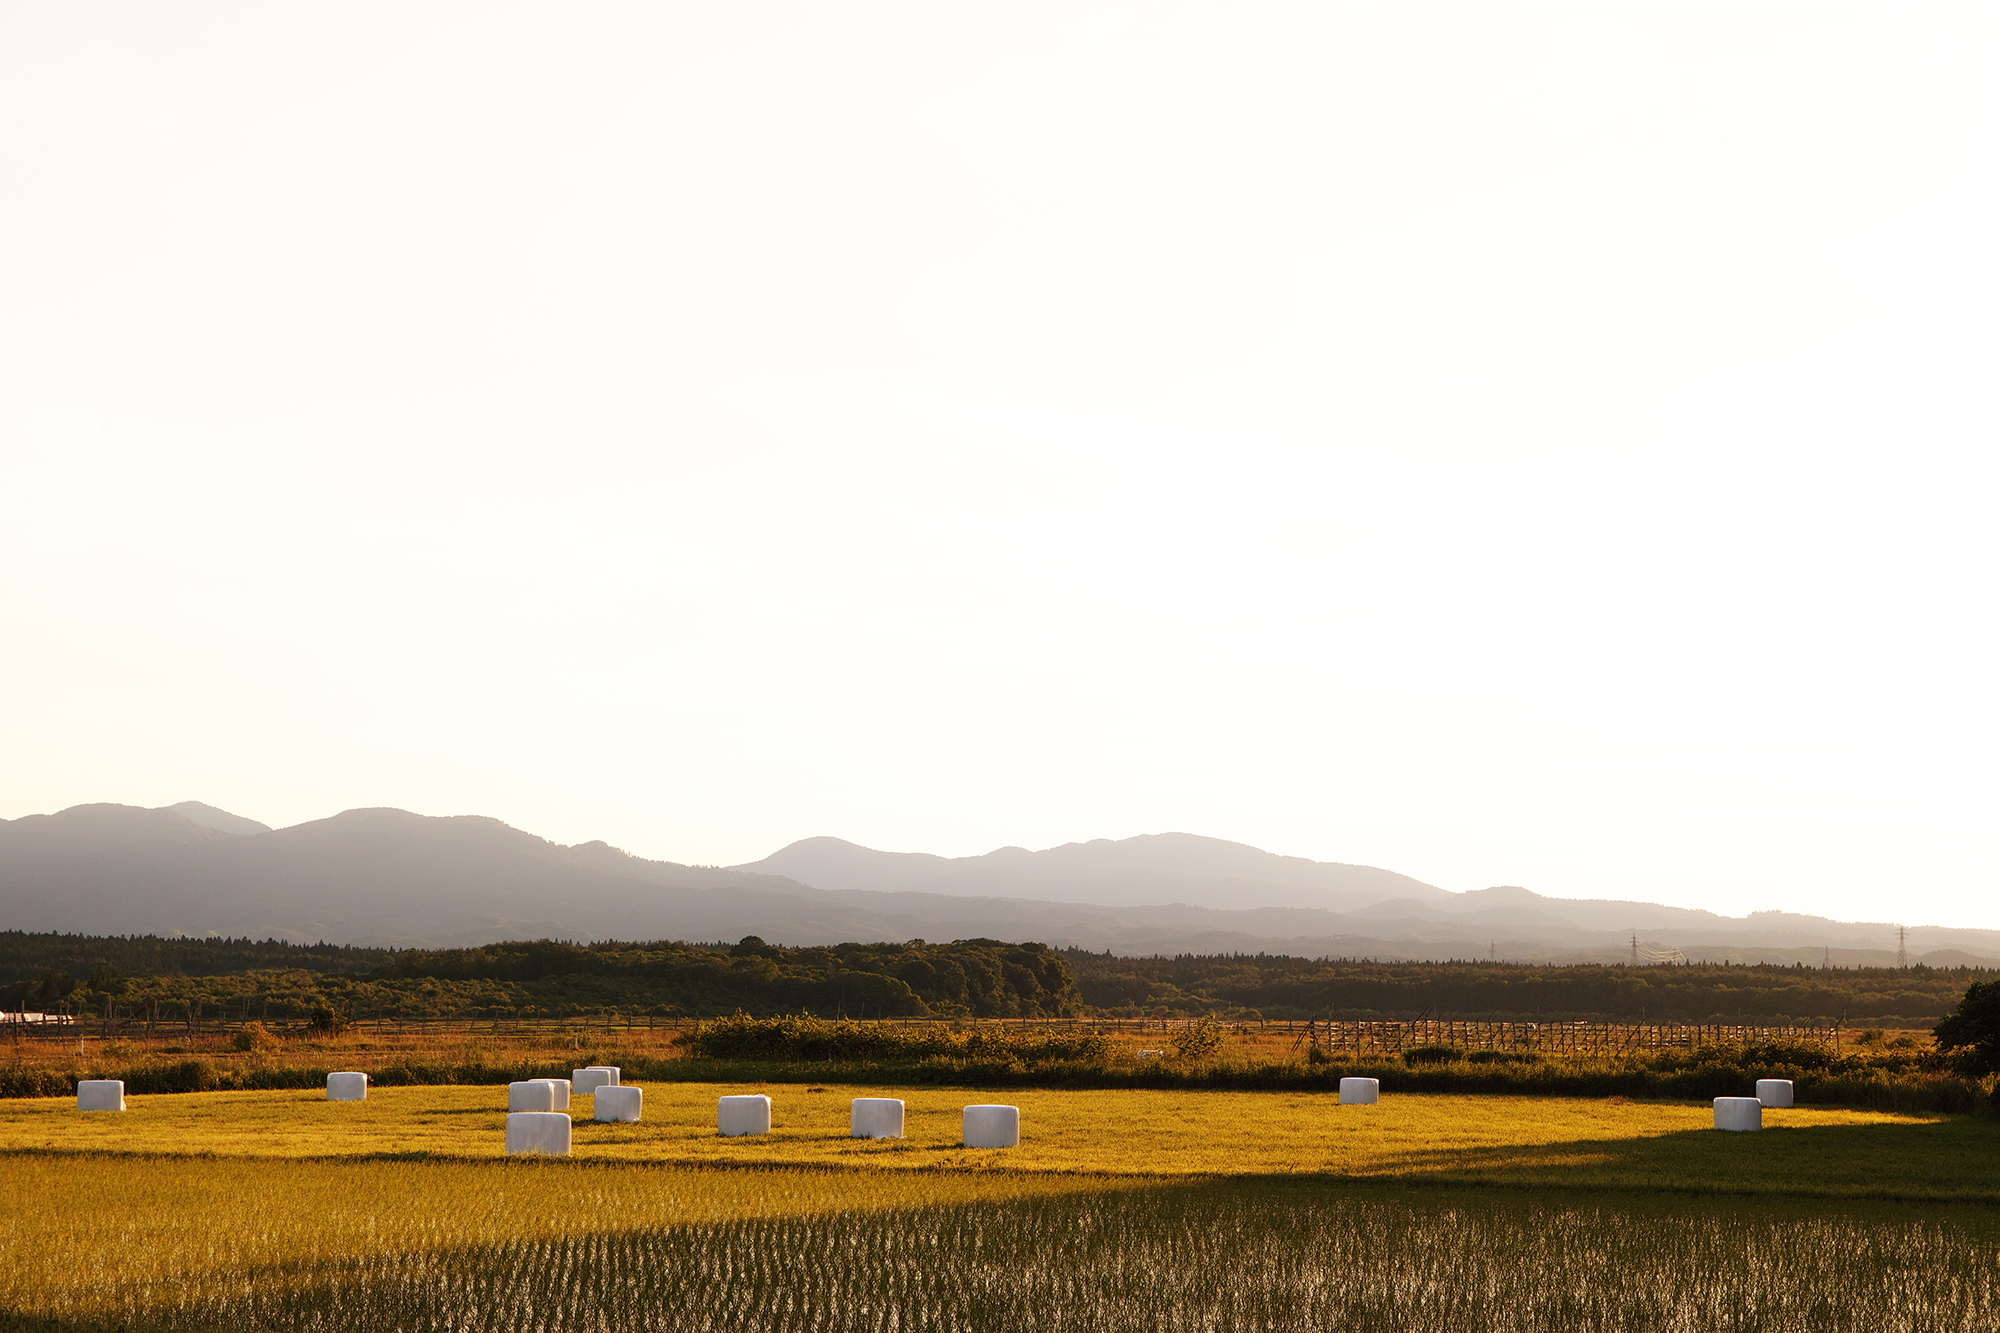
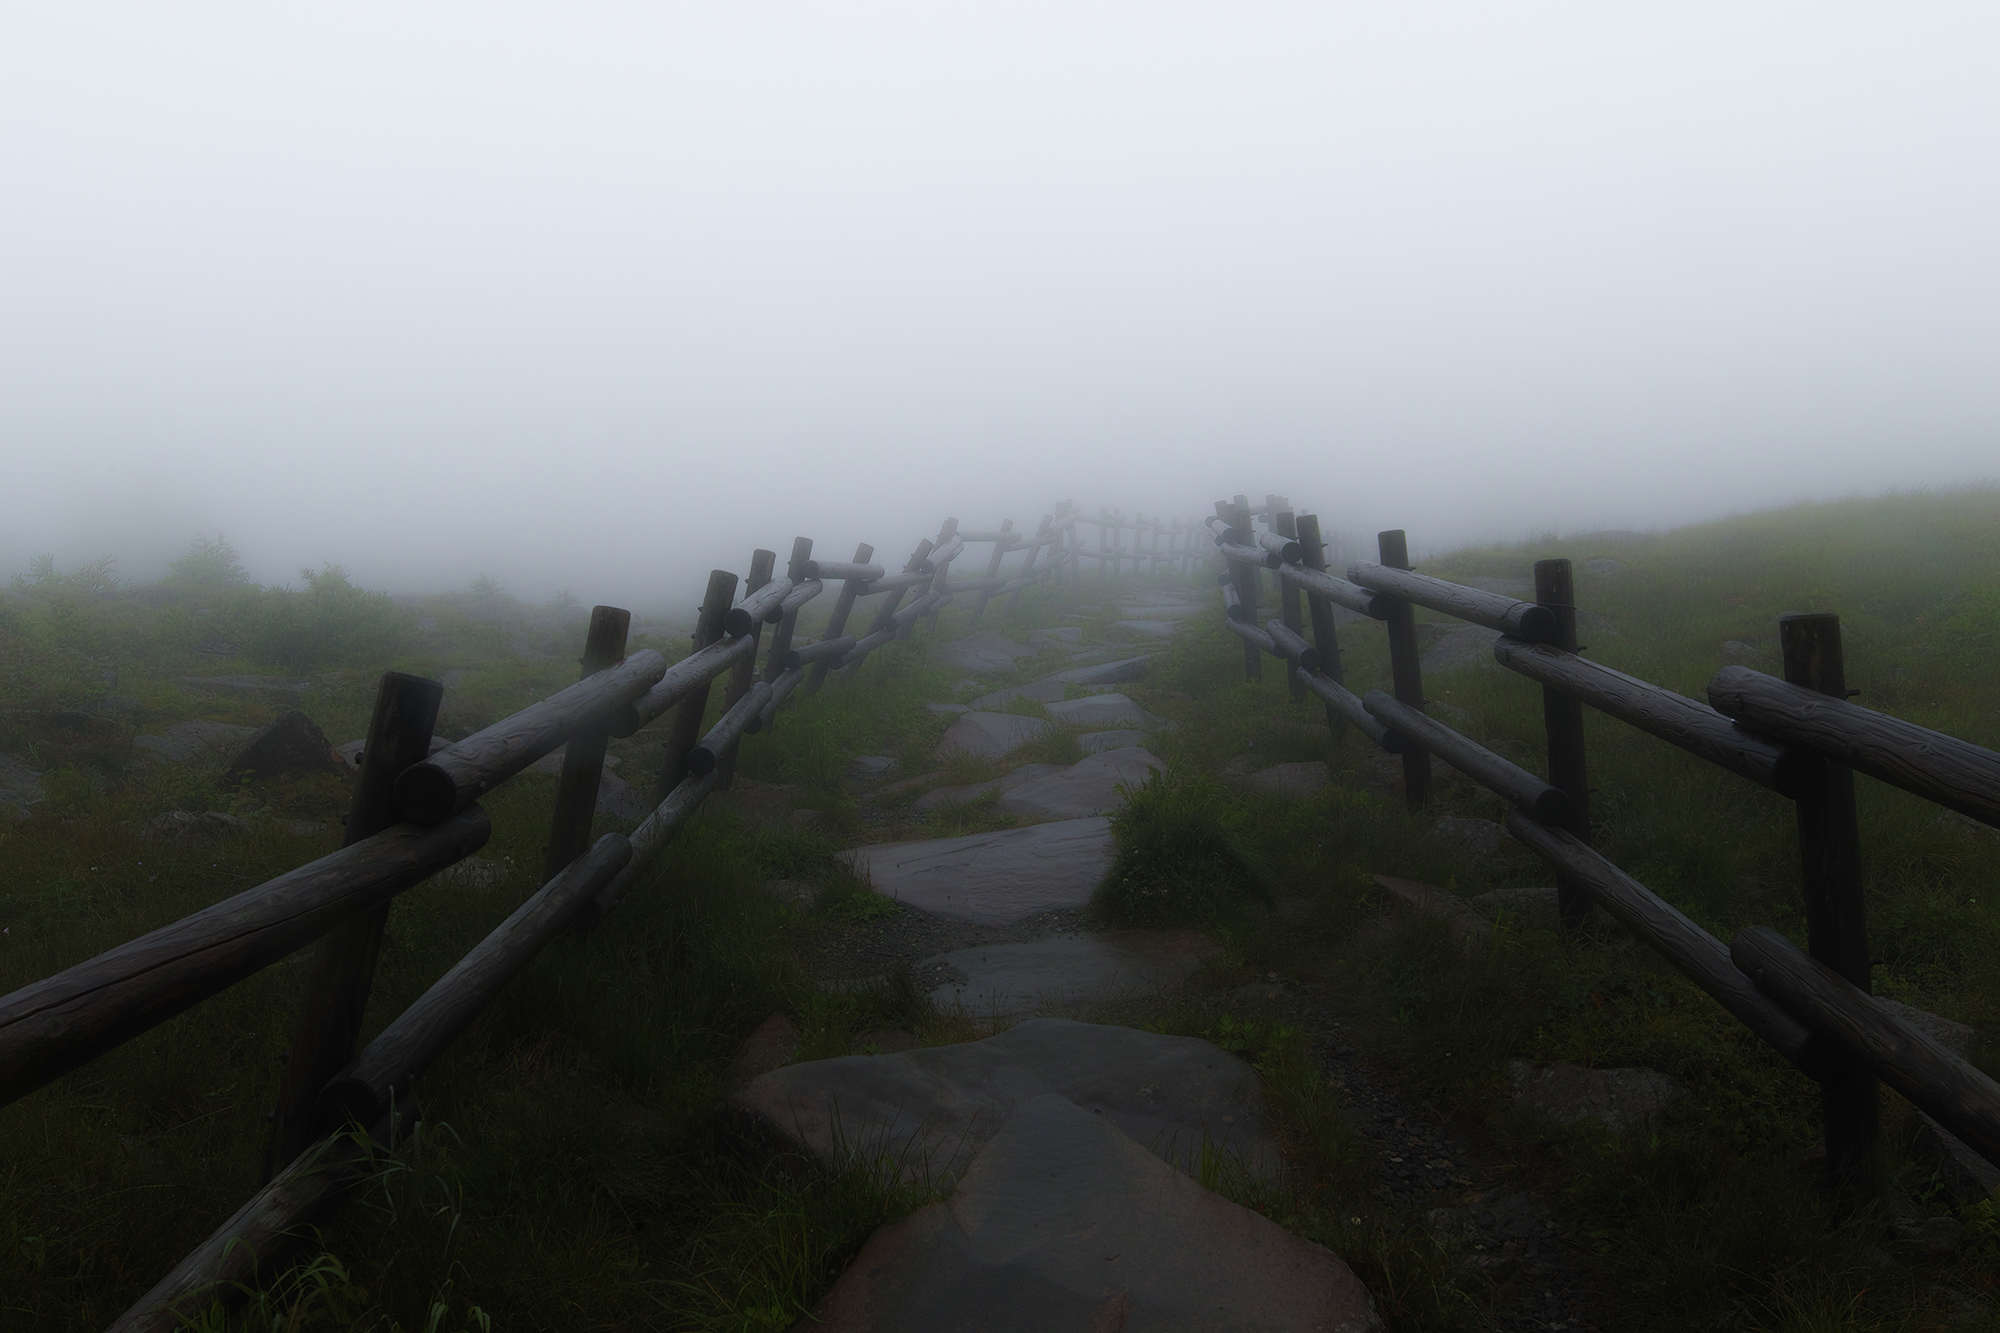
Shooting a path receding into the dense fog. What’s wrong with the original image? Too much detail is shown even though I know it’s natural because I exposed to get the whiteness of the fog. What I want to show are the dense fog, how the path recedes into it, and the resulting desolate atmosphere. However, the presence of the main subject is paled because it is affected by other elements, making it look boring. Since there’s no need to show every detail, I decided to reduce the number of supporting players to emphasize the main player. And again, I used the X3 Fill Light. I kept sliding the bar to the minus side. I got carried away, but I still dropped the shadow as well. When I enlarge it, I can see the edgelines of the fences around the vanishing point looking slightly unnatural. But, it’s not a big issue for me. Finally, I raised the highlight to emphasize the reflection of the stones. This is important because the lower half of image is darkened.
In this impression, I stopped it down most of the time because I took an approach
to large format photography.
In the next impression, I hope to take many shots wide open and talk about my impression on this camera
when used more casually and lightly. Don’t miss it!
